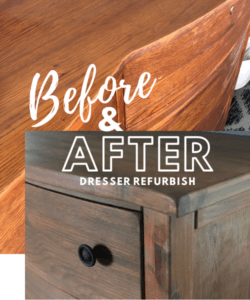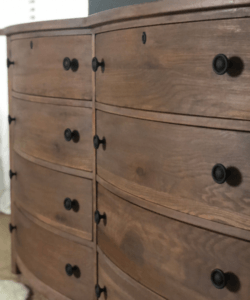
After a deep clean it sat in our master bedroom giving us a whole bunch of clothing storage… but I knew during the awaited dresser refurbish I wanted to refinish the wood from the orange tone to a more rustic medium brown toned wood. Here is the whole Dresser-Refurbish Undertaking to go from how I found it to the updated beauty it is now…
Dresser Refurbish Process:
Citiristrip the Dresser
The last time I stripped wood was pre-kids- an ornate wooden front door on our old house. I forgot how much work it really is, but if I had to do this dresser again I would. In order to refinish wooden furniture you really do have to get that protective layer off to be able to change the color of the wood. (The only option without stripping would be Polyshades which you can apply right over the finish. I’ve never used Polyshades but have seen it around on Pinterest.)
Citristrip Process:
-
- Put the dresser outside on a disposable tarp.
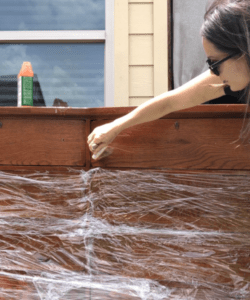
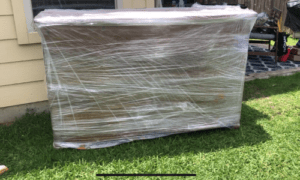
- Brush on the Citristrip in a thick layer with a cheap paint brush & cover with saran wrap so it the stripper doesn’t dry out.
-
- Let the covered stripper set for 24 hours and then unwrap a section at a time and scrape with a scrapper. For intricate areas you can use steal wool or a brillo pad.
-
- Just know removing the stripper is a super messy job and takes a lot longer to scrape the whole piece than you would think!
Clean the Now-Stripped Dresser
Wipe down the dresser with Mineral Spirits to get all the stripper, goo & any sticky spots off.
Stain the Dresser Your Desired Wood Color
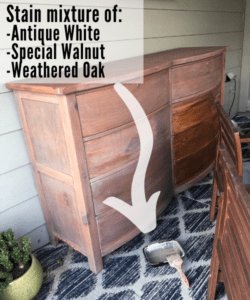
Use stain color of your choice. You may have to do this step a few times to get your desired color wood. I used a combo of stain colors mixed together: Antique White, Weathered Oak, & Special Walnut. Be sure to mix up each can of stain well before opening so that the pigment gets mixed in well, otherwise it will all settle at the bottom of the can. I brushed the stain mixture on thick, let it set for about 20 minutes and then buffed it into the wood and wiped the rest off.
Seal the Newly Refurbished Dresser to Protect the Wood
You have so many different options here: Poly, Wax, & Fusion Tough Coat are a few products I use regularly to seal projects. For this piece I used soft wax which goes on white and soft but dries clear and hard. To see some other projects I’ve sealed with Poly check out my Painted Shower Frame, Painted Floor Tile, or the Tool Box I found on the side of the road! To see wood that I’ve sealed with Fusion Tough Coat check out my Pecan Slab Live Edge Coffee Table, or my Vintage Coffee Hutch.
Paint & Attach the Drawer Hardware to your Refurbished Dresser
I spray painted the drawer pulls with matte black. The keyholes on the two top drawers couldn’t be removed. To get those to match I sprayed a little bit of the matte black spray paint into a little ramekin and used a tiny brush to paint it onto brass keyholes.
I can’t wait to give you a Master Bedroom Tour when we get it all together!
Next up on the list:
- Refinish Nightstands
- Finish Vanity Area
- Decorate Shelves
- Print Large Quote for above our bed
