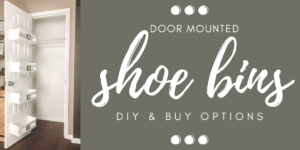
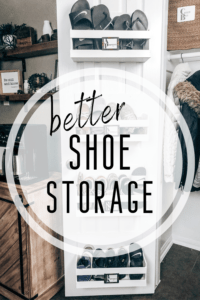
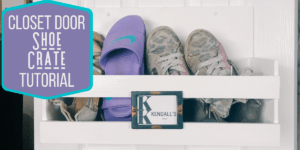
This DIY Shoe Storage is an upgrade to your current entryway closest shoe organization! If you have one of those ugly over the door shoe racks, you will love these Shoe Organizer Bins so much more.
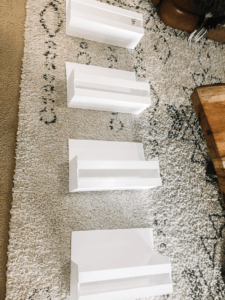
These DIY Shoe Storage bins can be made from scratch or bought and hung on your closet door with the instructions below. I have included the full DIY route & a link for finished wood bins I found that are almost identical to the ones I made!
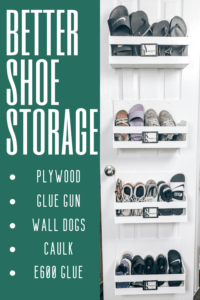
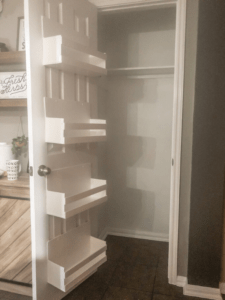
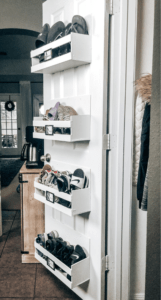
The DIY Shoe Storage boxes will securely attach on the inside of your hollow closet door. No ugly hooks sticking out of the top of the door. These Shoe Bins have kept the kids’ shoes easy to find and put away for the last 6 months. They are very sturdy and add a sleek clean look to our entry closet. These bins can also fit more shoes than our over the door shoe rack could.
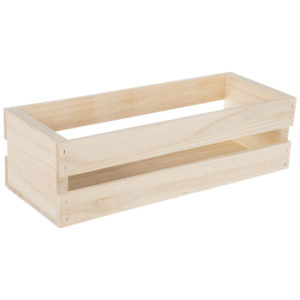
For all you anti-DIYer’s here is your caveat! When I was knee deep in the middle of this DIY with wood pieces, power tools and overwhelm– I was perusing through Hobby Lobby & saw these finished crates- that were my ‘vision come to life’! I could have just bought these- used some Wall Dog screws and hung them on the inside of the closet door and been done in an hour flat! So if you want to save the DIY hours- these are your easy button!! Don’t forget to use the Hobby Lobby 40% off coupon if they don’t happen to already be on sale.
BUY Option:
Here is a link and a picture of the pre-made bins at Hobby Lobby that would also work perfectly.
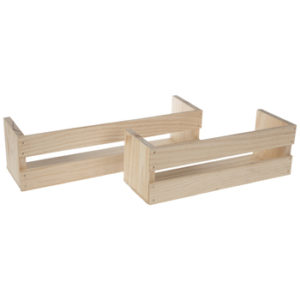
For me, there was no turning back on the DIY since I had already spent the $$ on the wood and cut it up… but for all y’all who would rather B-U-Y– it makes me feel even better about my hours spent happily wandering through the aisles of Hobby Lobby for giving you this finished project option!
Mounting DIY Shoe Storage Bins on Closet Door
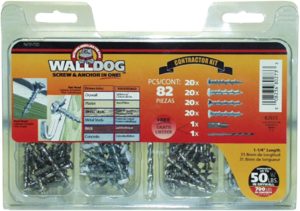
I have regular builder grade interior doors, they are not solid wood. These Wall Dog Screws have mounted several things on the inside of our closet doors with success!! I actually used them to hang the cheap shoe pockets before I upgraded to these bins- so at least I didn’t have the hooks hanging over the top of the door. 3 Wall Dogs even held up that heavy shoe pocket panel loaded with shoes.
DIY Shoe Storage Bin Tutorial:
First, dust off your math skills and measure the door and the DIY shoe storage bins to get them spaced out evenly on the door. Make sure there is enough clearance for the door to close with the depth & placement of the bins.
Then pull out some plywood from your stash- or run to Home Depot & grab you some. I used 1/4″ plywood- it is very thin, so it is cheap & lightweight. I also picked up some of the pre-cut 1.5″ wide long poplar wood pieces for the front of the crates- you could also just use solid plywood for the front if you’d like though.
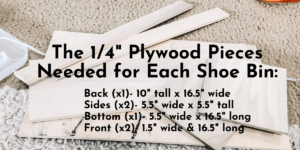
Dimensions of DIY Shoe Storage Bins:
- Back (x1)- 10″ tall x 16.5″ wide
- Sides (x2)- 5.5″ wide x 5.5″ tall
- Bottom (x1)- 5.5″ wide x 16.5″ long
- Front (x2)- 1.5″ wide & 16.5″ long (these poplar wood pieces came this width- I just had to cut each of them to 16.5″ long
The other supplies needed are a hot glue gun, caulk & paint…
I was planning on using a nail gun to nail the pieces together but with the 1/4″ thin plywood it was pretty much impossible to get the nails in without them splintering out.
So I got out the old handy dandy hot glue gun! I wasn’t sure if they would hold up… but the verdict 6 months later is YES- with perfection!!
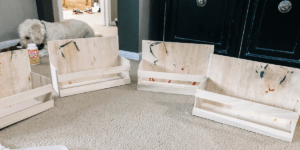
I Hot Glued the pieces together to form the boxes. Then I caulked over the seams so that when I painted them the paint would have something to stick to since it won’t stick to the dried hot glue. Caulking was fun and easy- if you haven’t used caulk before I just get the squirt bottles and then squirt out a line of it and then smooth it down with my finger.
After that I painted them with my favorite Door & Trim Paint, Behr Marquee Ultra Pure White in Semi-Gloss. Its the same paint that I used to paint the door it will be hung on as well as all the other interior doors and trim throughout the house.
Then I used E600 Glue and Wall Dog Screws to attach these beauties to the door. You do NOT have to drill any holes for the Wall Dogs- You just mark where you want it to go in and use a screw driver and some pressure and they go right through the wood and the door.
Family DIY Shoe Storage Labels
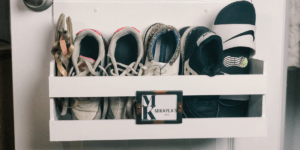
DIY Shoe Storage bins can be organized even further with labels. Add a cute label to dedicate each shoe bin to each family member. I used Canva to design my labels and I used little metal frames (I picked up these eclectic little frames from a junk store along the highway on one of my trips to Austin when my sister lived there, oh the nostalgia.) I used hot glue to attach each label to the fronts of the DIY shoe storage bins.
Enjoy using & maybe also just staring at your custom DIY Shoe Storage!
If you’re looking to stay motivated & rocking through your home organization join us on our current Organization Series!!
