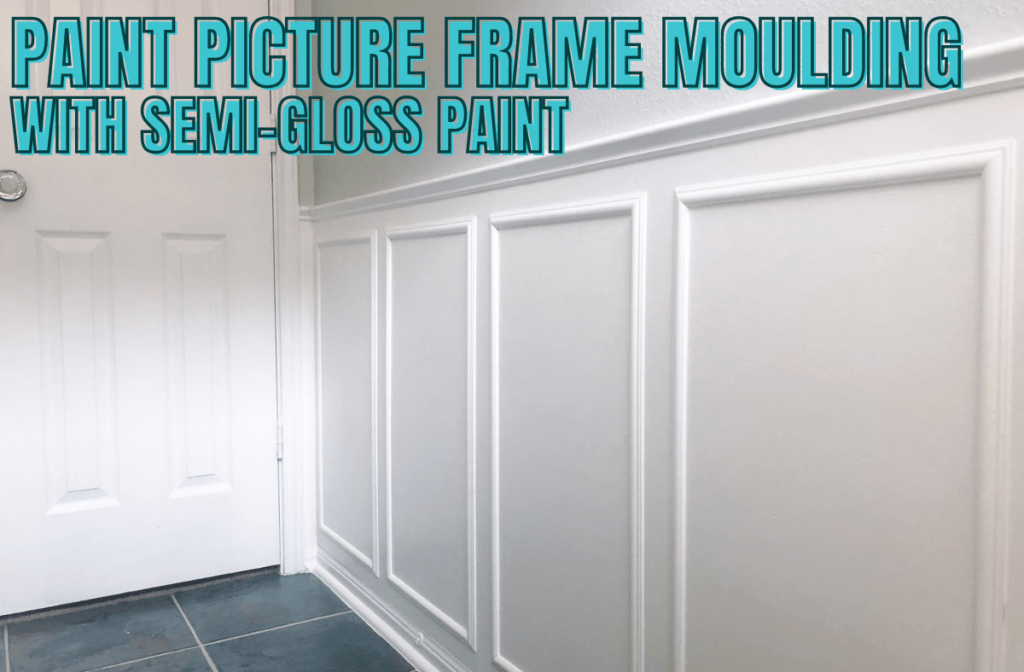
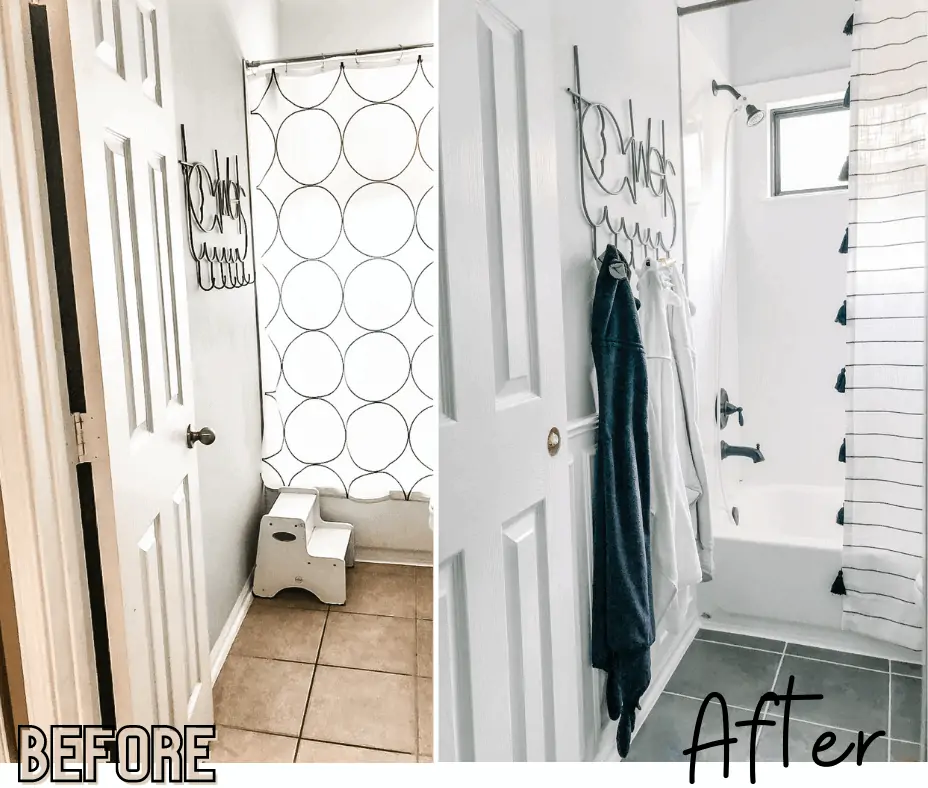
Bathroom wainscoting adds dimension and personality to a basic bathroom. It was an easy process that anyone can do!
First, there’s a few things to consider for the Wainscoting Design. Then I’ll go through the 10 Step DIY process to creating it.
Bathroom Wainscoting Design:
Bathroom Wainscoting Height
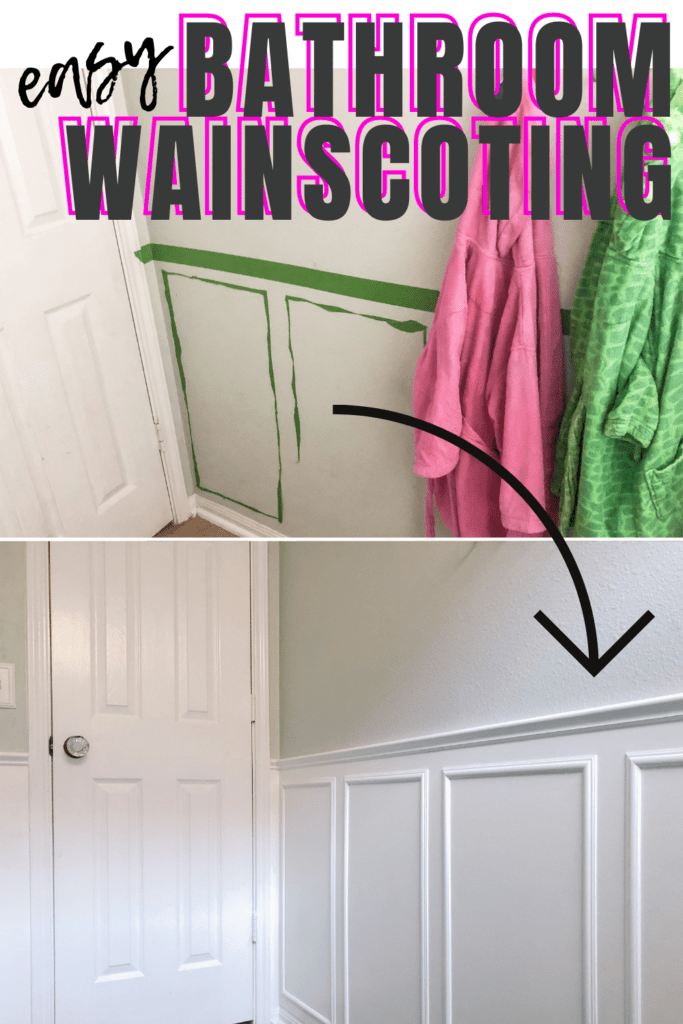
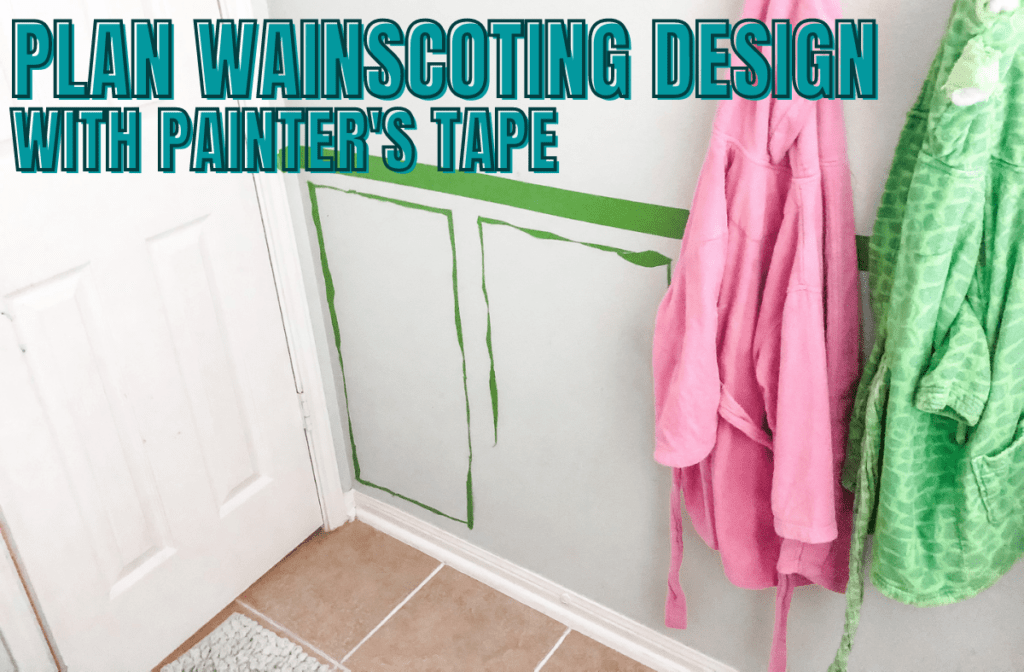
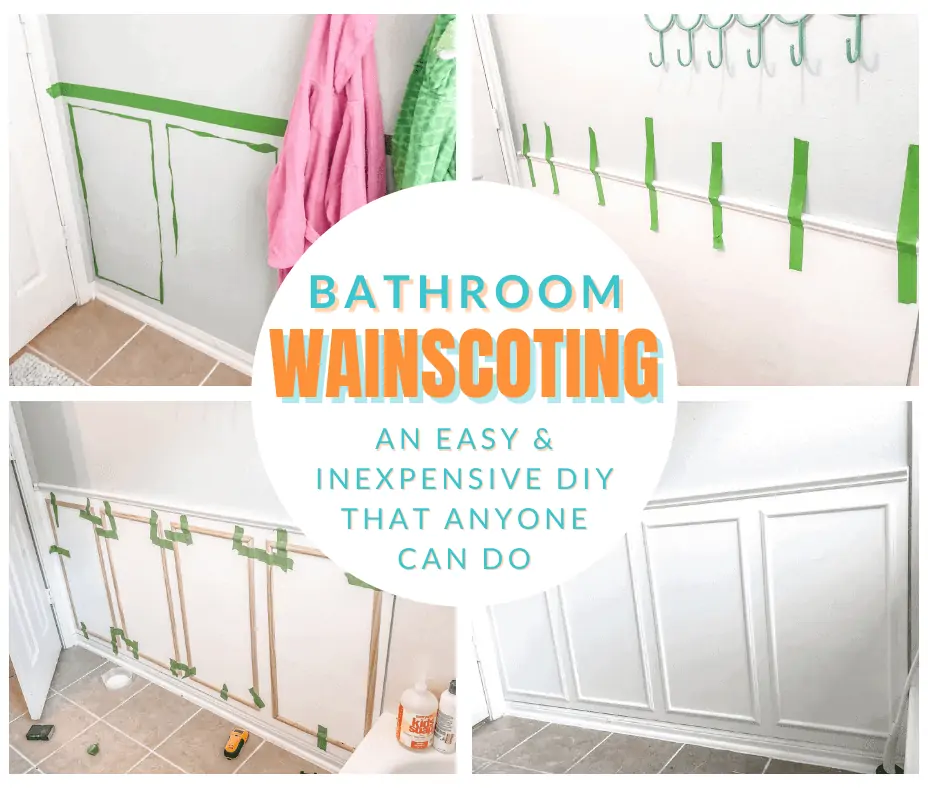
First, you will want to map out a wainscoting design in your bathroom. Painter’s tape is a good tool to use because it helps to visualize the moulding in the space. We did a half-wall wainscoting. Half way up the wall seemed to look the best in this small space.
Bathroom Wainscoting Styles
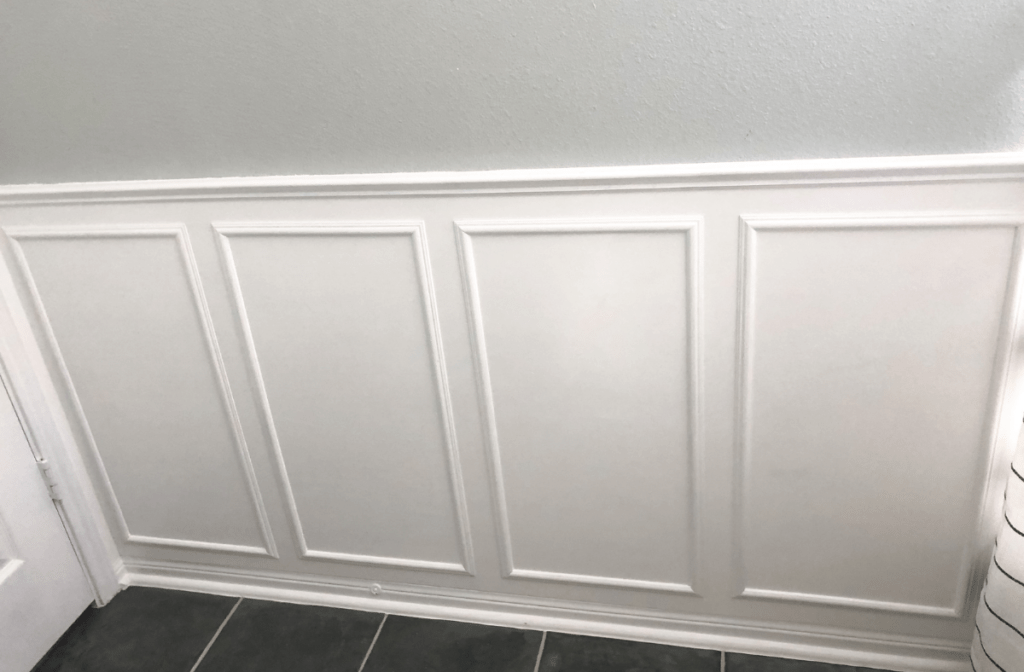
There are many different styles of wainscoting. For this bathroom we created a picture frame wainscoting design. It is small and delicate enough to compliment this little bathroom.
White Wainscoting
White wainscoting lightens and brightens up any space. Since it is a half wall of wainscoting it adds to the white in the bathroom without washing out the color in the room.
Bathroom Wainscoting DIY Process:
1. Plan Out Wainscoting Design
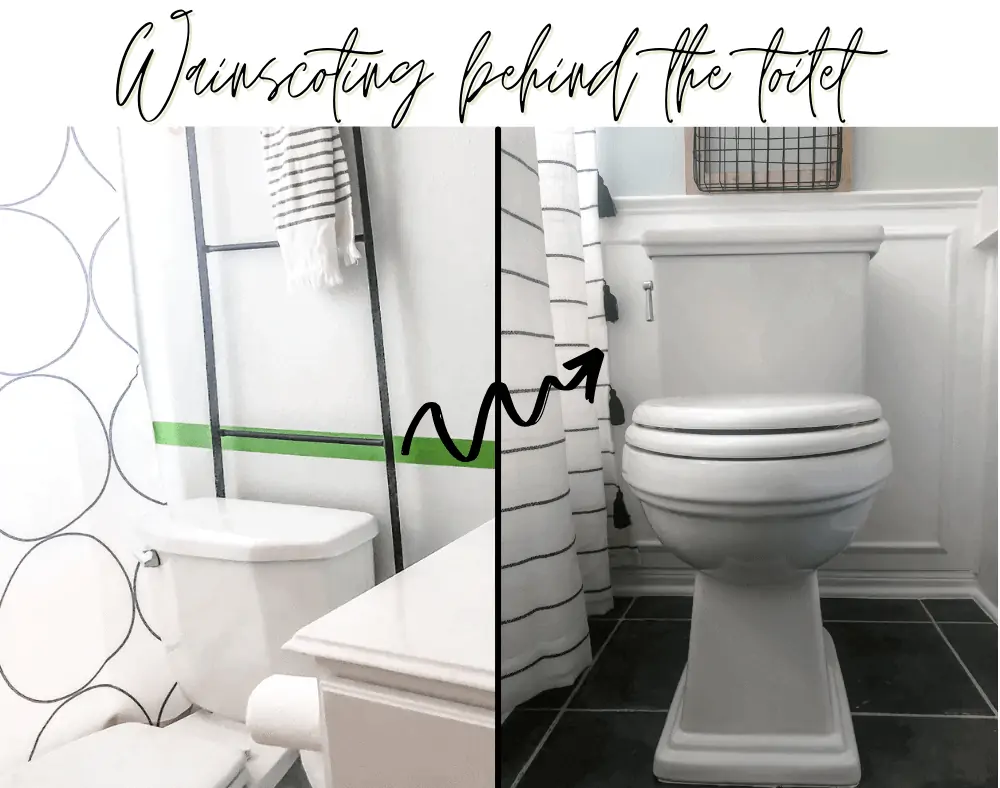
Putting the design on the walls with painter’s tape helped me decide how many “picture frame” mouldings on each wall. I first decided 2 behind the toilet and then keeping the same picture frame dimensions would give me room for 4 on the longest wall. I did have a tiny wall between the bathroom counter and the door. No frame moulding would be added to that small area.
2. Cut Plywood Pieces
For the base of the wainscoting, I used plywood. Plywood is inexpensive, lightweight, and gives a smooth raised base for the wainscoting, apart from the textured drywall. First I measured the 4 walls, then gently cut the plywood with a hand saw, and gently sanded the cut edges with a sanding block.
3.Paint Plywood Pieces
Then I painted the plywood white with Behr Marque Ultra White Semi-Gloss paint. It’s the same paint & color I used for all our interior doors, baseboards, and trim. I painted the plywood prior to attaching it to the wall. It is easier to paint this large porous surface while its laying flat. Pro tip- if there is any imperfections in the plywood, thick paint will smooth them over. Just let the paint sit without the lid for a little bit for it to thicken a bit.
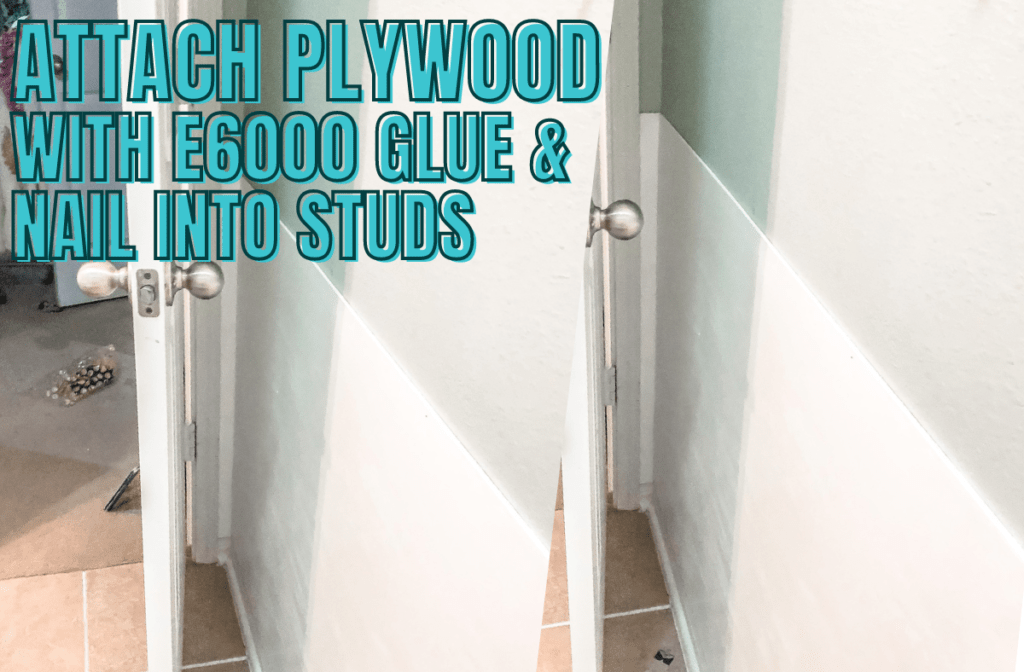
4. Attach Plywood Base
To attach the plywood seamlessly I used E6000 Glue on the back and near the edges of the plywood sheet & attach it to the wall. Then, use a nail gun to attach it to the studs at the very top- where the chair rail will cover the nail heads.
5. Cut Chair Rail
When you cut the chair rail you’ll have to think about each piece to make the appropriate cut. On corners where the chair rail will meet each other you’ll need to cut it at a 45 degree angle so that the corners will meet up perfectly. Where it meets up with the bathtub, door trim, and counter- it gets a straight cut. Pro-tip- Instead of measuring for the chair rail cuts, I held up the actual piece on the wall and marked it- that way it is exactly the right size.
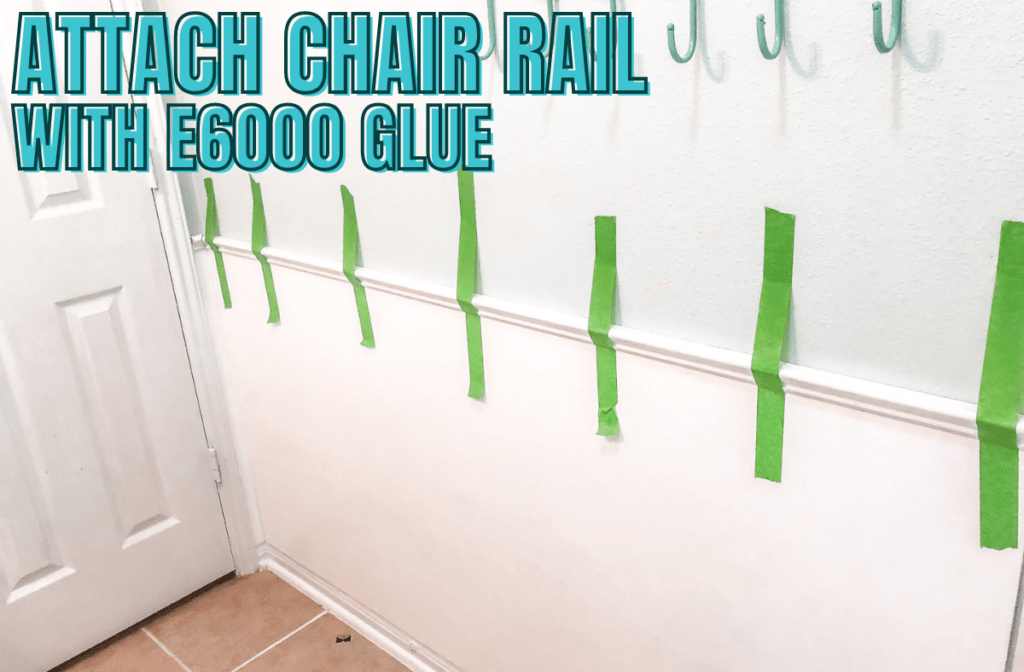
6. Attach Chair Rail
I attached the chair rail to the top edge of the plywood, covering the nail heads. Use E6000 Glue, but be careful not to use too much- because you will see drips of it if you do. Hold the chair rail in place with painter’s tape while the glue is setting. Pro tip- Check back in over the next half hour for glue drips as the glue is drying and wipe any extra glue away while its still wet and wipeable.
7. Cut Moulding into Picture Frames
You’ve got the size of your picture frame moulding from your designing process. Now you’ve got to cut the moulding into the picture frames. Using a miter box and a handsaw you can cut the 45 degree angles for the frames to match up just right.
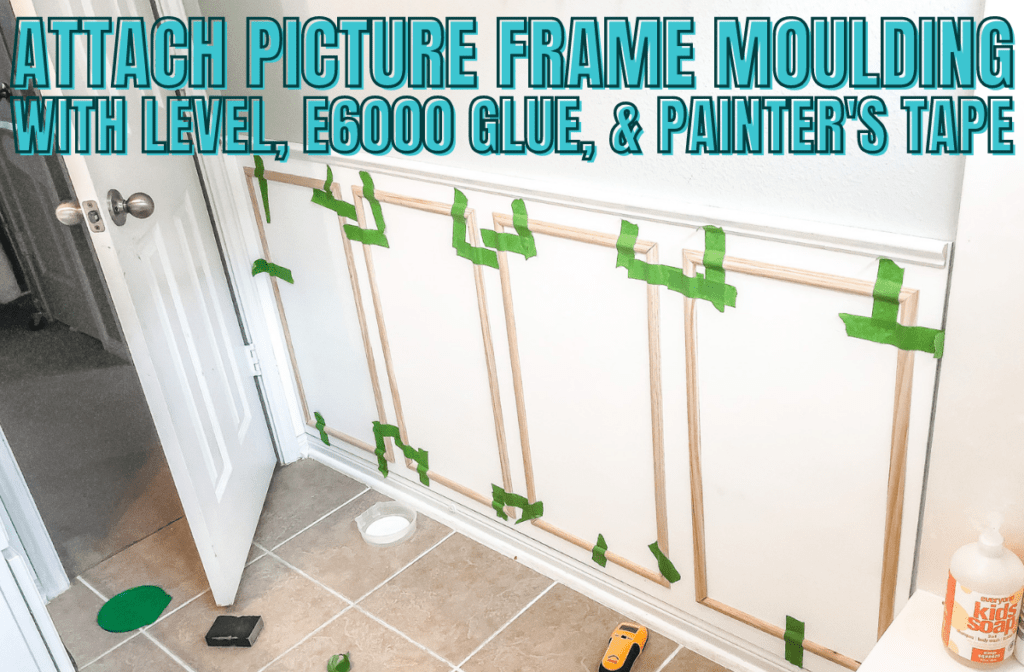
8. Attach Picture Frames
Use the E6000 Glue, and a level. Use the level to not only make sure they are straight, but also level with each other.
9. Paint Picture Frames
Thicken the semi-gloss paint, so the seams between the picture frame moulding and the plywood base are automatically sealed as you paint. This tip creates the seamless look of perfection with ease!
10. Caulk Seams
White silicone caulk matches the Behr Marque Ultra Bright Trim Paint perfectly. I just caulked along the edges where the chair rail meets the drywall, the sides of the plywood base, and a bead of caulk where the plywood base meets the baseboard. This finishing step gives everything a finished, well-done look.
There are many methods to get a smooth, even bead of caulk… take the time to figure out which one works for you. It is worth it, because depending on how the caulk is put on can give it the ‘botched DIY look’ or all the ‘Wow vibes’! I found I got an even smooth finish by squeezing the caulk across the seam evenly, then use a wet finger to smooth the caulk down, wiping off the excess caulk from my finger every so often.
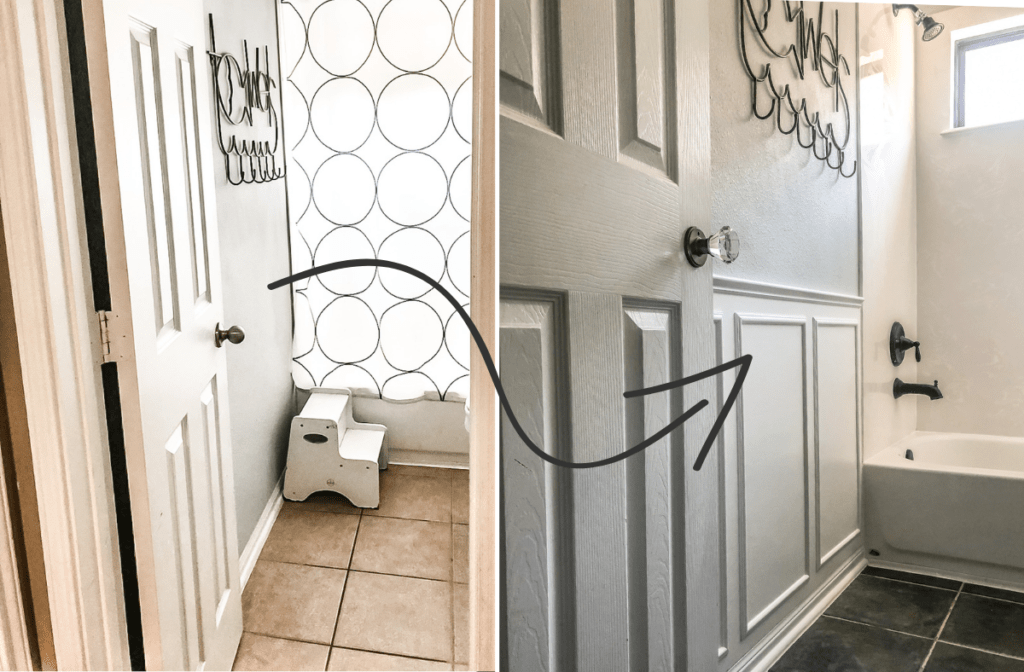
Celebrate! Just sit for a minute and check out your handiwork. You just upgraded your bathroom 10 times over. It has a more sophisticated vibe with this picture frame wainscoting.
As you can see from the before and after, I didn’t skip a beat before I took on my next DIY in this bathroom… painting the tile floor! Check out how I created the faux slate tile look with paint, here.
