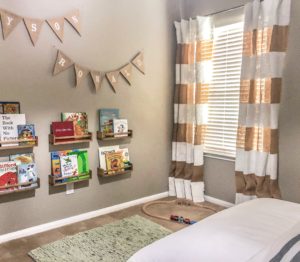
These DIY Burlap Curtains transformed this room from bare bones to… ‘ahhhh, feels like home’. I wanted striped curtains that would go with anything and everything. I was mentally planning ahead for when I inevitably change up the paint colors, decor, bedding- that I wouldn’t be at the drawing board for stunning curtains again. These DIY burlap curtains fit the bill!
I love the way burlap curtains add some visual texture to the room.

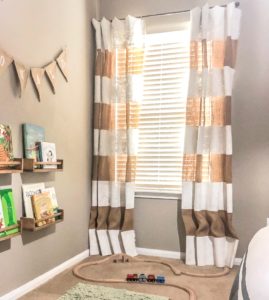
I decided on burlap fabric for the material of the curtains. The benefits of using Burlap… Burlap is a really easy-to-find. It is an inexpensive fabric. Burlap is also available in an array of earth tones. And the best part, burlap requires NO seams, meaning no sewing- woop-woop!!

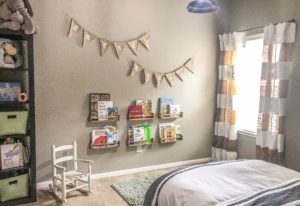
I will share helpful tips that I learned along the way so these DIY burlap curtains will be a lot easier for you to make than they were for me!
Hack to Cut Perfect Burlap Curtain Panels
There is a great hack to easily cut perfectly straight curtain panels from burlap. Measure the length you want your curtain, then pull the vertical thread from the grid pattern that burlap is made up of. This creates a channel where you will be able guide your scissors. This cutting method results in a perfectly straight line without much concentration.
Tips to Paint Stripes on DIY Burlap Curtains
I painted white stripes onto our DIY Burlap Curtains to give them that eye catching appeal. Stripes are classic and go with any decor. White is another neutral that will go with any and every decor change in the future.
I discovered the biggest time saving tip while painting stripes onto the burlap curtains. Go for regular high coverage white paint like you’d buy for your wall. I orignially tried to use fabric paint and the coverage was terrible. After I went though about $50 of fabric paint for one stripe… the white still wasn’t as opaque as they are now. I went into the garage and grabbed our regular white wall paint and bingo! The regular paint gave full coverage in 2 quick & easy coats!
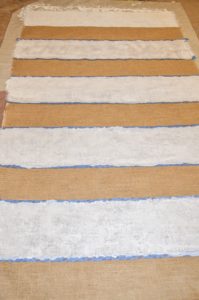
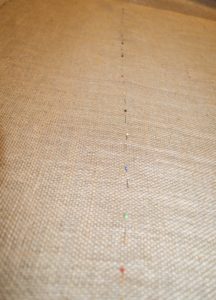
To get the stripes straight, just measure where the stripes start and stop and follow the grid across. I used pins to mark because it was easier for my eye to see the line that way. When I put the painters tape down I removed the pins as I slid the tape down.
DIY Burlap Curtain Shaping Hack
After hanging the curtains they are stiff and need to be shaped. Pool noodles are the perfect shape to form the curtains into perfect wavy pleats. Put pool noodles in the curtains and secure it all together with clothes pins. After the curtains form around them for a few days you can take out the pool noodles and the burlap will hold its shape.
Cleaning DIY Burlap Curtains
I made these DIY burlap curtains years ago and they still look great! I vacuum them rather than throw them in the wash to clean. Gets all the dust out and even with them being in my lil boy’s room they haven’t needed any further cleaning than that.
The neutral colors and classic striped pattern make these a set of curtains that will be loved for a long time to come! They were actually first hung in our living room before finding their permanent home in my little buddy’s room.
Check out another project I did in his room with leftover supplies from my Faux Brick Statement Wall. It is a Faux Brick Headboard that goes so well with these curtains and adds even more texture and visual interest to this sweet yet masculine space!

Happy Curtaining!!
