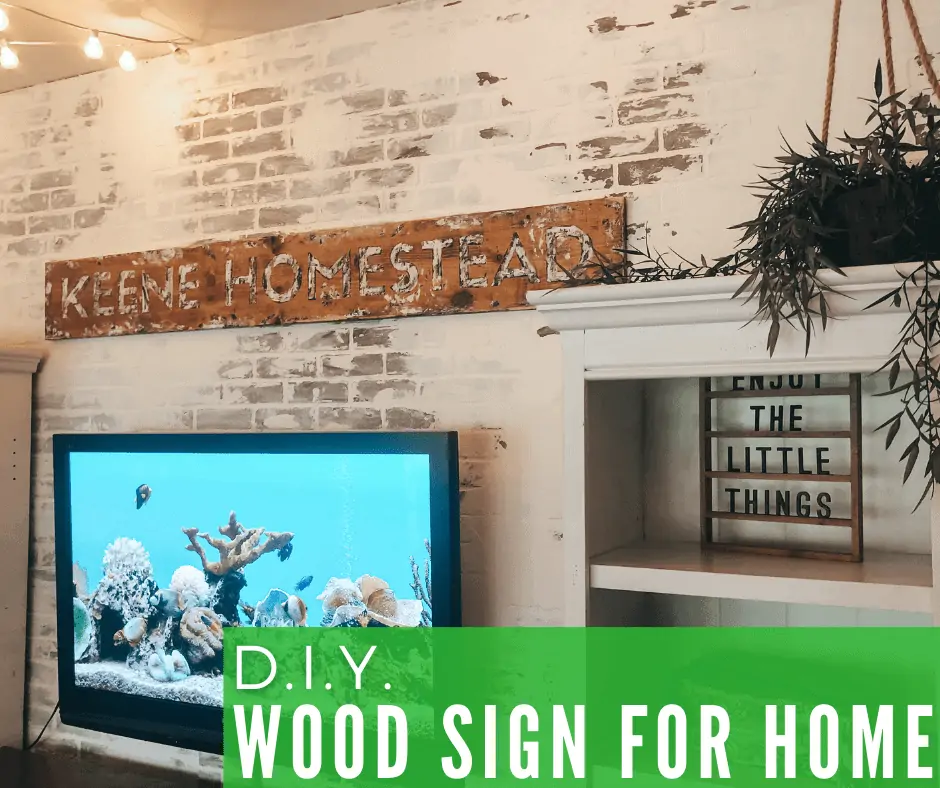
I can’t wait to share how to make a wood sign! A DIY’ed wood sign is an easy project that instantly adds personalization & character to your home.
I had a lot of fun making our, Keene Homestead, wood sign. I’ve also learned some tips on wood sign making. I’ll even show you a trick to paint letters on wood without a stencil.
First decide on your phrase. After brainstorming what to word to use with our last name, I decided on “Homestead”. It adds just enough farmhouse/vintage vibes to our suburb home.
How to Make a Wood Sign Template
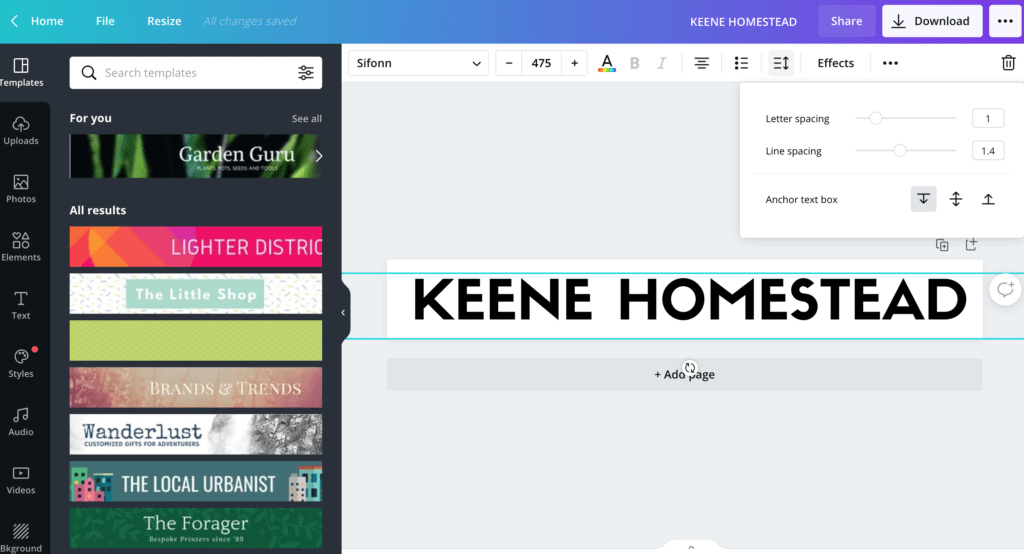
Canva is the online program I use to make all my labels to organize everything. It is also what I use to perfectly paint letters on wood. In Canva, I created a template with my words for the wood sign. You get to create any size design, so you can input the exact size of the wood sign you are working with. Then you can select your font and adjust the letter spacing.
Then, I sent my design to Staples to print on blueprint paper for less than $5. While I waited to pick up the print, I finished the wood with the stain color: Special Walnut.
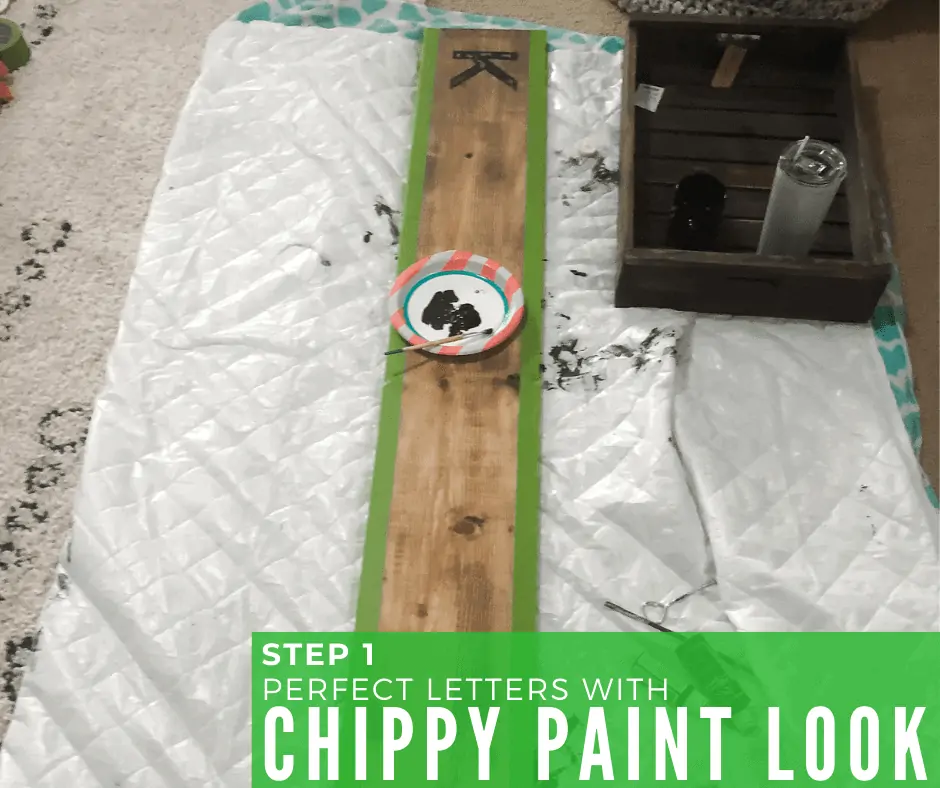
After picking up the template, Roll it out over the piece of wood, and tape it down with painters tape. Use a ballpoint pen to press hard on the outline of the letters along the template.
How to Paint Letters on a Wood Sign

Now that you have your letters traced onto the wood, it’s time to paint the letters onto the wood. Time to reveal your perfect your spacing and font! Roll the paper template out on top of the wood sign. Center the template on the wood and tape it down. Trace the letters with a ball point pen. Press hard and you will be making a dent in the wood underneath on the outside of the letters.
When you remove the paper, you can see the outline of the letters. The “trough” that the pen makes helps the paint stop at the perfect edges of the letters. Instead of a solid paint, I wanted a more aged look that would add character to the room. So I used the chippy paint technique.
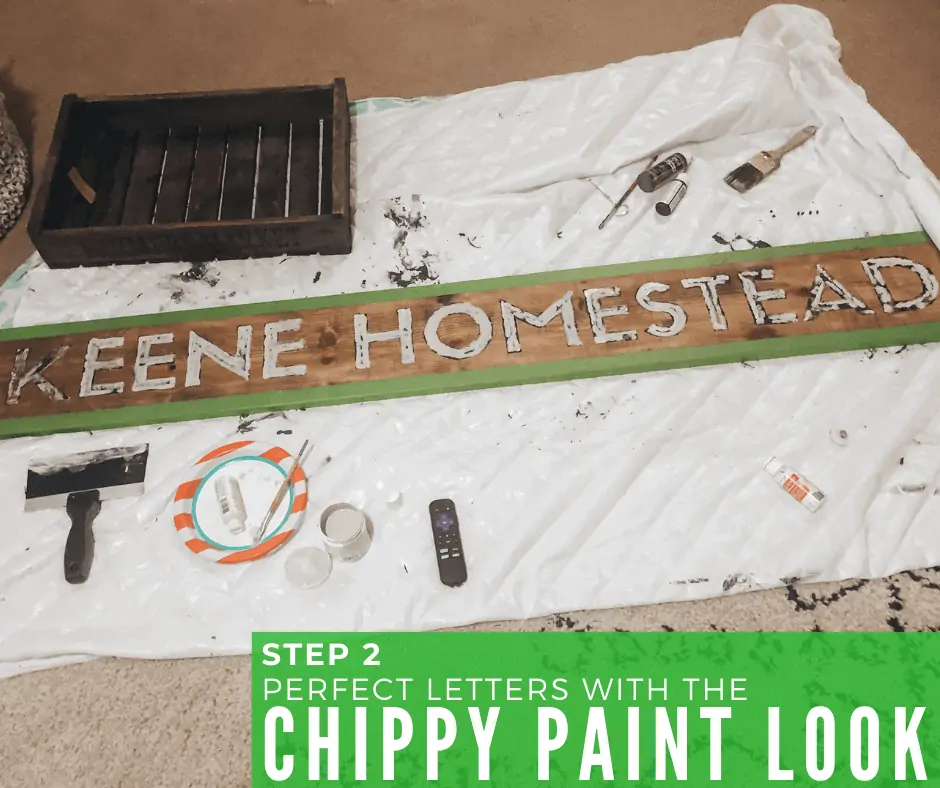
The chippy paint look is so much fun to do! You’ll need wax (grab some tealights or candles), a putty knife or trowel for scraping, your paints (I used chalkboard black, and a white sample paint), and some small paint brushes.
During any project you’ve got to enjoy the journey, right? Since this is the fun part, grab your favorite drink (or 2- if you’re as extra as me) to sip along the way. Pictured is my Favorite Chocolate Protein Shake & coffee.
How to Make a Wood Sign with the Chippy Paint Look
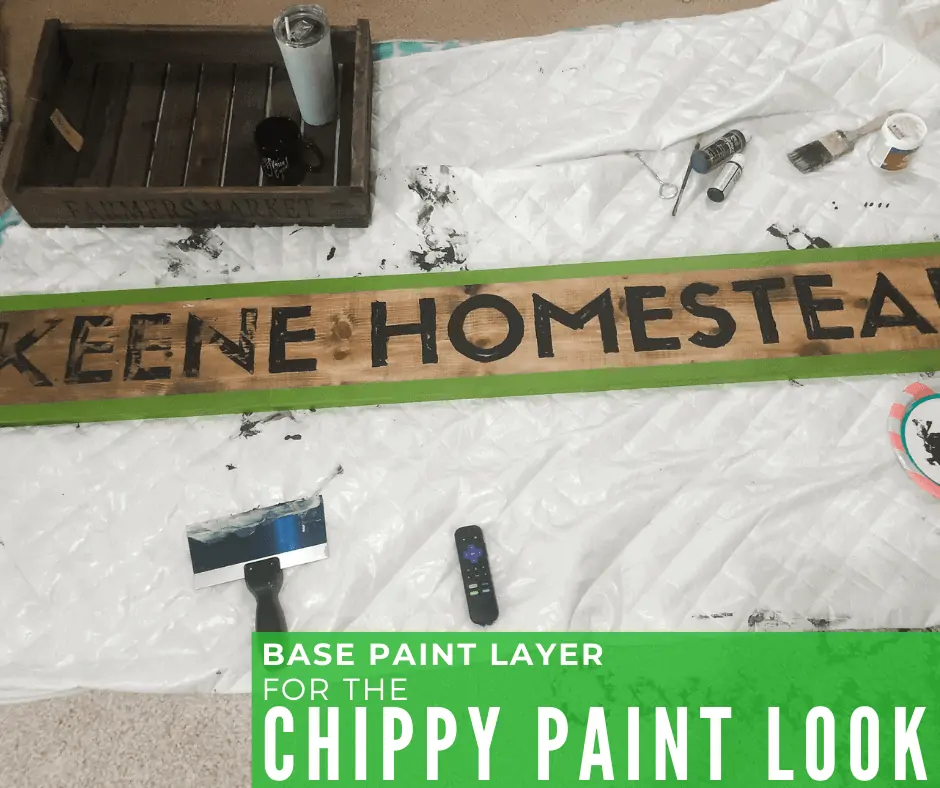
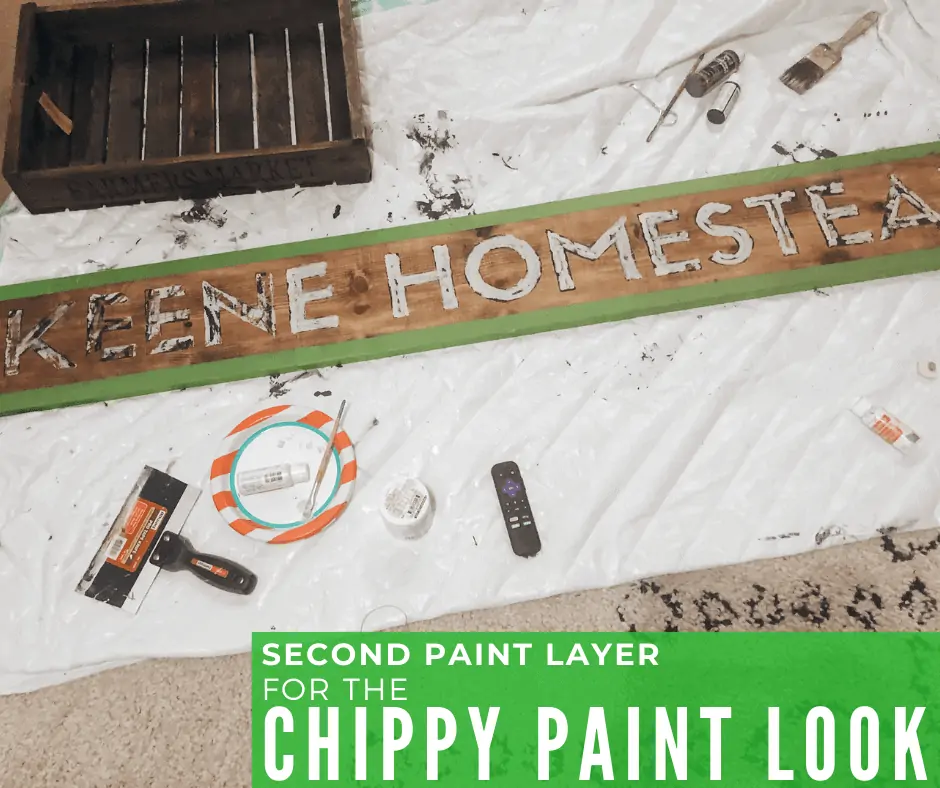
Now, onto chippy painting on your wood sign. The first step of chippy painting the letters onto the sign is using the base paint color first. Chalkboard black paint is my base. I didn’t apply it totally solid because I wanted some wood to show through. To do this, haphazardly push the wax tealights in different areas of the letters before painting on the black paint layer. After the paint dries, then use the putty knife to scrape off the wax and voilà- the paint looks beautifully chipped.
You can see how the first letters look after scraping, and the last letters before scraping above.
Step 2 of the chippy paint technique is adding the second color. Same process here, use the wax to make marks on the letters, then put the white paint on. After it dries scrape it off to reveal the final chippy paint look!
Where to Hang DIY Wood Sign
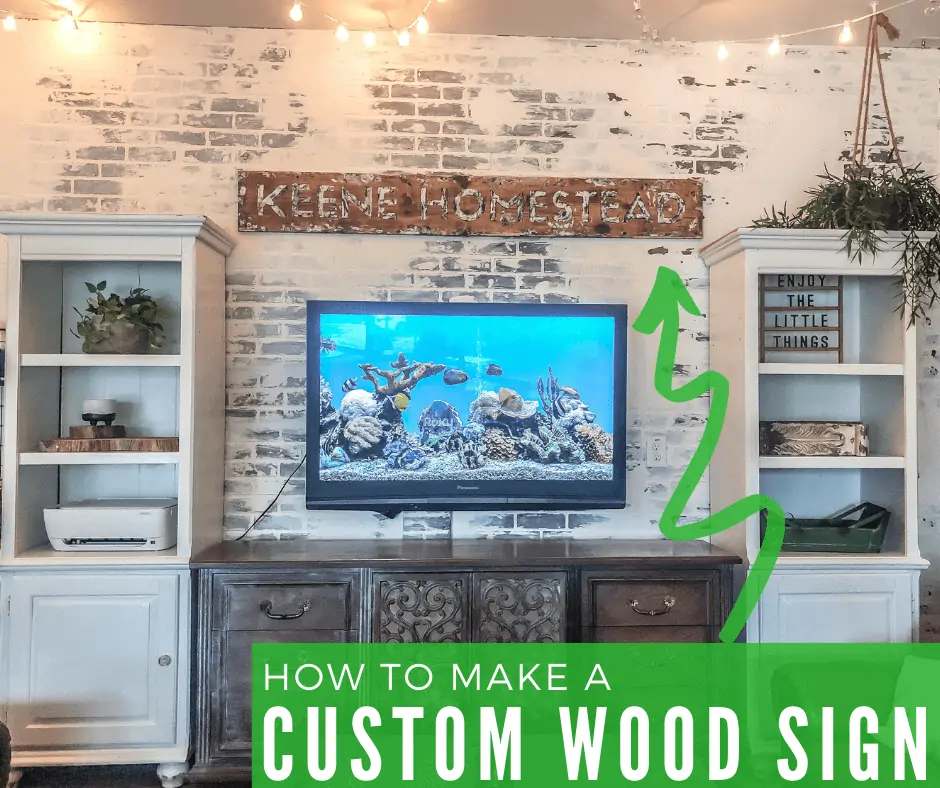
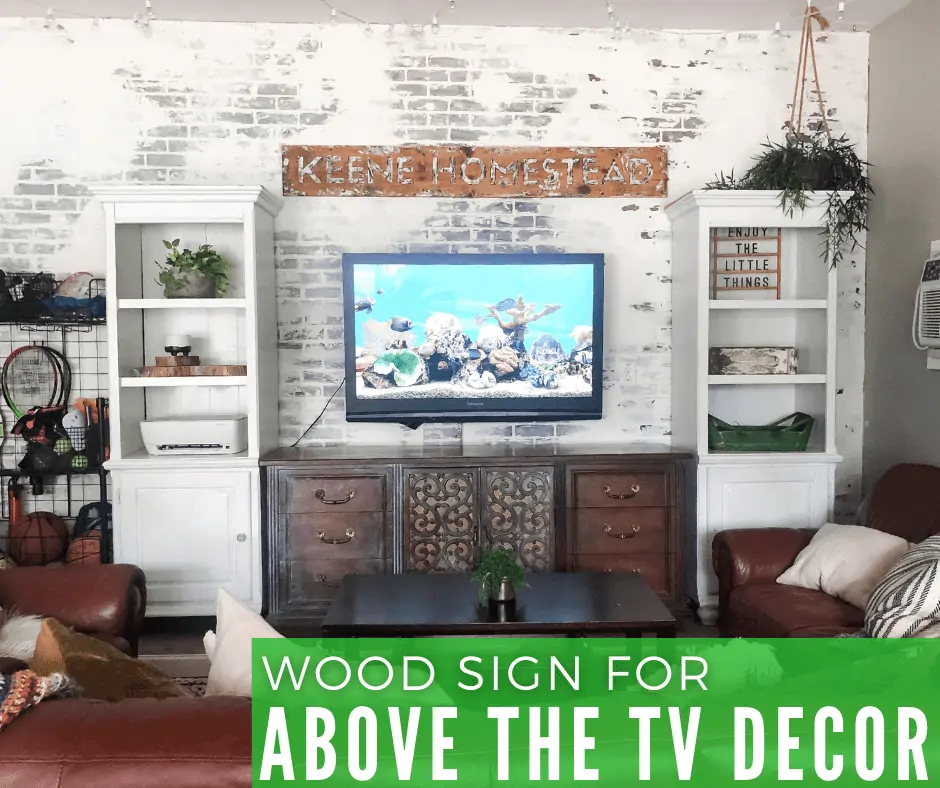
I love decor pieces that can have many different homes throughout their lives. This wood sign has been a great shape and size to make an impact in our living room first, and now in our garage-turned-hangout-space! Its long thin shape was perfect for the space above the windows in our living room. Now it has moved to the space above our TV in our garage hangout.
Now that you know how to make a wood sign… its time to get to work!








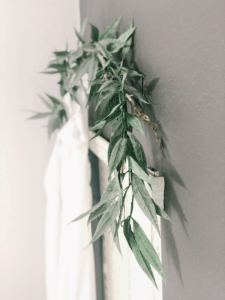


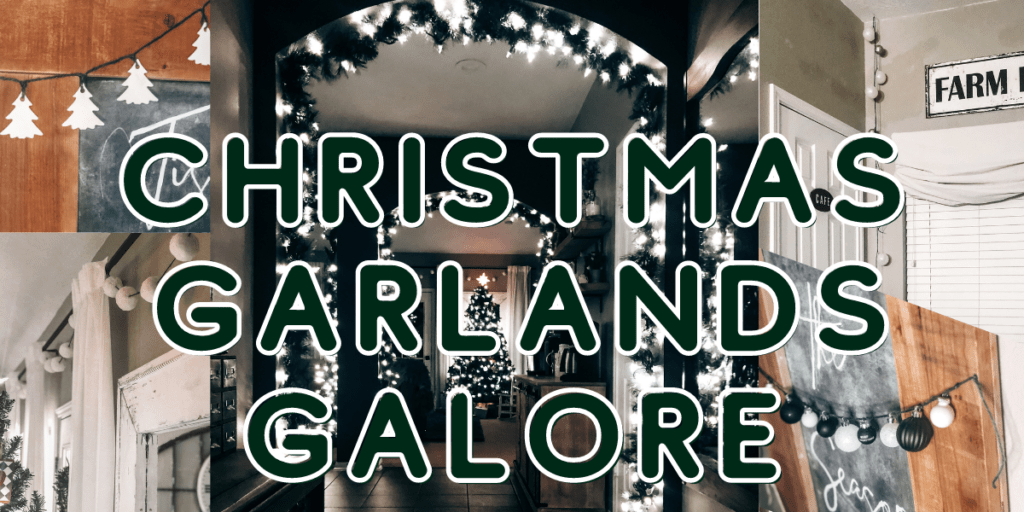

 I draped mine over our curtain rod. Note to self for next year- attach them to the curtain rod MOUNTS rather than the curtain rod so I don’t have to pull out the ladder and adjust them after we actually use our curtains. Got to keep things functional & it will look exactly the same!

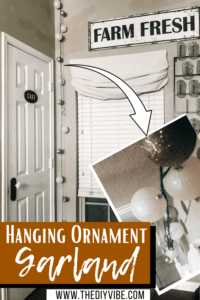
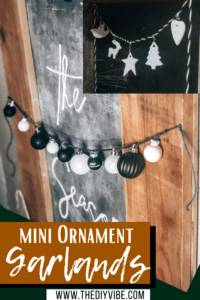
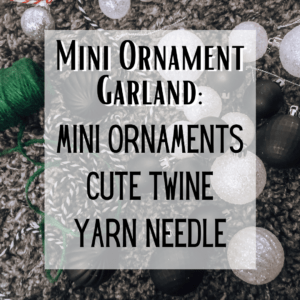
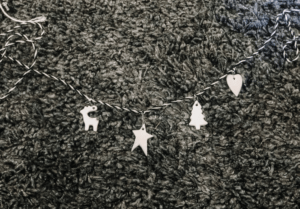
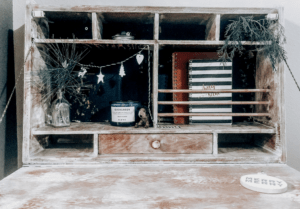 I hung some of my black and white mini ornament garlands from the
 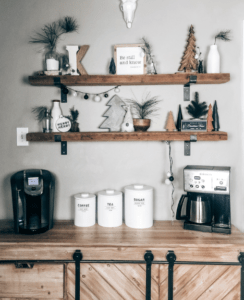 DIY Christmas Garland #5: Garlands Made From Any and All Leftover Christmas Decor


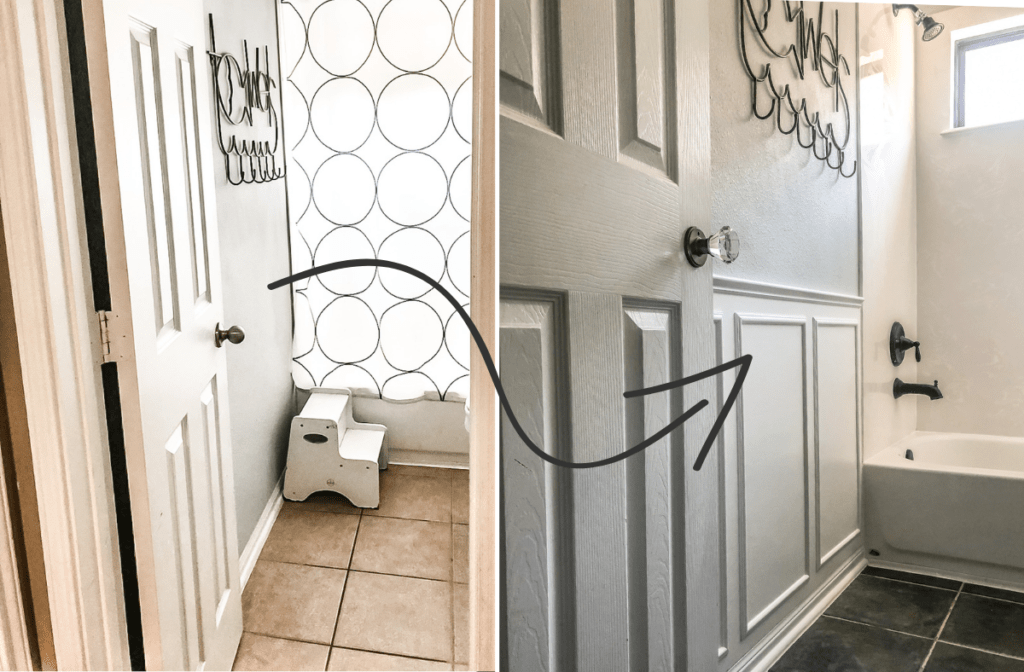
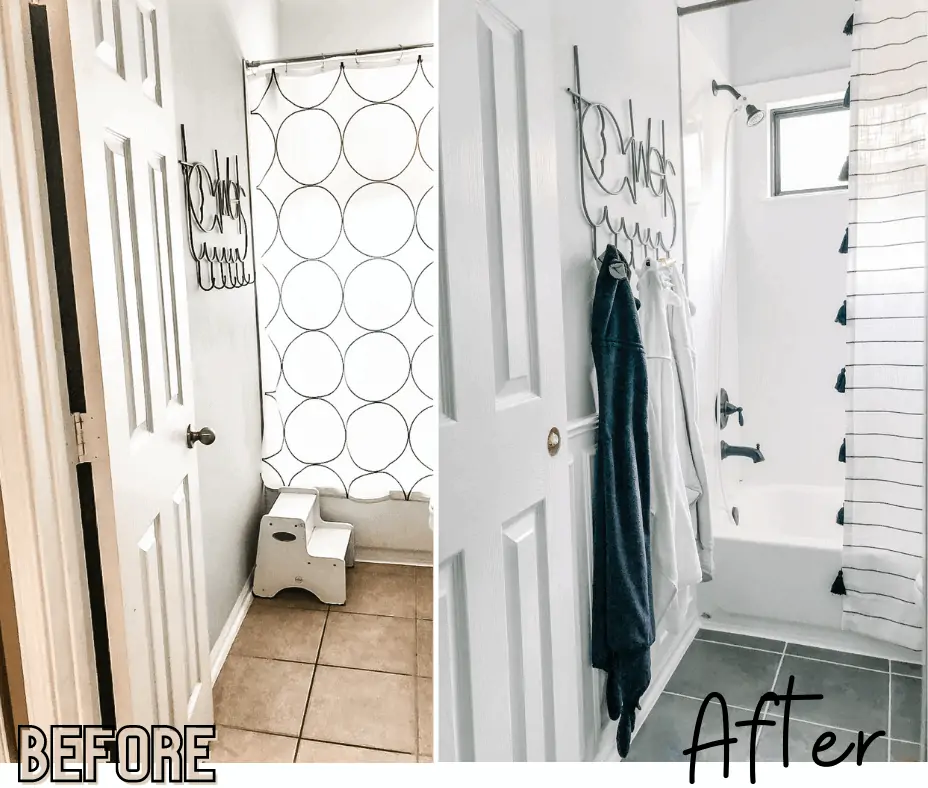
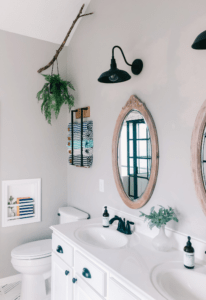
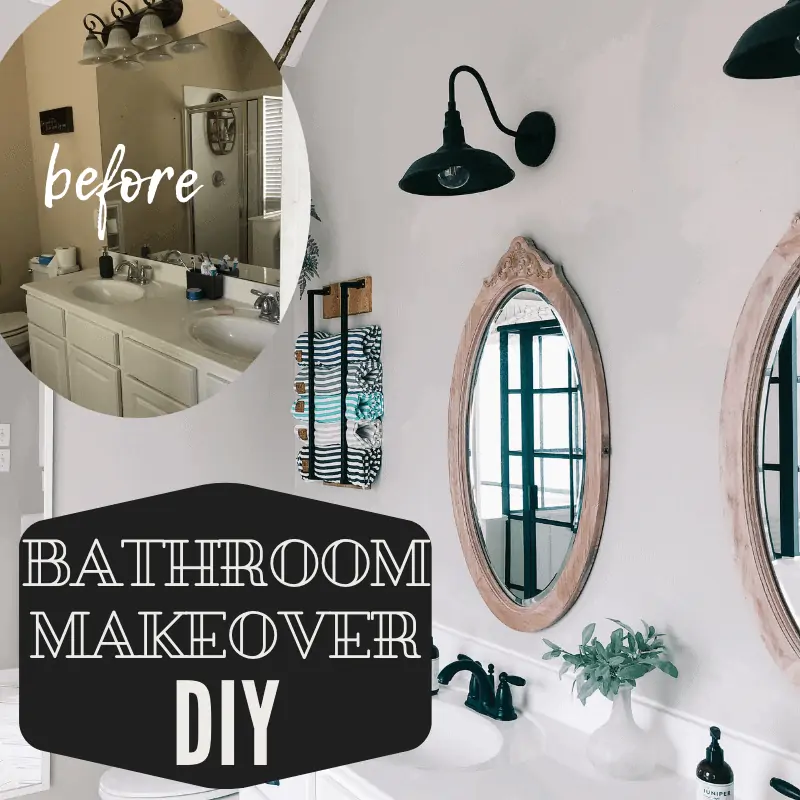
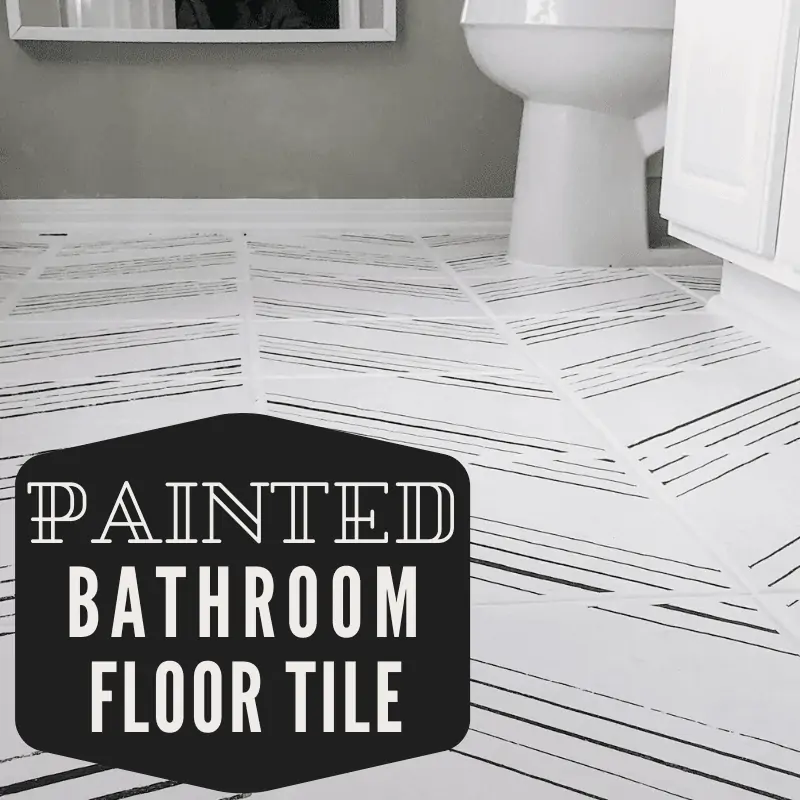
 Our Small Bathroom Makeover, on a budget, all started with a crack in the bathtub… We needed a new tub. My Pinterest dreams, of a freestanding tub, and new shower, and new tile, started wildly dancing in my head…