What is the best way to store scarves?
This DIY Scarf Hanger is the best way to store scarves because:
- It is stunning
- Easy to hang scarves onto and take scarves off of
- Displays your scarves so you can see each one in your selection
- It is inexpensive and quick to make
This easy-to-make scarf hanger is the perfect addition for your closet.
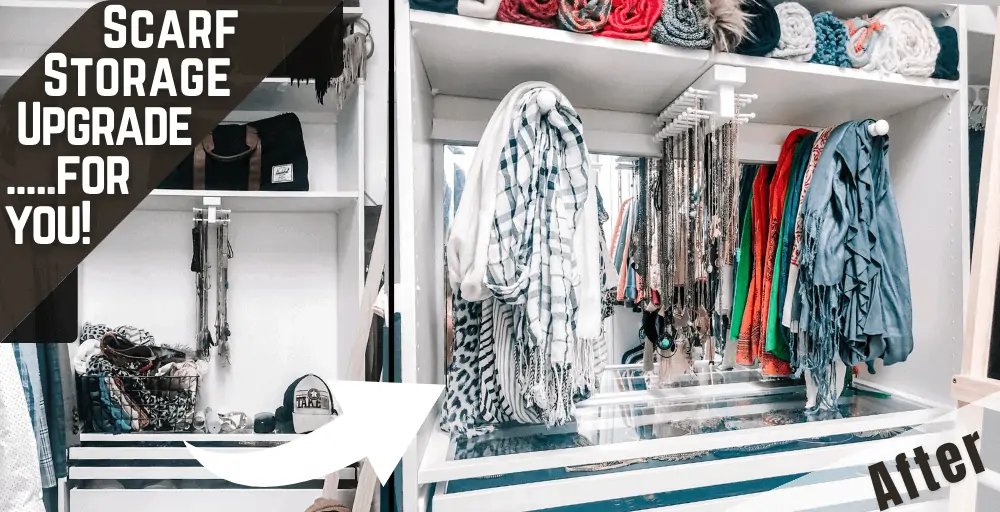
How do you make a Hanger for Scarves?
This hanger is very simple to make and stores so many lightweight scarves. It is wall-mountable so it can be attached anywhere in your closet. It is easy to get the scarves on and off. The scarves are displayed like you are choosing one inside your favorite department store.
Scarf Hanger Supplies:
- Piece of 2”x2” wood
- Round dowel rods 7/8″ diameter (I got 1 rod and cut it in half)
- Construction Glue
- Screws
Tools Needed:
- Stud Finder
- Level
- Drill w 7/8″ Paddle Drillbit– (same size as your dowels)
Optional Supplies:
- Wood Putty
- Paint
- Wooden Knobs for the ends of the dowels
Free Scarf Hanger Tutorial:
- Cut the 2×2 piece of wood to fit in your desired location. I just use my plastic miter box and handsaw for this. I wanted ours to fit between the sides of the Ikea Pax Unit we hacked for this closet.
- Check where the studs are and mark them on the drywall and the 2×2 wood piece. Then you will know not to block those areas with the dowels so it will be super secure attached into studs.
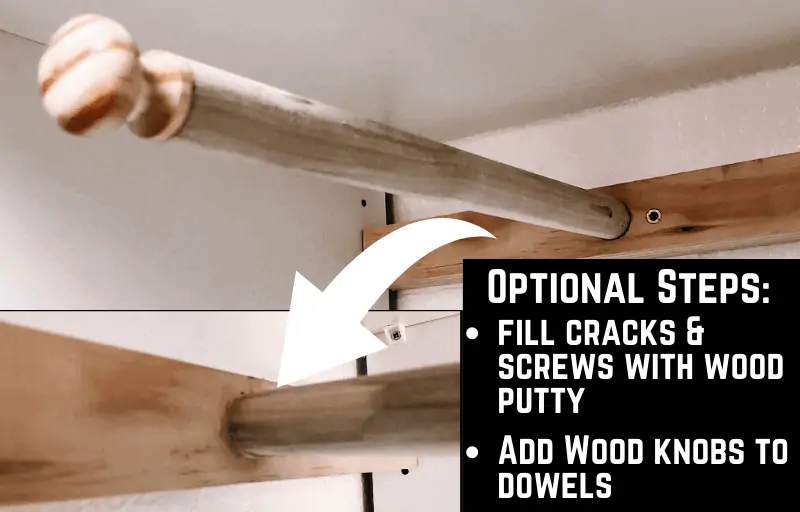
- Decide where you want the dowels to protrude & mark those places on the 2×2 piece. Using the paddle drillbit drill a hole almost all the way through the 2×2. Make sure your wood dowel fits nicely inside the holes.
- Fill the holes with glue and put your wood dowels into the holes. Make sure the dowels are straight as the glue dries. One of mine seamed to be sticking up higher than the other so I weighed that dowel down as the glue dried. (Optional Support Step: I also drilled small holes & put small flush-head screws into the back of the 2×2. These small screws hold the dowels in place with additional strength. Although, I don’t think this step is necessary- especially for very lightweight scarves.)
- If you want to add wooden knobs to the ends (for decorative purposes) it’s easier to do that before mounting it on the wall. I went to Ace Hardware and bought 2 tiny dowel screws to attach the knobs to the ends of the dowels. I also added glue in between for good measure.
- After the Scarf Hanger is assembled you can mount it on the wall. Screw it into 2 studs, but remember to pre-drill your holes so you don’t splinter the wood.
Celebrate!
Now your scarf hanger is ready to use, or should you decide to- You can wood putty or caulk, and then paint it!
I painted ours the same color white as the Ikea Pax Unit. It is painful to wait for the paint to dry… because the next step is the most rewarding…
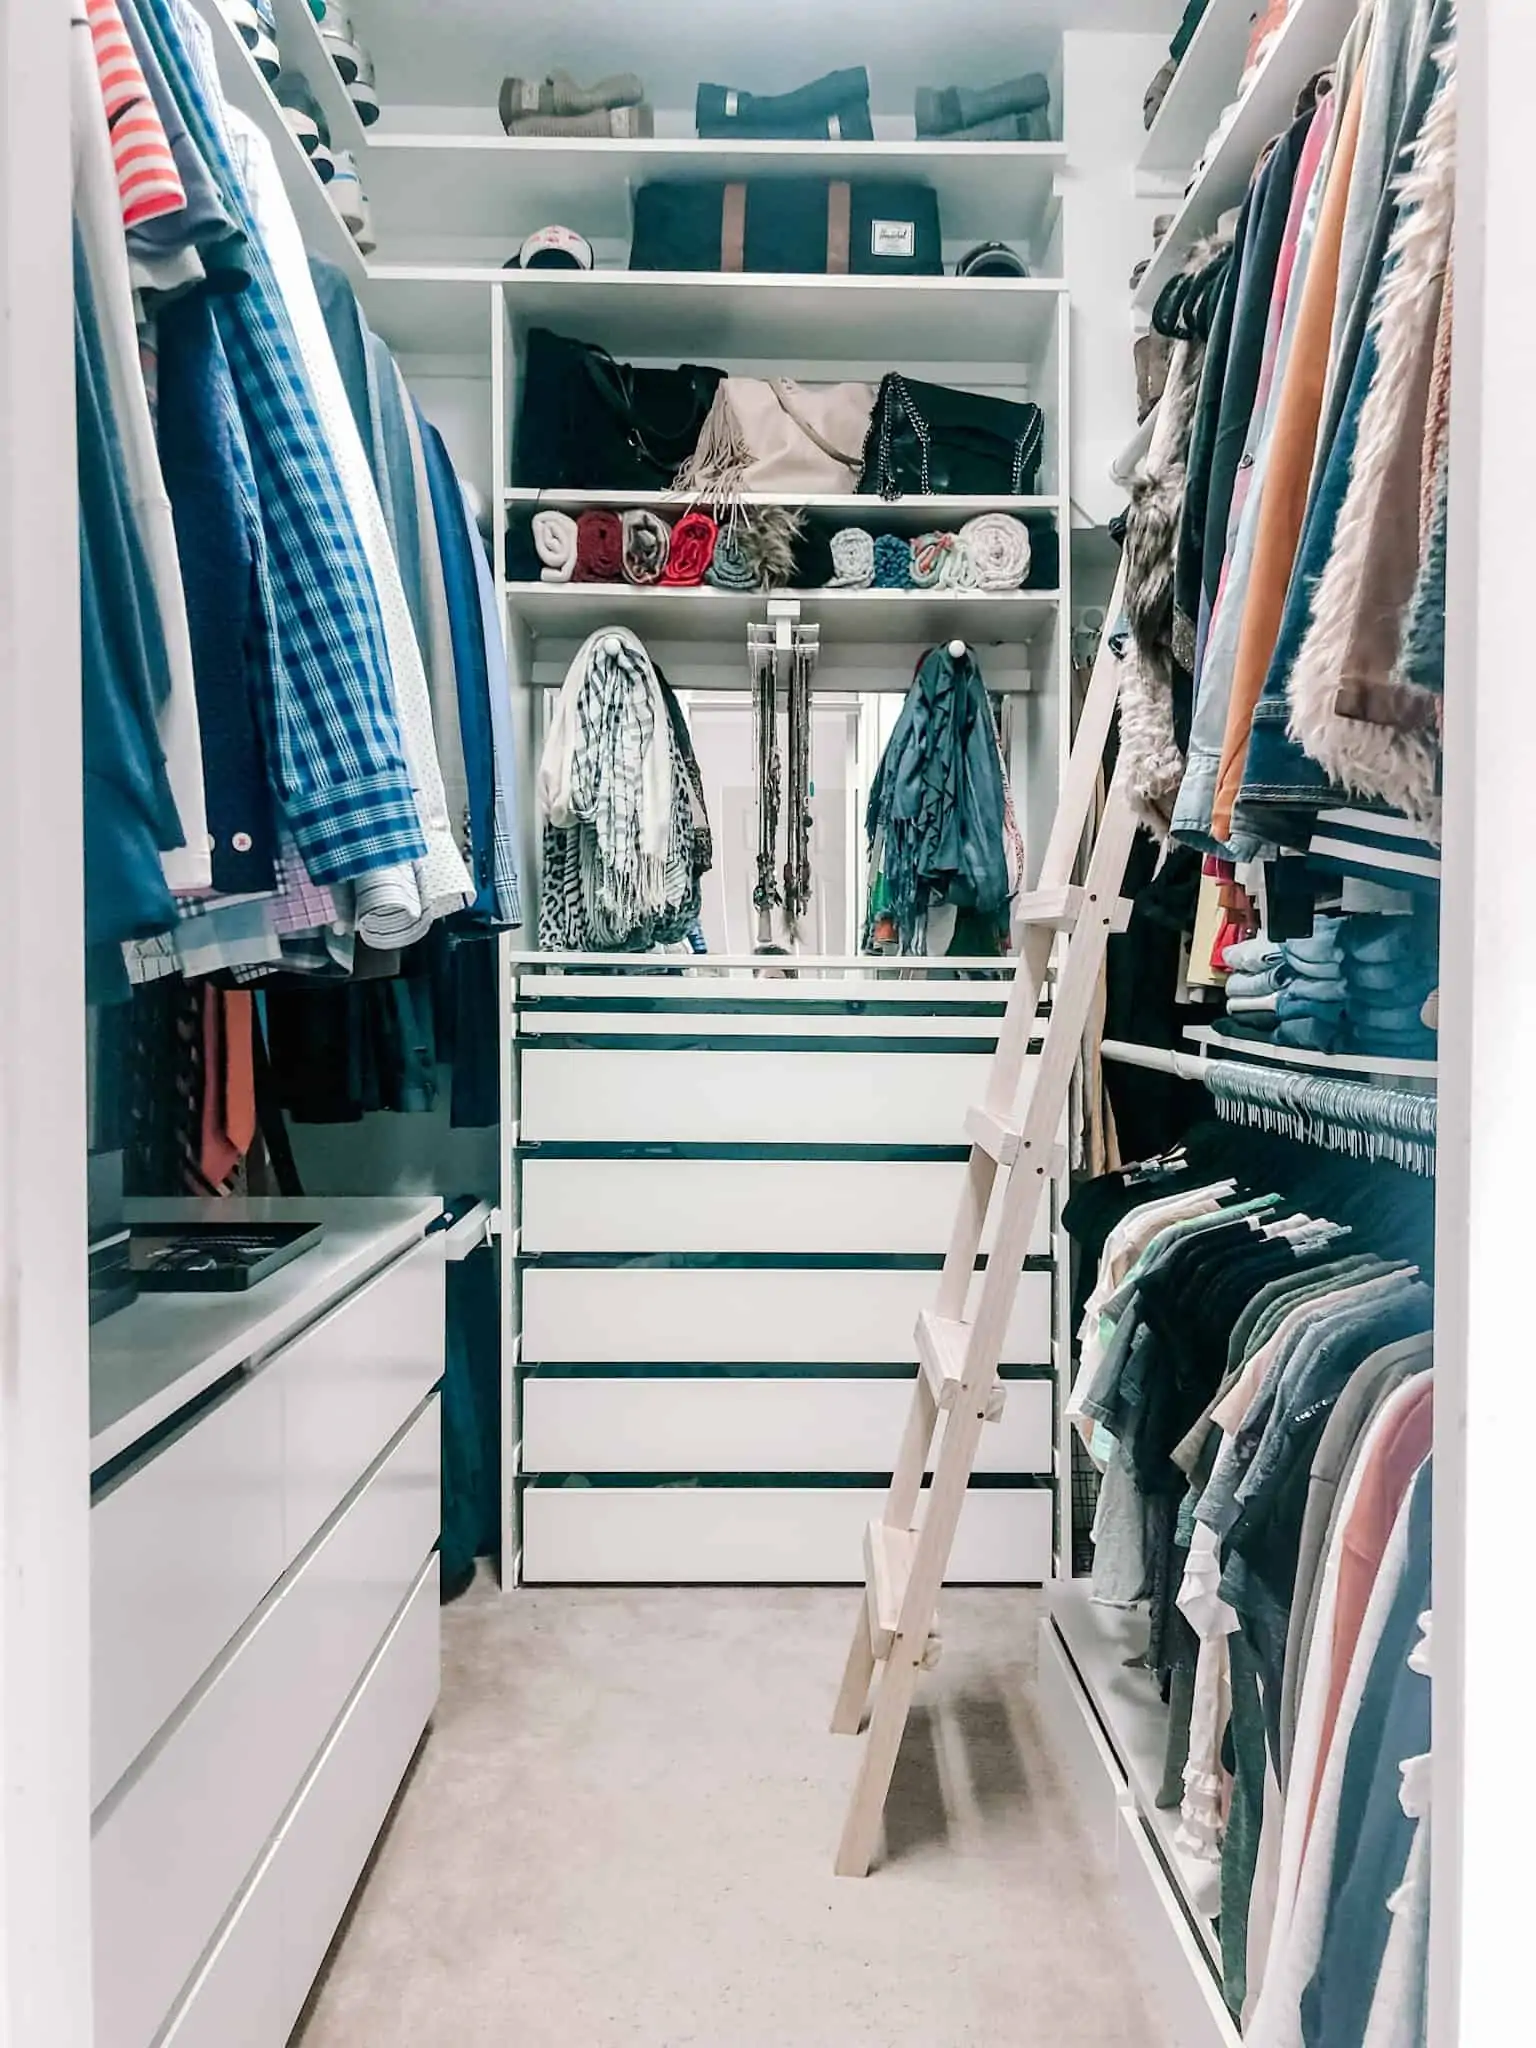
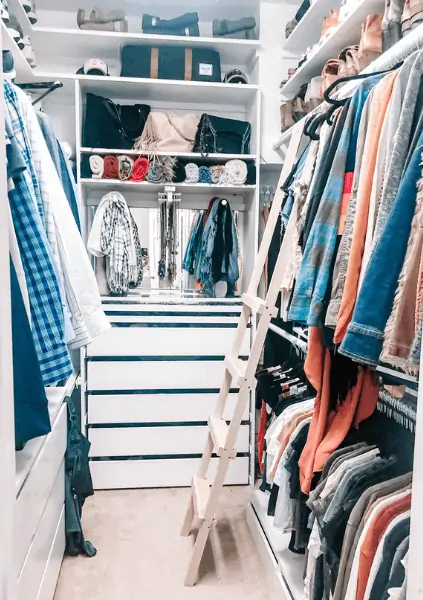
Beautifully drape your scarves over your shiny new Scarf Hanger. Now go ahead & stand back and gaulk! It totally looks like a scarf display you’d see at a high end department store.
Why is this Scarf Hanger the Best way to Store your Scarves?
This scarf hanger looks like decor for your closet! ..But it is also functional, easy to use, and doesn’t take up a lot of space. Now, thats a scarf organizer that checks all the boxes!
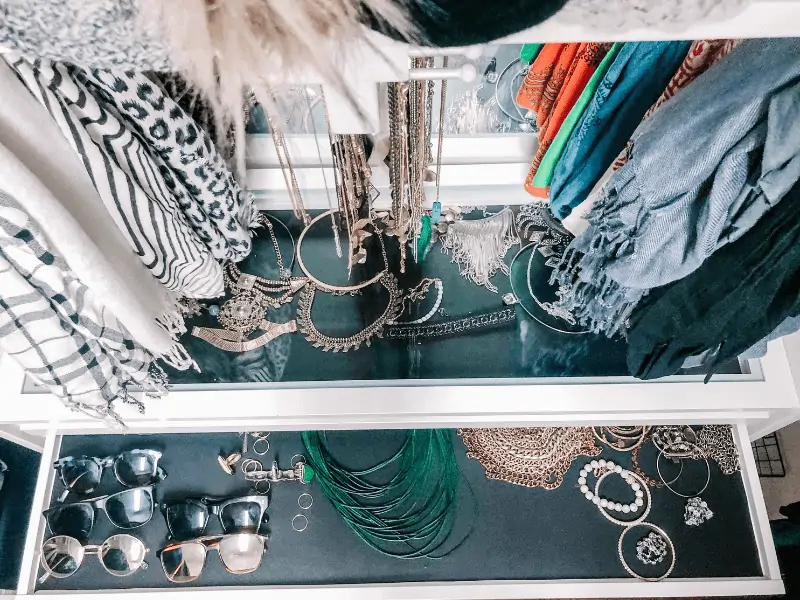
If you’ve found yourself admiring the jewelry organization situation… come back next week and I’ll share all the jewelry organization ideas here!
You can’t grow your closet space, but you can make every inch of it useable! Check out these Genius Closet Organizing Tricks:




 Adding shelves to your closet can make your same amount of closet space more useable. When you have a small closet, maximizing your space will make you feel like you have a bigger closet! Adding DIY closet shelves is a way that you can transform every inch of your closet into useable space!


