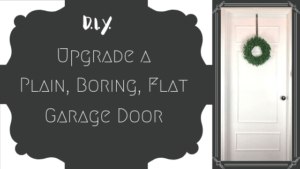
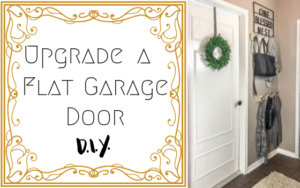
Do you have a flat panel door in your house? Do feel a little distain for its dull appearance when you walk past it? I had an underwhelming basic door leading from the house to the attached garage. But now this same door, has been enhanced with DIY door moulding. It is now my favorite interior door! Never even thought I would have a favorite!
If you have a high quality interior door, but it is as basic as they come.. flat panel.. no need to spend lots of money to replace it with a fancier upgraded door. Just add DIY door moulding to your existing dull door for an instant transformation!
Our interior garage door was definitely a good quality door, but couldn’t look more basic. It was an eyesore that was one of the first things you see because its in the entryway!
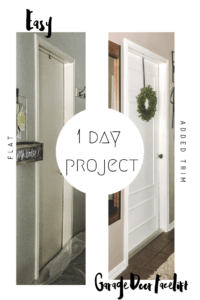
1. Plan DIY Door Moulding
The most brain intensive part is first, ugh. Get ready to dust off the math skills in the back of your brain. You’ll need to measure the door to come up with the measurements for the moulding squares… I didn’t think about how far over the door handle is, so the top and bottom boxes are wider than the middle one on the inside of my door… oooops, but they’re all centered and it ended up looking totally fine despite that brain- hiccup.
2. Cut DIY Door Moulding
Now you know how much moulding you need to get. For the next step you need your moulding, a plastic miter box, and a hand saw to cut each piece the correct size and at a 45 degree angle. Sand away any harsh edges from the saw.
3. Attach DIY Door Moulding
After all your pieces are cut, hold one whole square up there…. refer back to your measurements for the exact spacing and placement. Use a level and painters tape to get them all up there and in the correct placement to make sure it all looks right. After they are all taped up there, you can easily remove one piece at a time to apply gorilla glue to the back and place it back in the exact location it belongs because each piece fits like a puzzle with the others. Keep the painters tape on the front so you can re-secure that to hold it in place while the glue is drying.
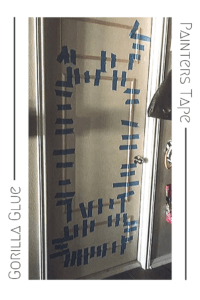
4. Paint the Door
Then I painted the door, with the attached moulding, white. I used the same white semi-gloss paint to match my trim.
DIY Door Moulding Update
I know its always a question when you are deciding to start a project… Will it hold up and be as beautiful for years to come? It has now been 3 years since I did this little upgrade, and it is still looking perfect! I also did the same thing to the other side of the door which is in the garage, not temp regulated, and the gorilla glue has held up perfectly.
Add a Cool Doorknob
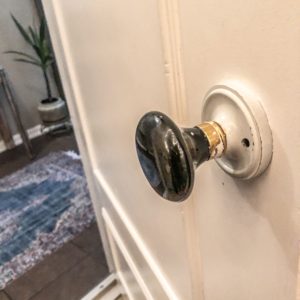
I just recently discovered how enchanting door knobs could be! This door just really needed one as a finishing touch! Black porcelain is what I went with, swoon-worthy!
Add a Wreath
When I finally made the purchase of a dreamy preserved boxwood wreath it turned out being one of my best purchases. It has held up for a LONG time. The only maintenance is to spray it with water every now and then- still looks fresh and alive! I got the cool vintage metal wreath hanger at Target from Hearth and Home.
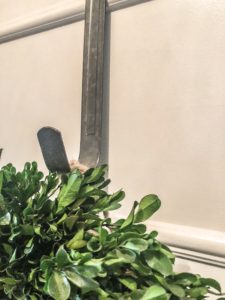
Update on the painted door knob:
I love all the specialty door knobs, crystal handles, porcelain handles… They are an easy way to add a little flair and character to basic builder grade doors. After getting into the door knob shopping game, I was floored that the same black porcelain knob with a shiny gold base was $70 cheaper than if I switched the base color to antique brass or polished nickel.
In an effort to save some $$ and still get the charming look I was going for I thought… no prob I’ll just paint it. I didn’t do any prep work on this one, just taped off the knob and spray painted the base. It has held up at the base that connects to the door, BUT the part near the knob where it turns all the time has worn, still doesn’t look terrible.. But, I WILL discover a more permanent solution to paint this metal part for SURE, and when I do I’ll give you all the details!!!!
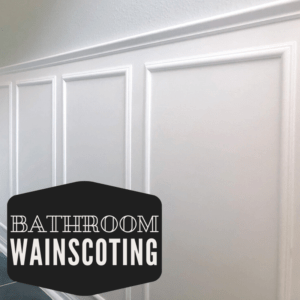
For a Similar DIY Project Check out How to Add DIY Wainscoting to spruce up a plain Jane boring wall.
