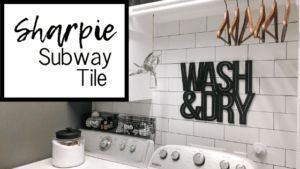
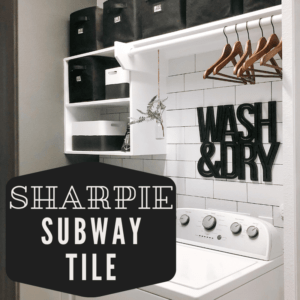
White subway tile is a hot on-trend look in the home decor world. You don’t need to spend a bunch of money to get the clean crisp look of this trend. You can Draw on faux subway tile! It truly is the easiest and most affordable way to add faux subway tile to your home!
Why ‘Sharpie Subway Tile’ is the Superior Faux Subway Tile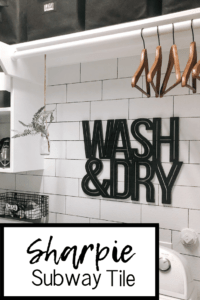
The most obvious way to add subway tile to your home is to actually install subway tile. This is expensive for one, and two, if you want to do it yourself you’ll have to use a wet saw and learn how to cut tile. That is more expertise and work than I’m willing to give to this laundry room wall. There is an easier way!
There are several other options to get faux subway tile: Subway tile wallpaper, subway tile panels, both of which are more expensive and difficult than this faux subway tile method!
Paint on Your Subway Tile
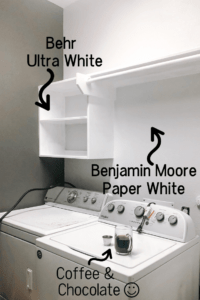
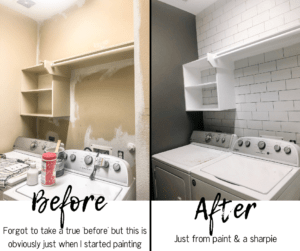
First step to your faux subway tile is to paint the wall the color of your “subway tile”. The color I used for the faux subway tile wall in our laundry room is my new favorite white: ‘Benjamin Moore Paper White’. I love this paint color because it isn’t a blinding white, but it doesn’t have any yellow undertones to it.
Add Grout Lines to Your Faux Subway Tile
Before you add your “grout lines,” you’ll have to decide on the size of subway tile you want for this DIY project. You can browse different installed subway tile pictures online to help you decide what is right for your area. The subway tile size I went with on this wall is 4″x6″.
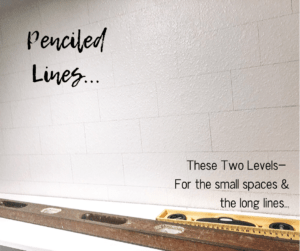
Since I wanted 4″x6″ subway tile, I marked 4″ increments down from the top. I marked the wall on each side and in the middle. Then I used the long level to connect the dots and draw those horizontal lines all the way across the wall.
Be sure to draw out all the “grout lines” with pencil first. Then any mistakes won’t be in permanent marker. I used 2 different sized levels. The smaller one to fit into the smaller spaces and a huge one to make the longer lines.
To make the vertical lines I marked at 6″ over from the edge. Then I staggered the next row, and the next row. The 4th row is the same as the 1st row. The 5th row is the same as the 2nd row, the 6th row is the same pattern as the 3rd row… and so on, all the way down. This whole process went so much quicker than it sounds!
After all the math & level work is done… you can put on a podcast, zone out, and just trace those lines with a sharpie and a level. The “grout” lines are the traditional size black sharpie marker, and thats it!
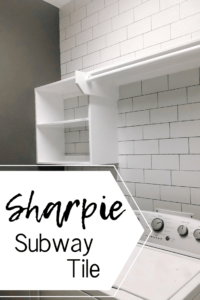
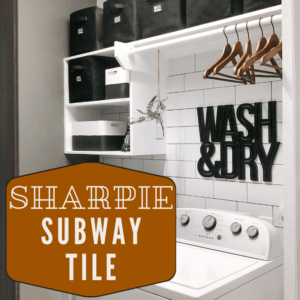
Voila Faux Subway Tile:
So pretty, so easy, so inexpensive and what a drastic change to get from just paint & a sharpie!
You could use this faux subway tile to make a transformative impact in other places besides the laundry room. You could use it to create faux subway tile backsplash. I also have used it to spruce up the inside of our pantry.
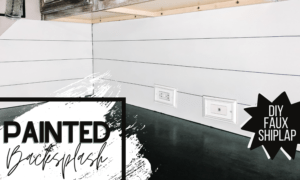
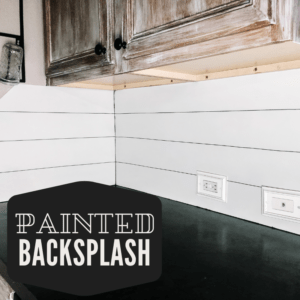
Another painted backsplash alternative is Painted Shiplap Backsplash. I’ve got the whole process detailed from when we Revived our Kitchen with painted backsplash!
I will post more about the organization-side of the whole Laundry Room redecoration and transformation. I learned some tricks for “staging” that is actually functional & beautiful! Because who doesn’t love a beautiful space, even (or especially) for the dingy old laundry room.














Gorgeous! If you do this in a kitchen or bathroom how can you ensure its waterproof?
A sharpie paint pen would be waterproof because it is paint. I’ve worked with them before, they just take some finesse to get the paint to flow evenly… sometimes it will come out in gobs and then not at all. But after you practice with it, you’ll get the right touch!