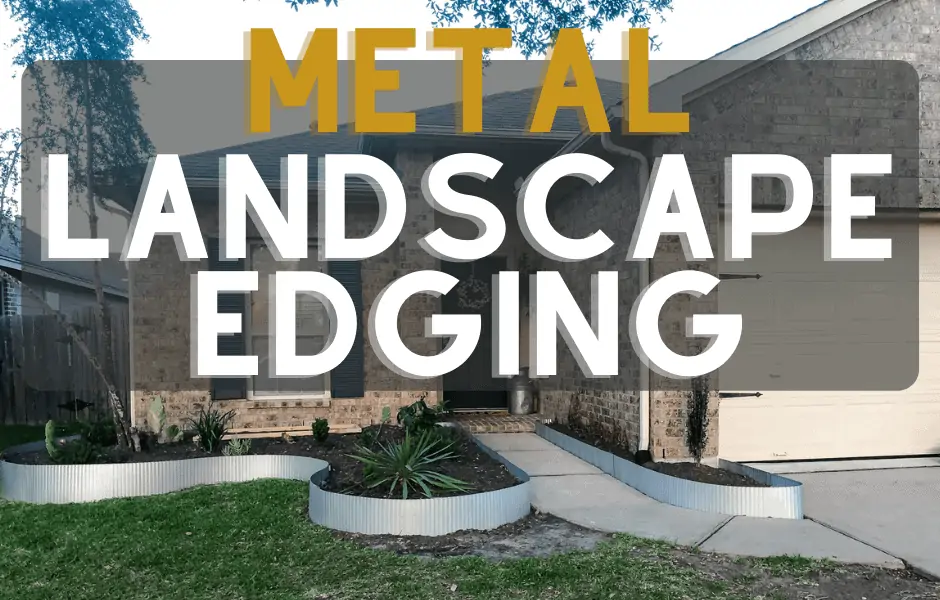
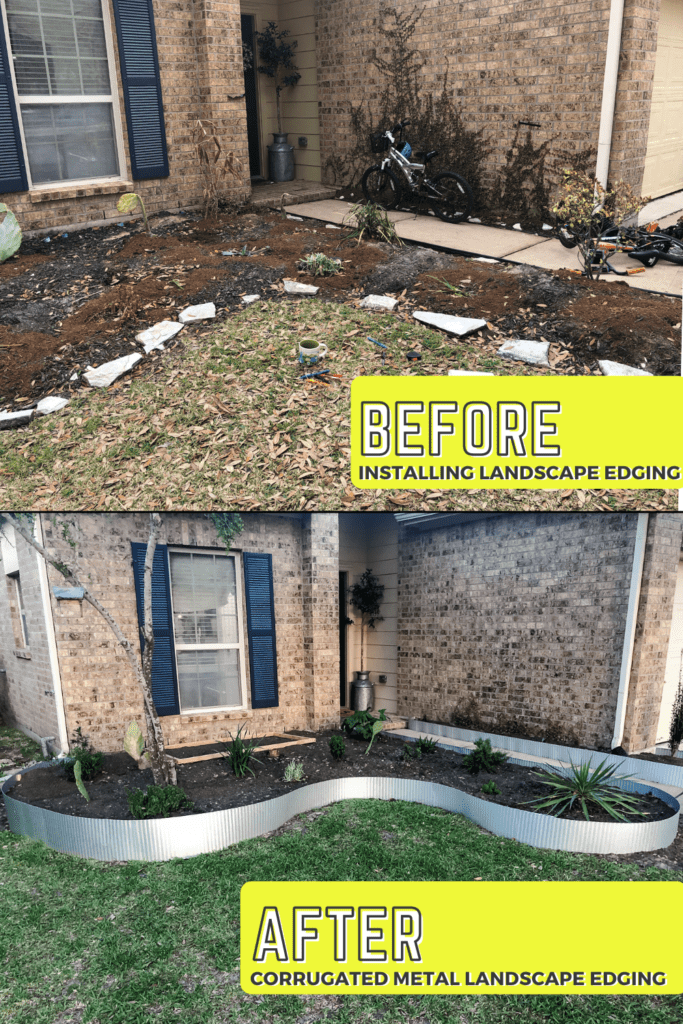
We discovered this metal landscape edging after scouring the internet for the best budget-friendly landscape border.
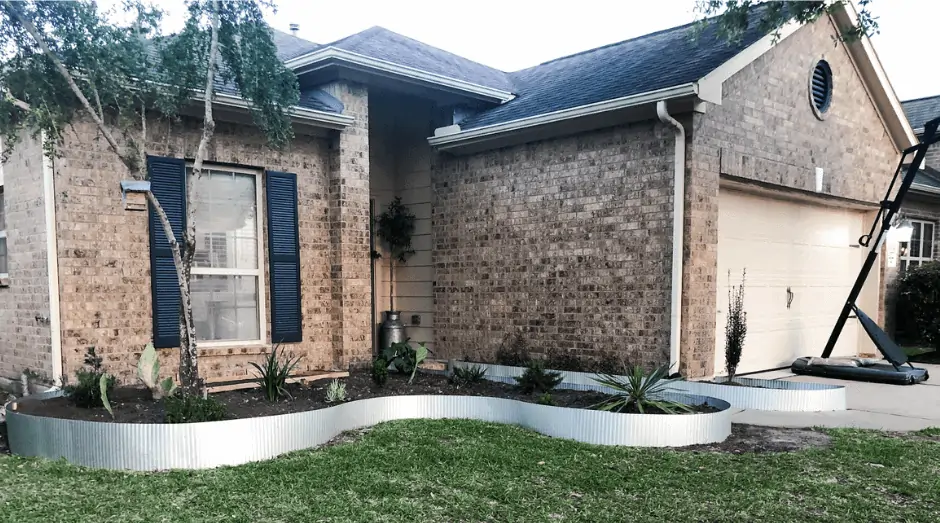
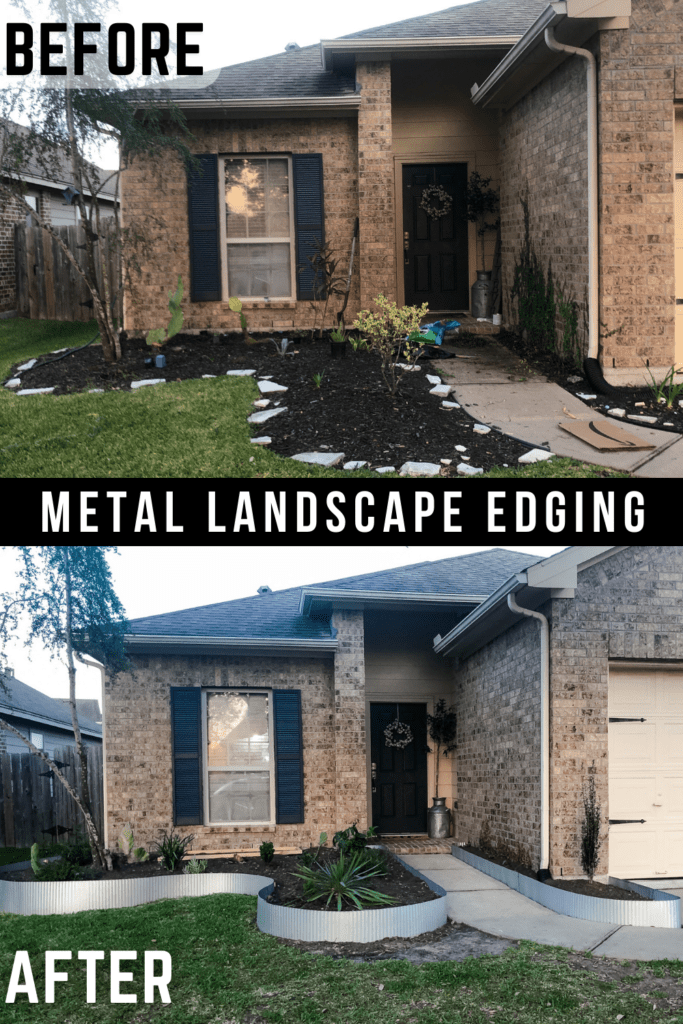
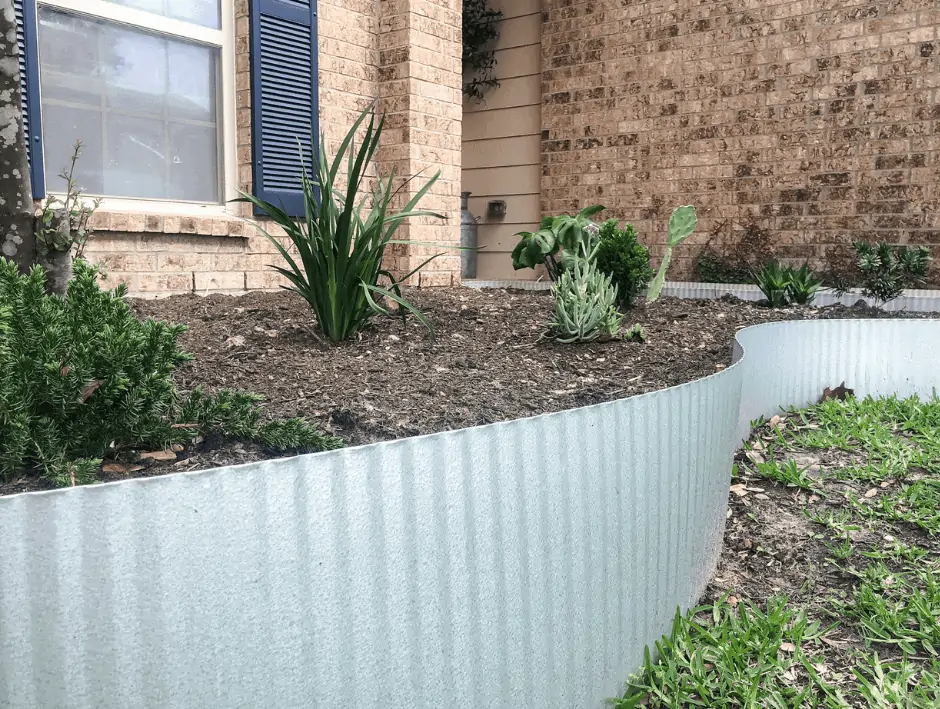
After tons of research on different landscape edging I decided on 12″ Tall Dakota Tin Corrugated Metal Garden Edging. I like it because it gives a unique look, is much more inexpensive than rock, and is relatively easy to install.
Metal Landscape Edging Step #1 Pound Stakes Along Edging Perimeter
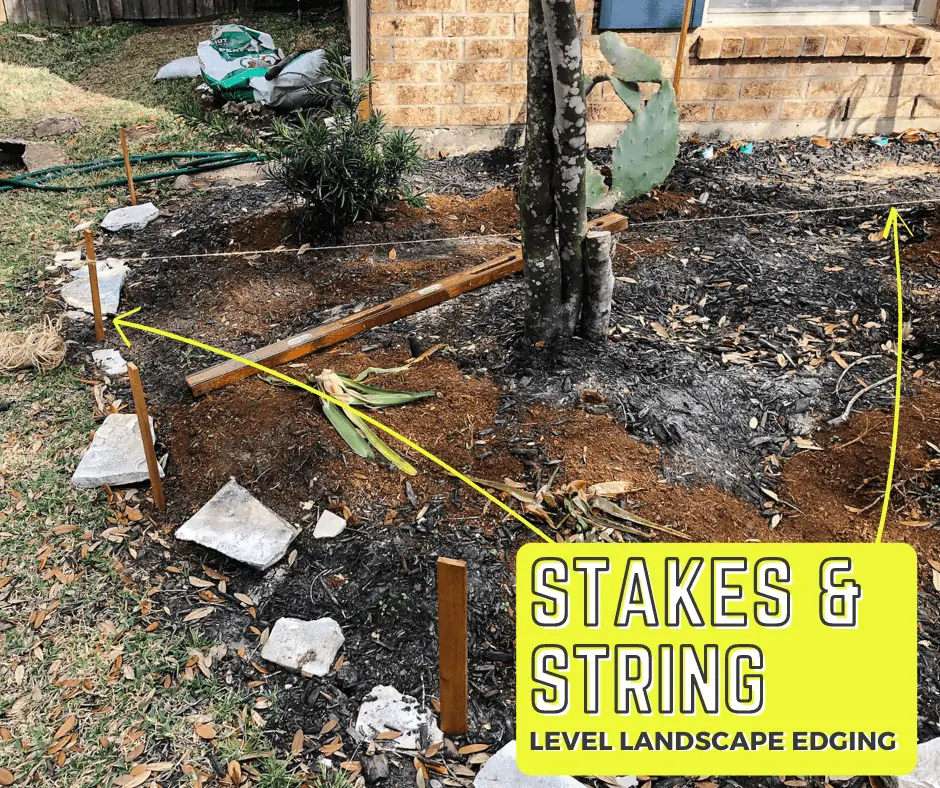
First, mark along the edges of where you want the metal landscape edging to go with landscape stakes. The stakes will help you picture the edging so you can make any adjustments to the shape/area to be edged. The cool thing with this metal border is that it curves really nicely, so you can have a really organic, flowing, curved outline to the garden bed.
Metal Landscape Edging Step #2 Find Level Height with String
Then we will use the landscape stakes to see the height of edging needed in the different areas where the ground around the garden bed may be higher or lower. Attach string to the stake at the height you want your edging and then pull it accross to another stake on the opposite side and use your level to get it level and then tie it. After doing that process to a few of the stakes you will be able to measure the height of metal border needed along the perimeter.
Step #3 Measure Height & Length of Metal Landscape Edging Required
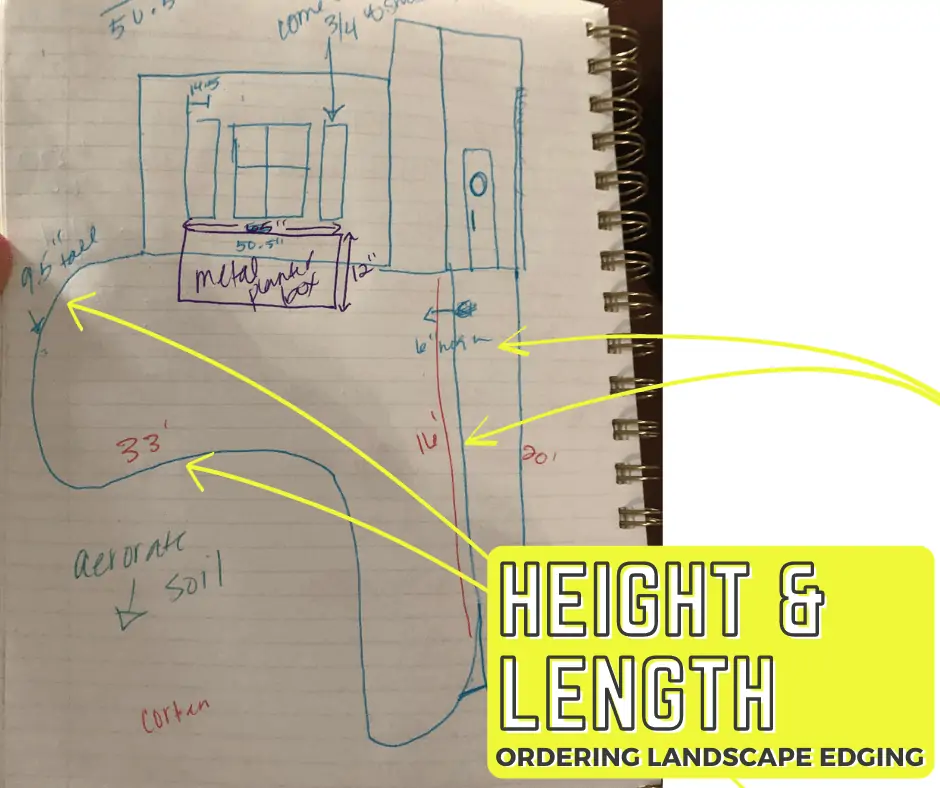
I like to draw a sketch and then take your measurements. Now we have the amount we need to order.
Step #4 Order the Metal Landscape Edging
Order, this Dakota Tin Landscape Edging in 10 inch or 4 inch height. It also comes in 3 different colors. I ordered all 10 inch in the Galvalume finish.
Step #5 Shovel Cut/Dig Where Edging Will Go
In places where the edging will only be a bit under ground you can just cut the soil with a shovel. Push/Pull the handle of the shovel forward and backward to make the “cut” or trench a little wider.
If the shovel hits something (a root/rock/or hidden treasure) dig the trench out to remove the blockage.
Step #6 Place Edging- Checking with Level as You Go
You can gently pound the edging by placing a piece of scrap wood on the top edge of the edging and then hammer onto the wood. You don’t want to do this step without doing the previous step, dispite what you see online, because I did and if you encounter a rock or root, your edging will get mangled from trying to pound it into something it can’t move through. Figured that one out by experience;)
Step #7 OverLap at Seams
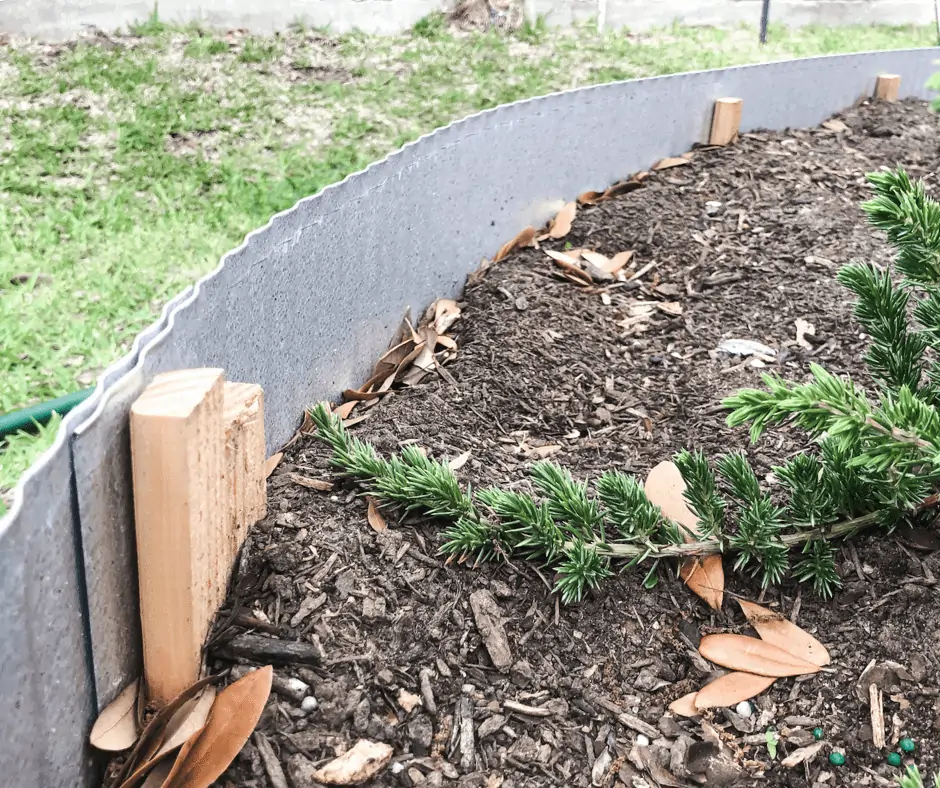
You’ll want to be sure to overlap the edging at the seams. If it isn’t at least 1/3 underground, secure the seam by screwing it into a landscape stake. Drill with a drillbit meant for metal, screw in a screw meant for metal.
Step #8 Stabilize Edging into Stakes Where Needed
Screw Edging into Stakes anywhere it’s not Stabilized into the Ground.
Step #9 Fill with Garden Soil
I learned how inexpensive it is to have garden dirt delivered by the ton, rather than buying it bag by bag. They just dropped it onto the driveway and I shoveled it into buckets and dumped it into the garden bed. “Free workout” included there!
Step #10 Plant Plants
I got to choose some plants to go into the raised beds. I’m a gardening novice and learned a trick for planting new plants that has worked so well: When planting new plants, dip the dirt/roots/base into a mixture of root stimulator and water and then place it into the prepared hole.
Power Wash Sidewalk
There was no way to do this job without getting the freshly powerwashed sidewalk filthy again. My hubby power washed it for me again, what a guy, huh?!
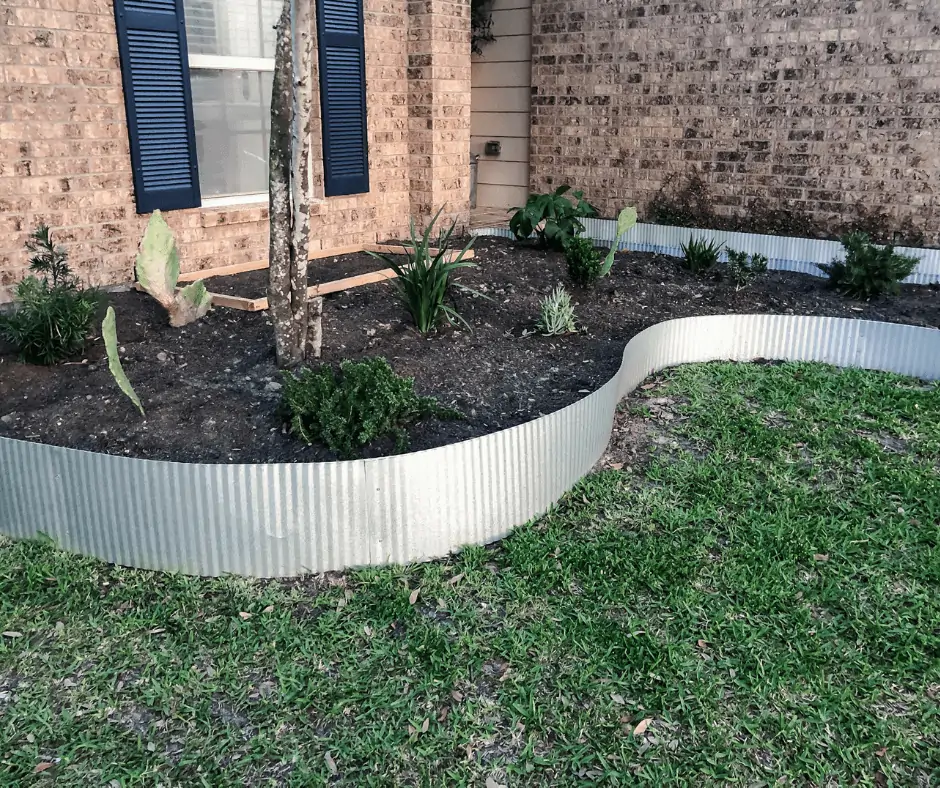
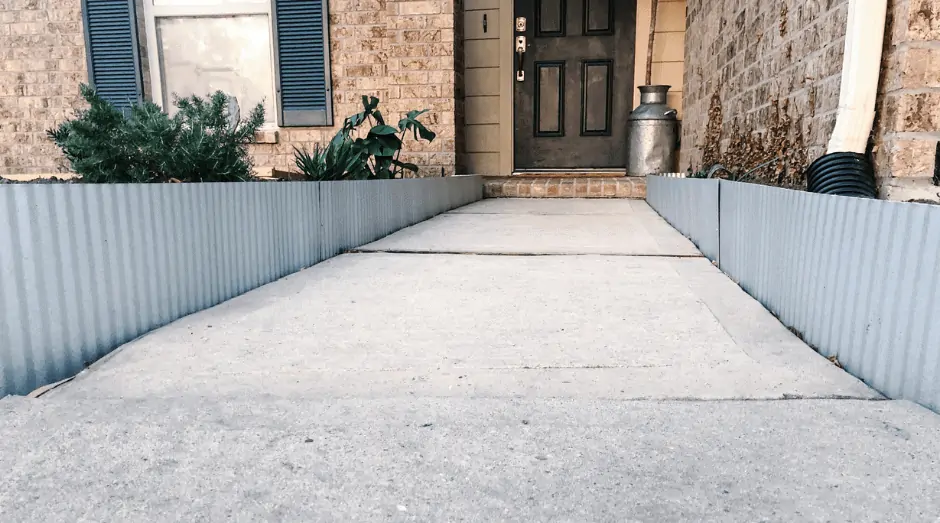
This is where I am at right now with the front yard landscaping. I still have a few future projects planned- Maybe mulch for the garden beds? I also will put sand in the cracks between the corrugated metal edging and the walkway to prevent leaves from getting stuck in there. I’m planning on building a cedar garden box for under that front window. I want to do something cute and simple on the covered stoop too, but I’m not sure what yet. I’ll be sure to update you with future DIY’s as the curb appeal continues to progress!
This is where I am right now with ‘Operation Curb Appeal’. Here are a few more ideas for the future to add a little more oomph to the front yard landscape.
- Fill the cracks along the walkway with sand so that leaves, etc don’t get caught in the cracks between the walkway and the corrugated edging.
- Add Cedar Mulch to the garden beds
- Possibly a cedar window box for trailing plants under the front window?
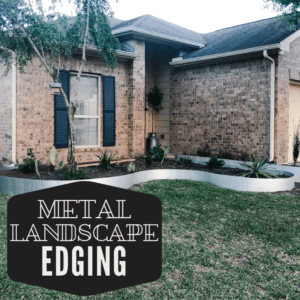
So rewarding to soak in all the good DIY Vibes while looking at this stunning metal edging!














Leave a Reply