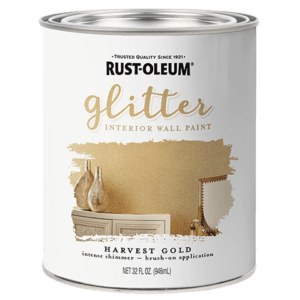
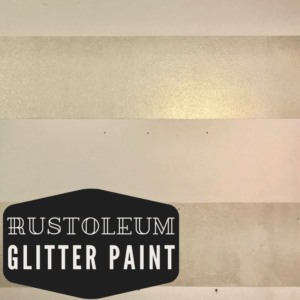
Glitter and Gold is what makes little girls’ bedrooms shine! To add some magic to my girls’ bedroom I got this Rustoleum Glitter Paint in Harvest Gold.
Prior to applying it, I scoured the internet for Rustoleum glitter paint reviews and application information- and couldn’t find anything! So, I thought it would be helpful to put an honest review out there and some helpful tips I learned about applying Rustoleum glitter paint to get a nice even finish, rather than a splotchy-looking wall. So if you are about to use Rustoleum glitter paint for the first time, check out the pros and cons in my honest review as well as the application tips!
Rustoleum Glitter Paint Review
CONS of Rustoleum Glitter Paint: First of all it is not opaque. You can see through the paint so well that if you have pencil marks on the wall you will see them through the paint. It definitely has a learning curve. This paint must be applied evenly or it will appear blotchy.
PROS: It boasts a beautiful shimmery finish. It adds a fun element to a kid’s room without a whole lot of
work or $ (unless you are planning on painting the whole room!).

What to know BEFORE you begin:
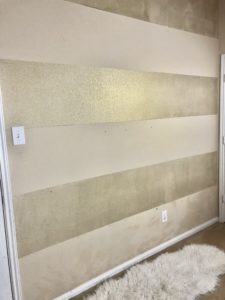
After applying Rustoleum glitter paint on the first stripe at the top of the wall, I discovered a lot about this paint. It is see-through. You will want to be sure that you are applying the glitter paint over a solid paint job. Also, the glitter paint does not go on evenly without some concentration & effort. After getting a splotchy looking top stripe, I figured out how to apply it evenly. After using these application tips on the remainder of the stripes I got a beautiful even coverage!
Application Tips for Rustoleum Glitter Paint
Here is everything you need to know to get a beautiful even coverage with Rustoleum Glitter Wall Paint. I used a 9 1/2″ nap roller as recommended on the paint can and one quart of the Harvest Gold Rustoleum Glitter Paint for the gold glitter stripes in our girls’ room.
First, put a small amount of the glitter paint in the paint tray- but evenly all the way across. After getting some paint on the roller, roll the paint roller back and forth on the top part of the tray about 20 times to get the paint evenly distributed throughout the roller (evenly from end to end and all the way around).
Then apply a thin layer of paint across the whole stripe, being careful not to overlap strokes. I worked rather quickly so that after the entire stripe was covered, I could go back and forth long-wise with the roller (without paint on it) to give it the final smoothing-out while its all still wet.
The other tricky part was the edging. But, I discovered a foam brush is the best tool for the corners and ceiling edges. I first tried using a stiff bristled paint brush, like I normal use to edge paint, and it did not apply the glitter paint evenly at all. The areas I applied the glitter paint with the paint brush looked much different than where I applied it with the paint roller. So, for the edges, get as close as possible with the roller, and then use a foam brush for the small edges by the ceiling and edge of the wall. This will give you the most even finish.
Rustoleum Glitter Paint on Walls
I love the light airy finish of Rustoleum glitter paint on the wall. It has a subtle shimmer to it. Overall, it made a dull wall come to life! And, if I had known the above before I started my top stripe wouldn’t be splotchy, but now we all know!
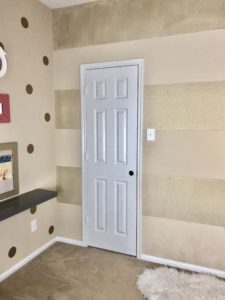
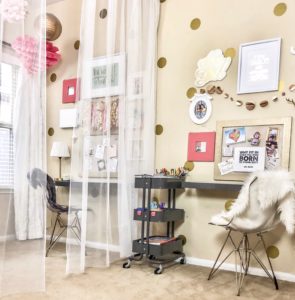
This plain jane beige wall used to be an eyesore, but now its my favorite part of their room! Plus, after putting polka dots on the adjoining wall using wall decals, we’ve got polka dots + stripes in there…. swoon-worthy!
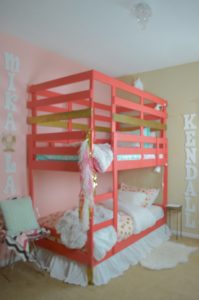
Our girls’ shared room has been one of my favorite places to do DIY home projects! Since it is a small room, we made them a Custom Bunk Bed out of the Pine Ikea Mydal Bunk Bed.
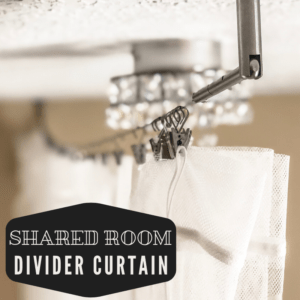
We also hung a Shared Bedroom Curtain Divider from the ceiling using white tulle curtains from IKEA with their Dignitet Curtain Wire.
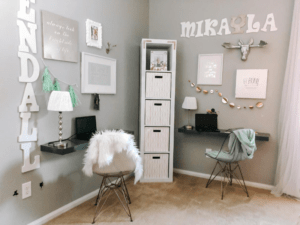
We added floating shelf desks as well- You can see more pictures and read more about those in this post, 4 Innovative Desk Ideas for Small Spaces.































I love this!! I’ve been searching the internet.. did u put gold paint down before u used the gold glitter?
Nope, I didn’t put gold paint down, it is just over the beige paint 🙂
Any idea what color beige you used? I love it!
Thank you!! It was the builder beige that was in the whole house when we moved in- even the ceilings and the trim and the doors– eek! I don’t know the paint color though!
Thank you so much!! The beige is just a builder-beige that was there when we moved in. The walls, baseboards, ceiling, and doors were actually all the same beige… ahhhhh! Lots of painting to get rid of most of it, but it worked so well in this room- for beige strips, and for underneath the glitter paint.
When you finished and it the paint had dried was the wall smooth to the touch? If not was the gliter sharp if you ran your hand over it?
Hi! We have orange peel textured walls so they aren’t smooth to begin with.. The glitter paint has a sort of texture feel compared to the stripes with the regular paint, but it certainly is not sharp. Hope that is helpful 🙂