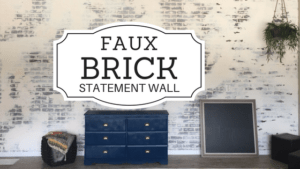
Inexpensive Faux Brick Wall Panels
The Faux brick panels from Lowe’s are the way to go! They are 4’x8′ each and under $50/panel. Hauling them is the hardest part of the whole project. These wall panels are large and a bit heavy. But rest assured, it’ll be well worth the effort!
How to Hang the Faux Exposed Brick Panels
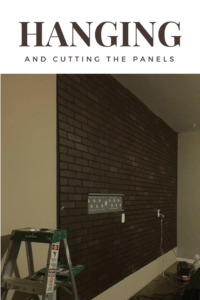
Mark where the outlets are on the panels. Place the ladder in between the panel and the wall for support and jigsaw your hole. Then finish securing the panel to the wall with the nail gun.
Continue hanging panels across the top. When you get to the edge of the wall & the lower half of the wall, you’ll have to measure and cut your panels to size to cover all the drywall, from the ceiling to the baseboard.
*The ceiling wasn’t perfectly straight. Therefore the grout lines & brick didn’t line up perfectly from panel to panel. Since I’m going to give this faux exposed brick a German Shmear finish, it will be easy to hide the seams later.
Add Texture to your Faux Exposed Brick
After all the panels are hung it is time to make the faux brick wall panels look more realistic. The secret to add the texture of an authentic brick wall to your panels is Spackling Compound. Spackling compound is the perfect ingredient to use on faux brick wall panels because it is lightweight & quick-drying. It’s water-based for easy clean-up, paintable, and fun & easy to work with.
You’ve most likely used spackling compound to patch nail holes or make other drywall repairs. I’m sure you have seen it sold in little tubes and little tubs, but they also sell it in larger tubs- which is the ideal size for this faux exposed brick wall DIY project.
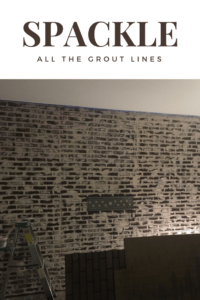
First spread the spackling compound on the grout lines. I spread the spackling compound on with the trowel and then smoothed it into the grout lines with my finger. Complete this for the entire faux exposed brick wall. This whole wall took about an hour or 2, (a good Netflix show makes this easy step a painless one!).
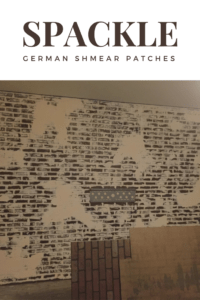
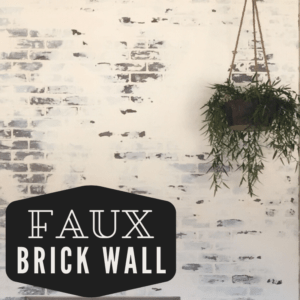
After you have a 3-D, hand-spread “mortar” in your grout lines, its time to add the German Schmear finish (aka German Smear). German Schmear is the unique look of mortar heavy seams on stone or brick that partly covers some of the stone and brick. This method is commonly seen in age-old architecture in Northern Germany thus will add old world charm to faux exposed brick.
You can achieve the German Schmear look by adding spackling compound onto random patches throughout your faux exposed brick wall. Use the trowel to spread the spackling compound onto large patches of brick. Focus on the seams- and you’ll never be able to tell where one brick panel ends and another begins.
*Spackle Note: I used the popular & easy to find Dap DryDex Spackling Compound that goes on pink, but is supposed to dry white. In hindsight, I would just get white Spackling Compound. The pink to white DryDex Spackle had a peach-ish undertone- even when it was dry. I had to be extra conscious to go over it all with my white wash in the next step to cover-up that peach tint.
Whitewash your Faux Exposed Brick Wall:
After the spackling compound dries you will have to seal it. If you don’t, it’ll just wipe off and make a chalky mess when anything touches it.
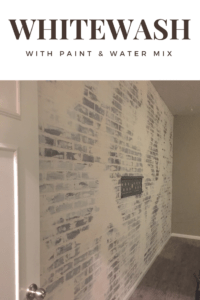
I began with a white wash mixture of 50% flat white paint and 50% water. I found that was too much coverage. So, then I mixed 25% paint to 75% water. You can play around with the ratio, as to how much of the brick color you want to stay revealed. Also, while applying the thinned paint, you can wipe patches of it off with a dry towel while the paint is still wet. These patches that you wipe with the dry towel is where the brick color will show through more.
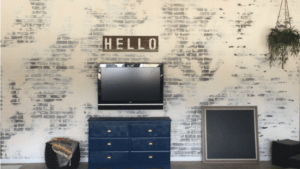
I painted the baseboard and put it back on. And thats it! 3 days of working, so worth it now that I get to sit out there and stare at the rich in texture, faux exposed brick wall.
This faux brick backdrop transformed our garage hangout from basic, to remarkable!
Exposed brick adds so much style to any home. Now you can create faux exposed brick in the homes that don’t have that kind of character really hidden behind the drywall.
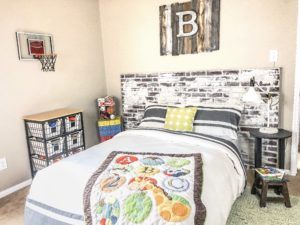
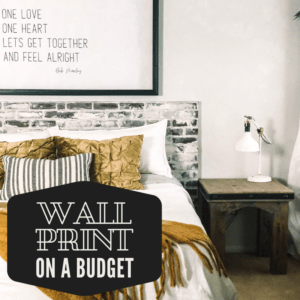
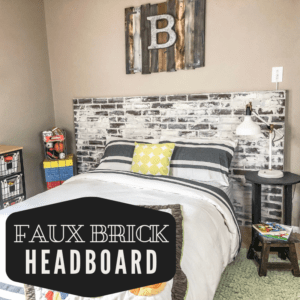
If you have any half- brick wall panels left-over, check out how I used my leftover panels to make a Faux Brick Headboard for my little guy’s bedroom!
Let me know if you have any questions! I’d love to see pictures if you tackle faux exposed brick in your home!




















Leave a Reply