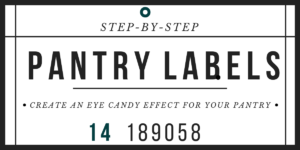
You asked and I’ve answered! I received so many questions about the pantry labels from my Pantry Reorganization. So I wanted to share the step by step details to make them, so you can make your own custom pantry labels!
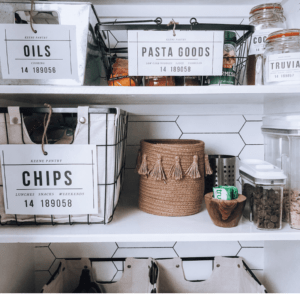
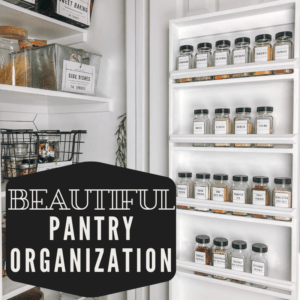
The pantry labels were the finishing touch for the pantry makeover to be sure I remembered where everything was, where to put everything new after a grocery haul, a guide for the others in my house to find what they need without the bellowing, “MOM! Where is……..” every other minute.
The design of these pantry labels has an industrial flair and adds a stunning design element to the organized pantry. Yet, these pantry labels are simple and clean looking.
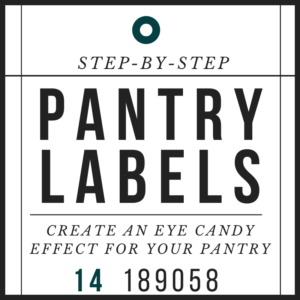
Step by Step DIY Pantry Labels with Canva
To make it as easy as possible for you to recreate these labels I took screen shots of each step! Of course feel free to change/customize it to look just how you like!
I created the pantry labels using the online graphic design program, Canva. If you haven’t used Canva, you can get 30 days for free. Then you can decide to cancel, or if you fall in love with it join and continue all the designing fun.
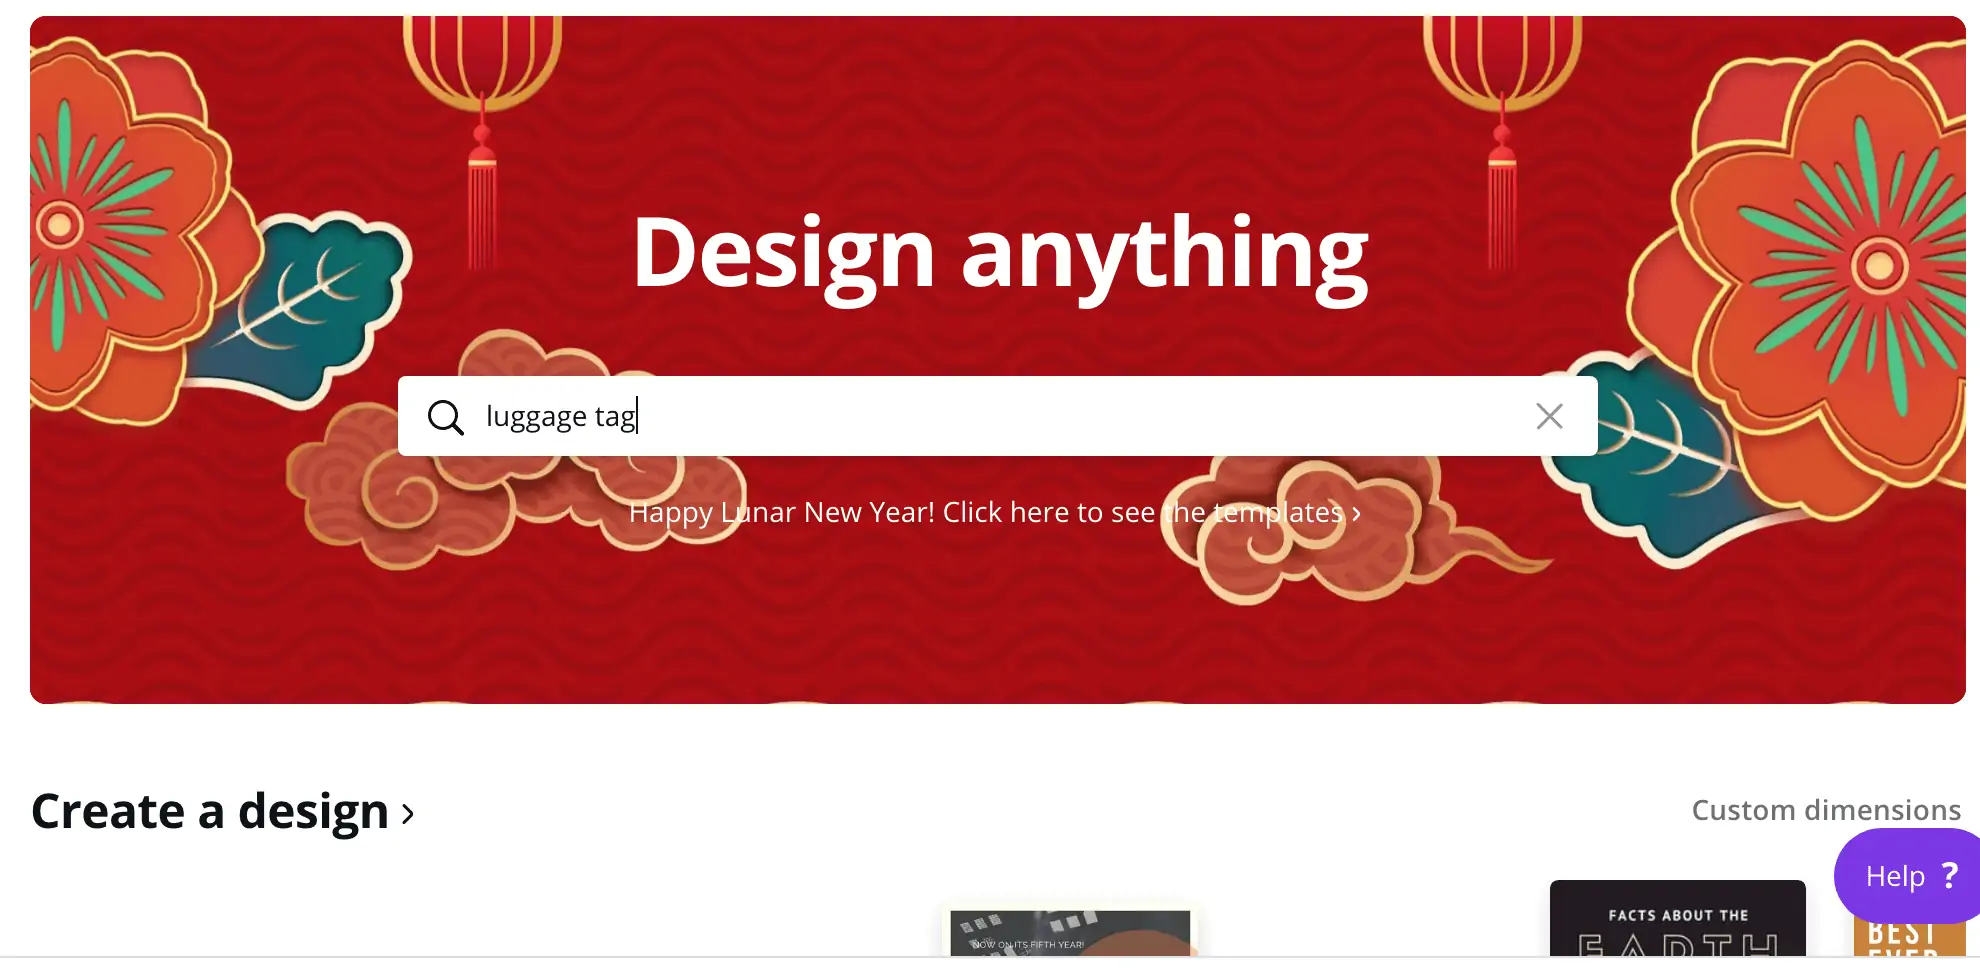
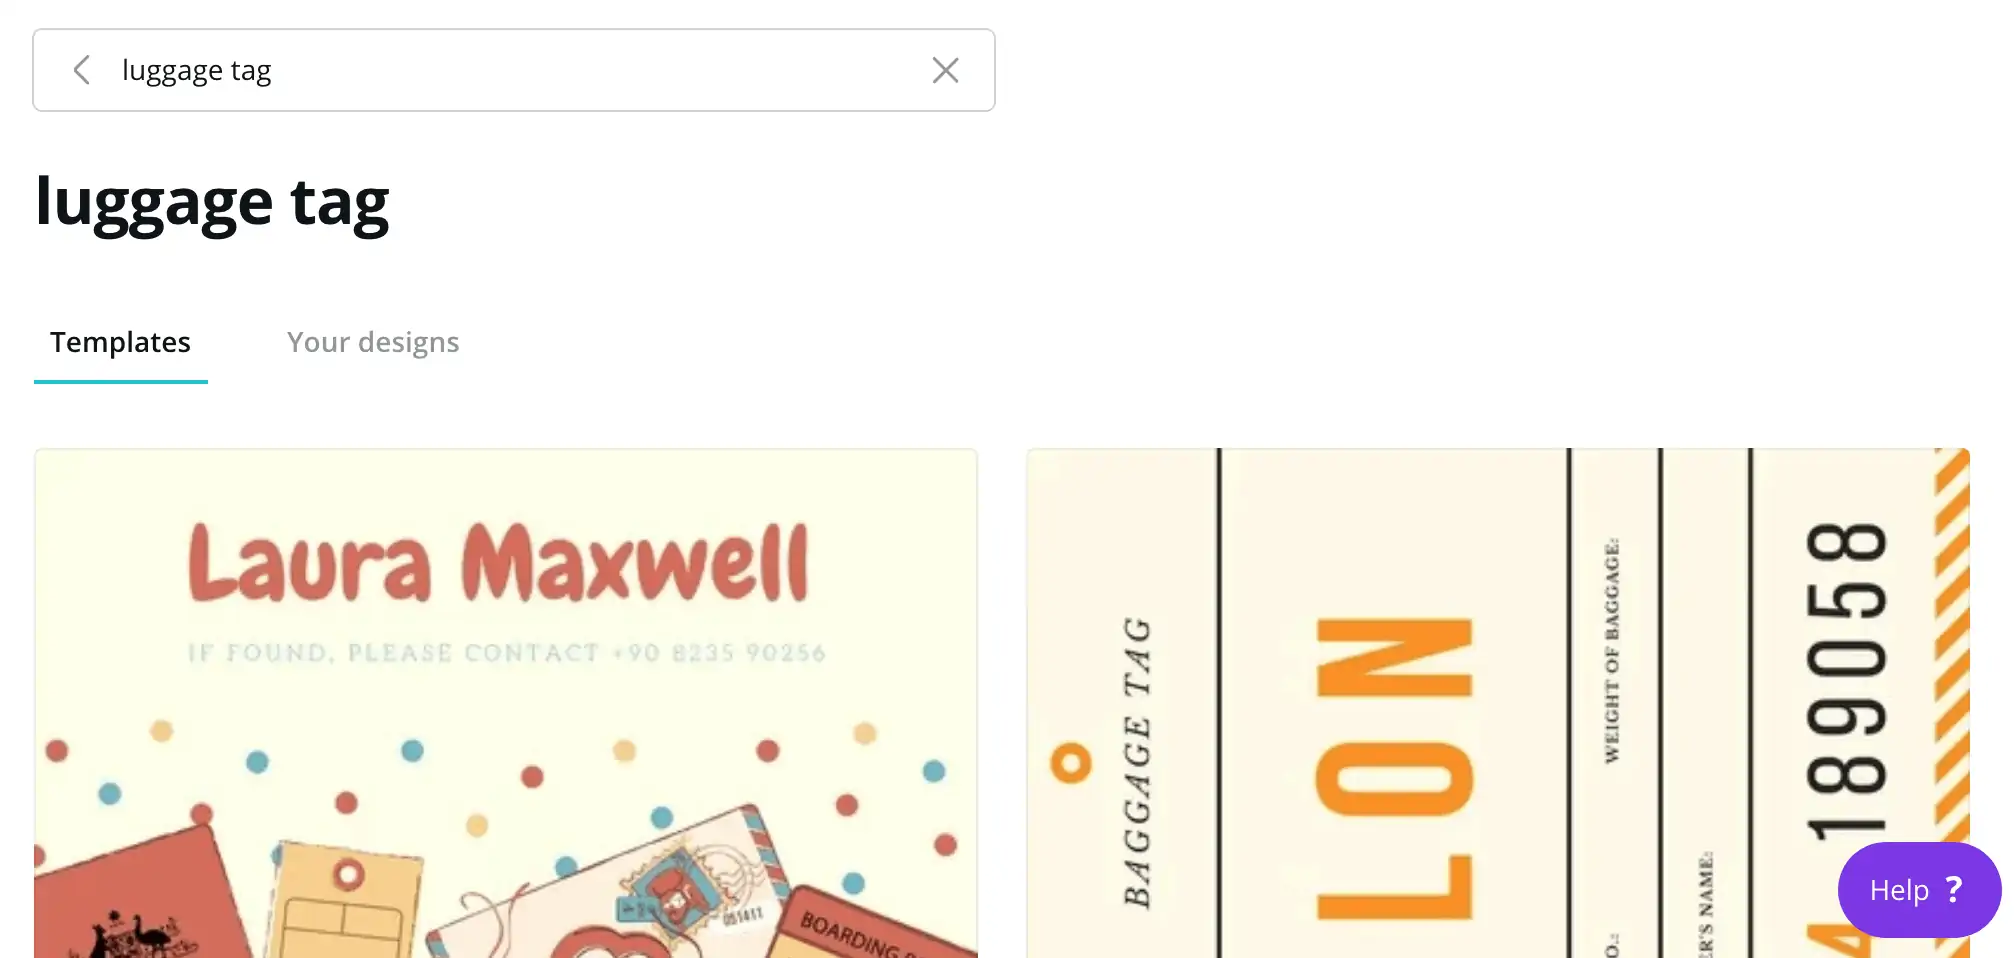
Once you get signed up/logged into Canva you will see a search bar, type ‘luggage tag’.
Canva’s different luggage tag templates will pop up. Click on the template on the right in the first row.
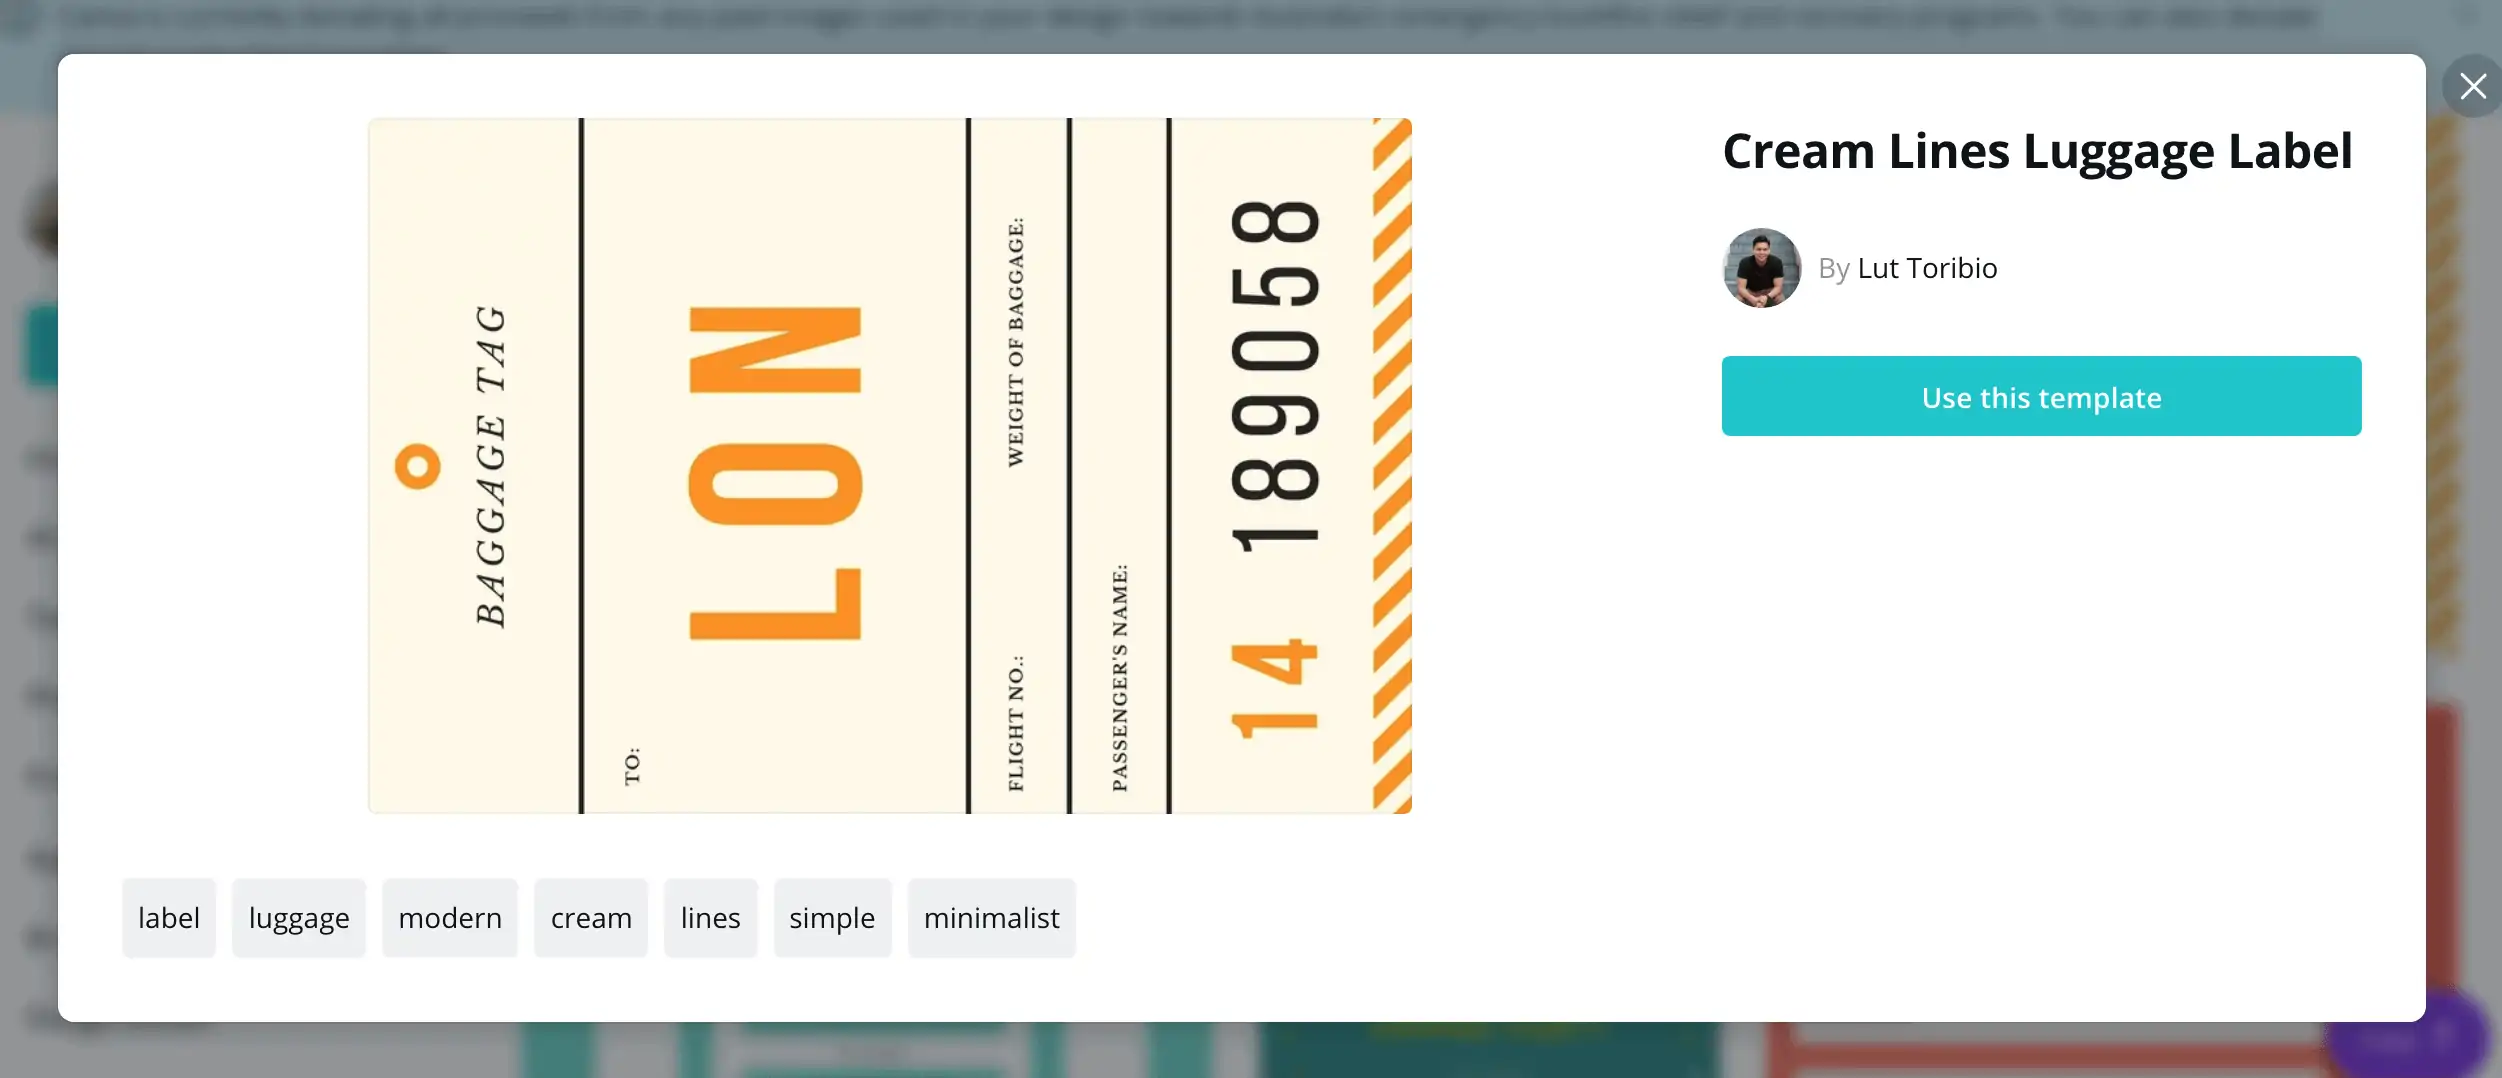
When you click on that you will see this screen:
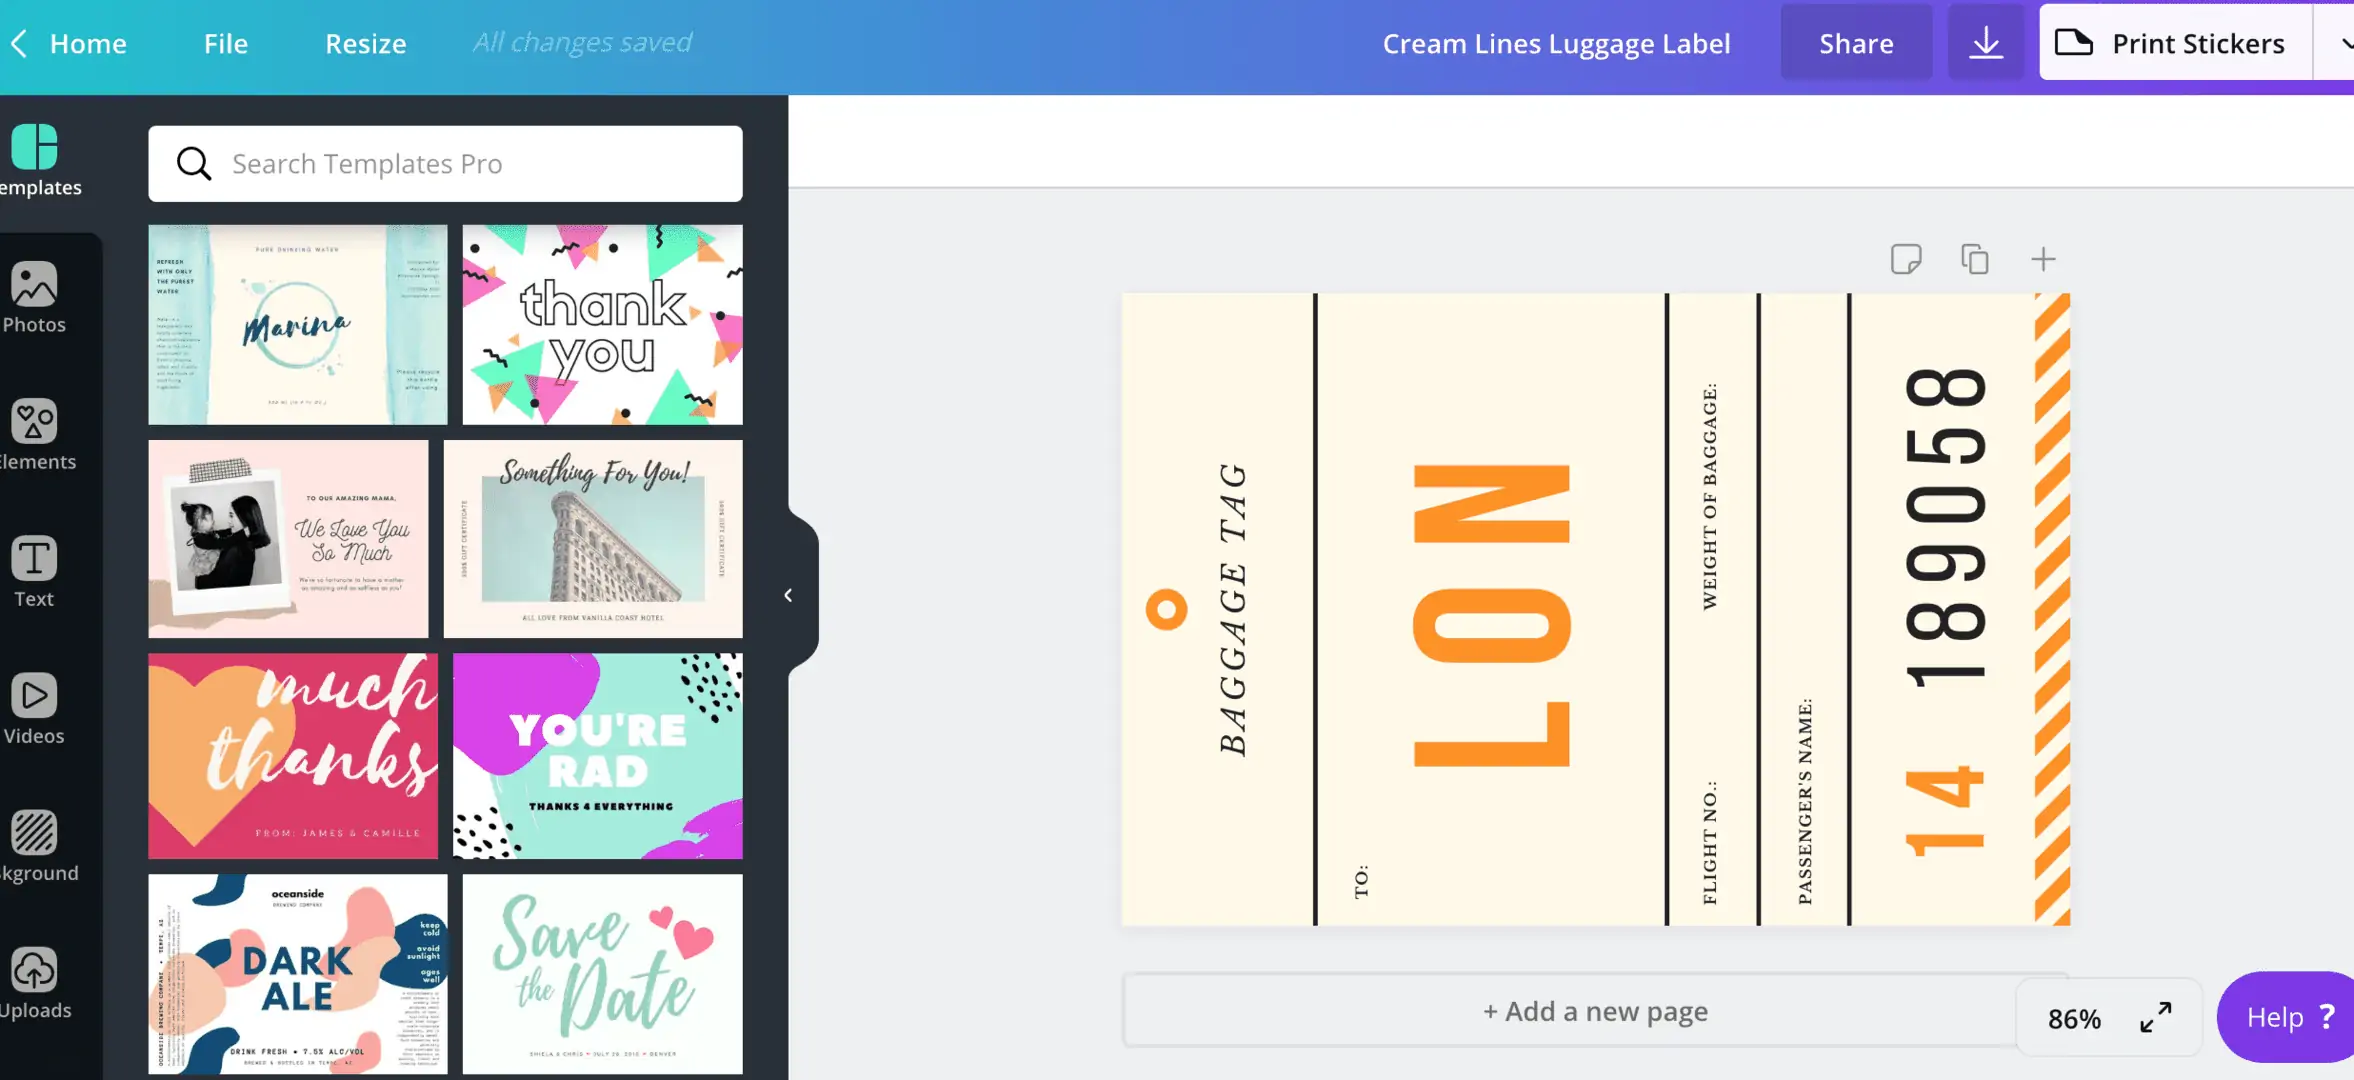
Click on ‘Use this template’. Then you have the template on your page and you’re ready to design your pantry labels!
Here are the steps I used to modify this template to create the labels in my pantry.
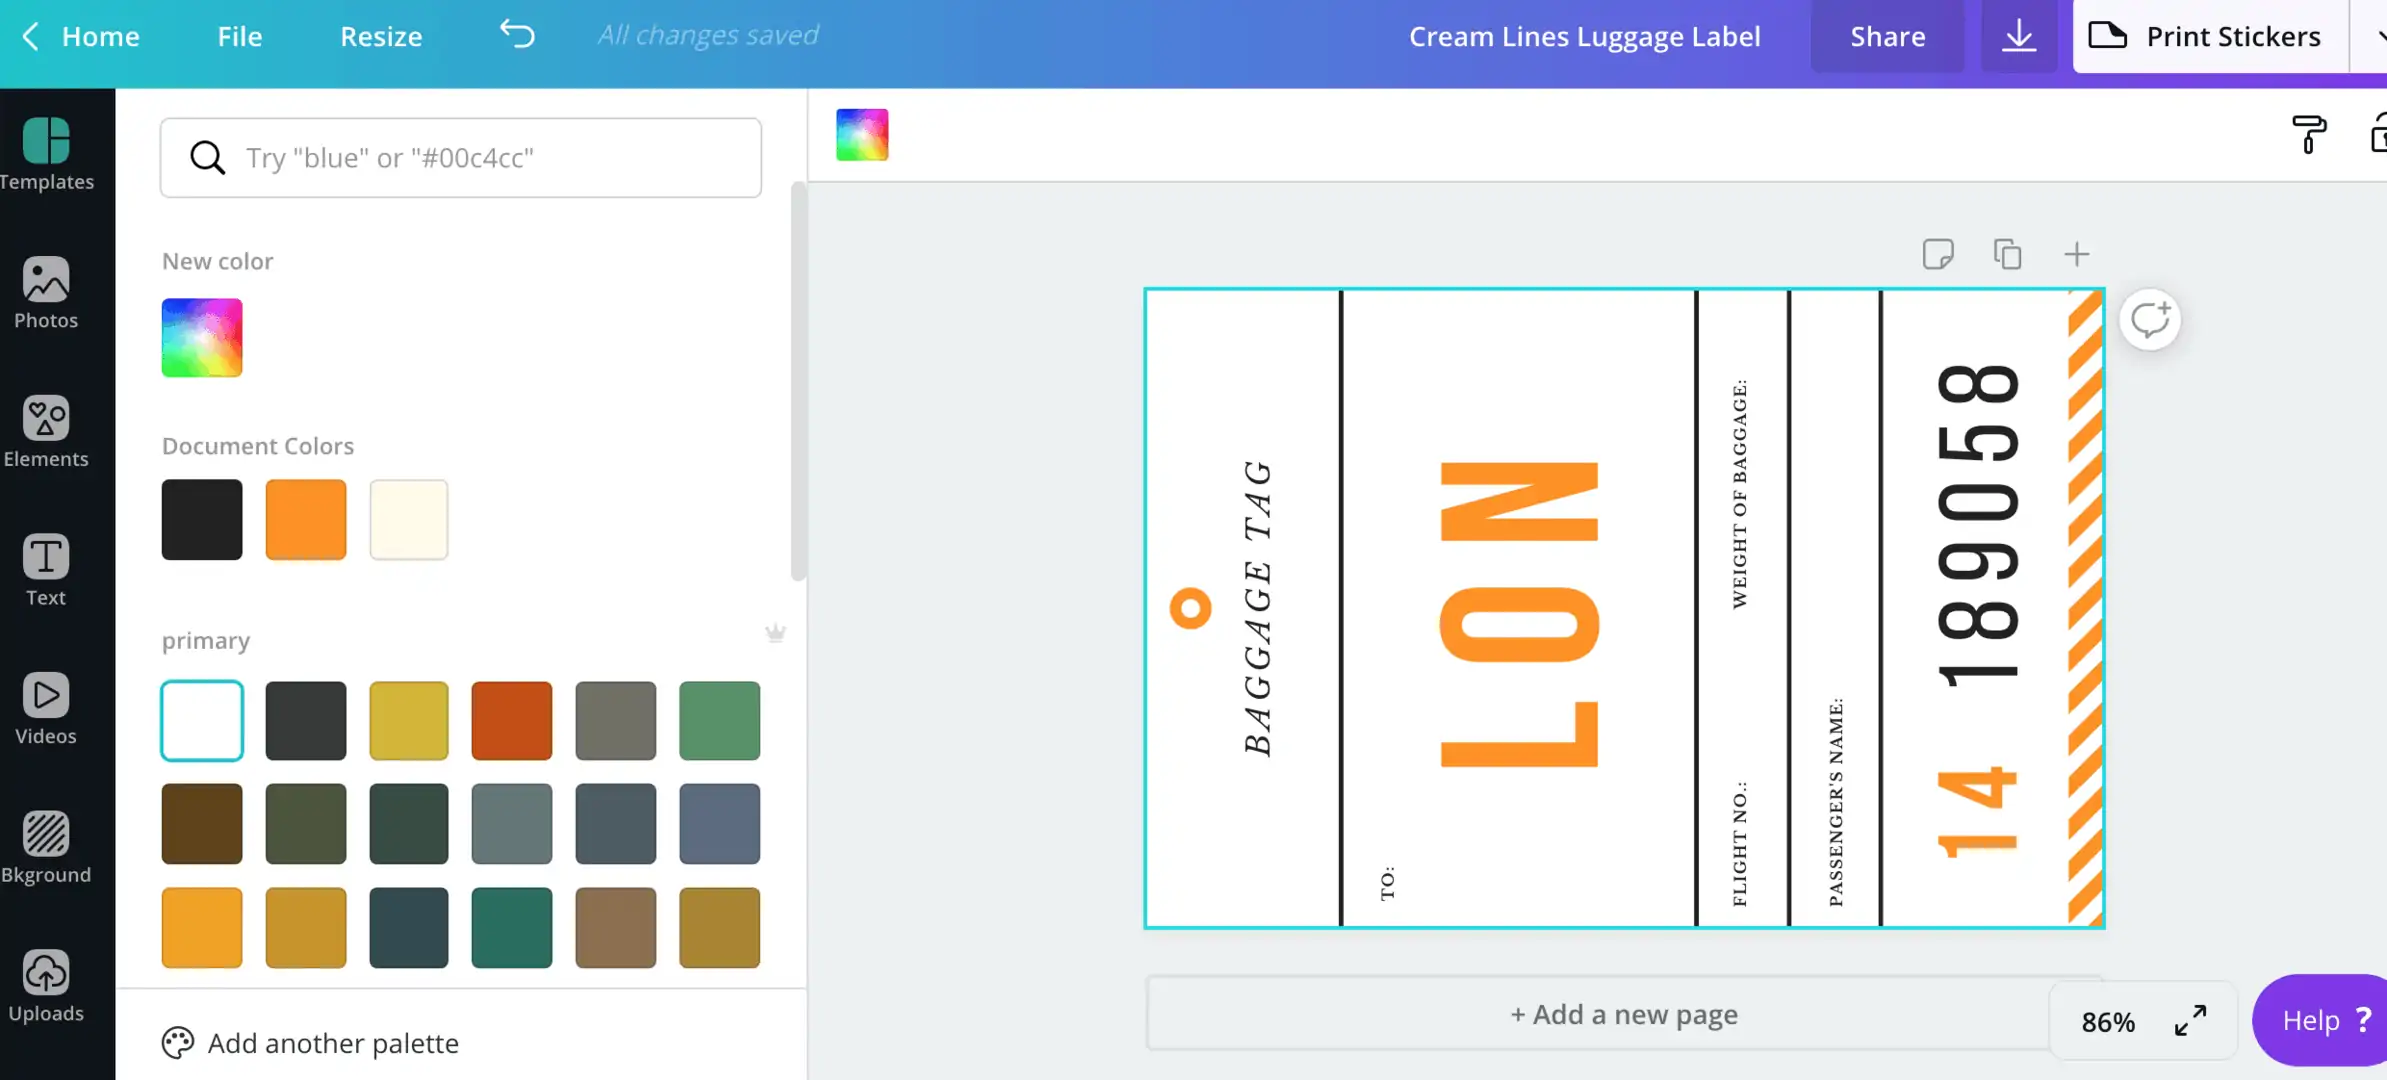
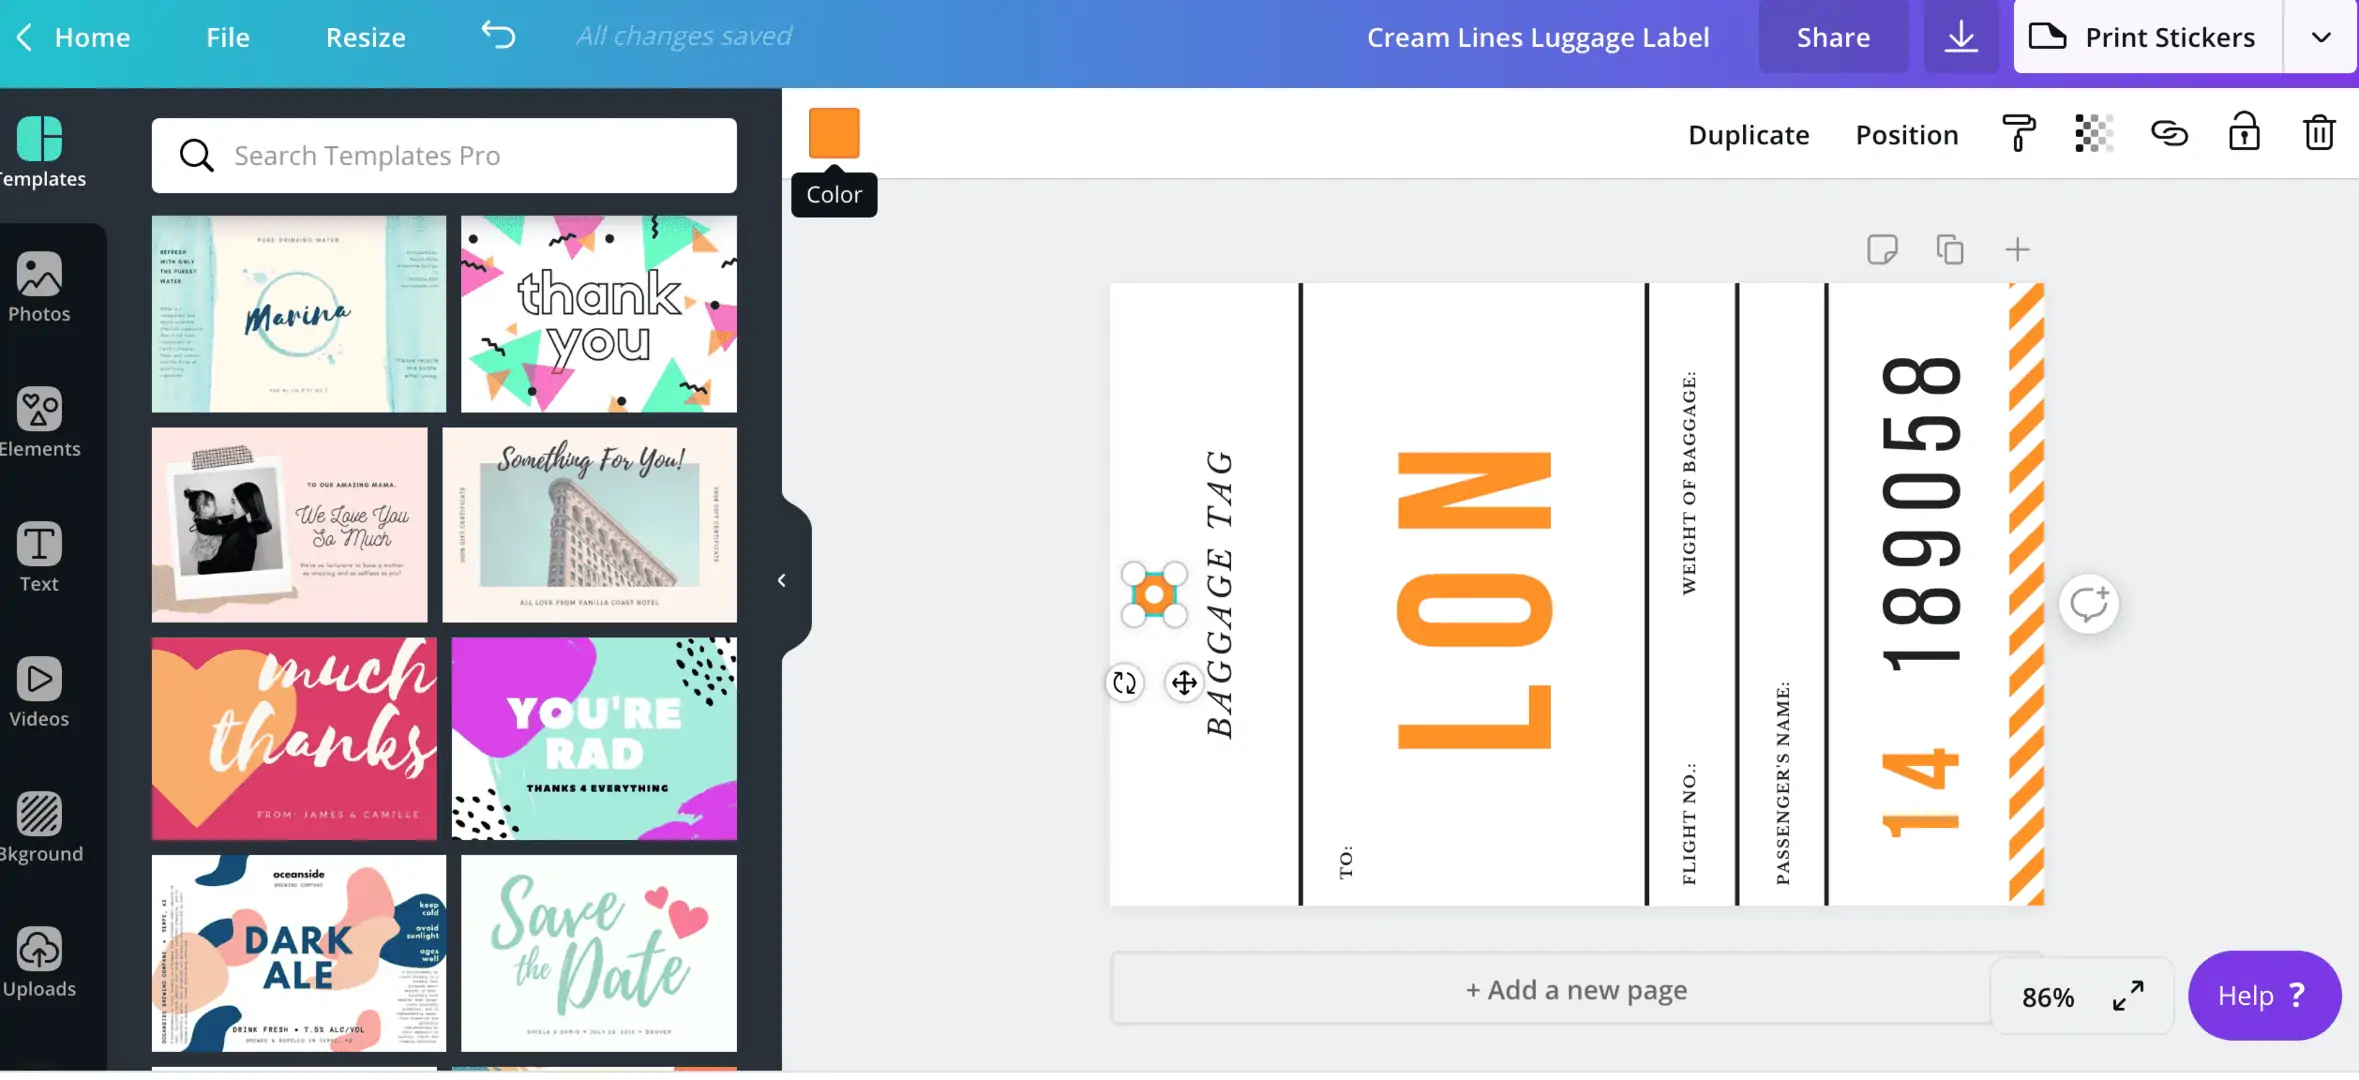
First click on the background and then on the color box in the top left corner, your color options for the background will pop up, choose white.
Then click on the orange items and change the color to forest green, you can create your own shade of forest green, (thats what I did), or you can use one of the default color options they have.
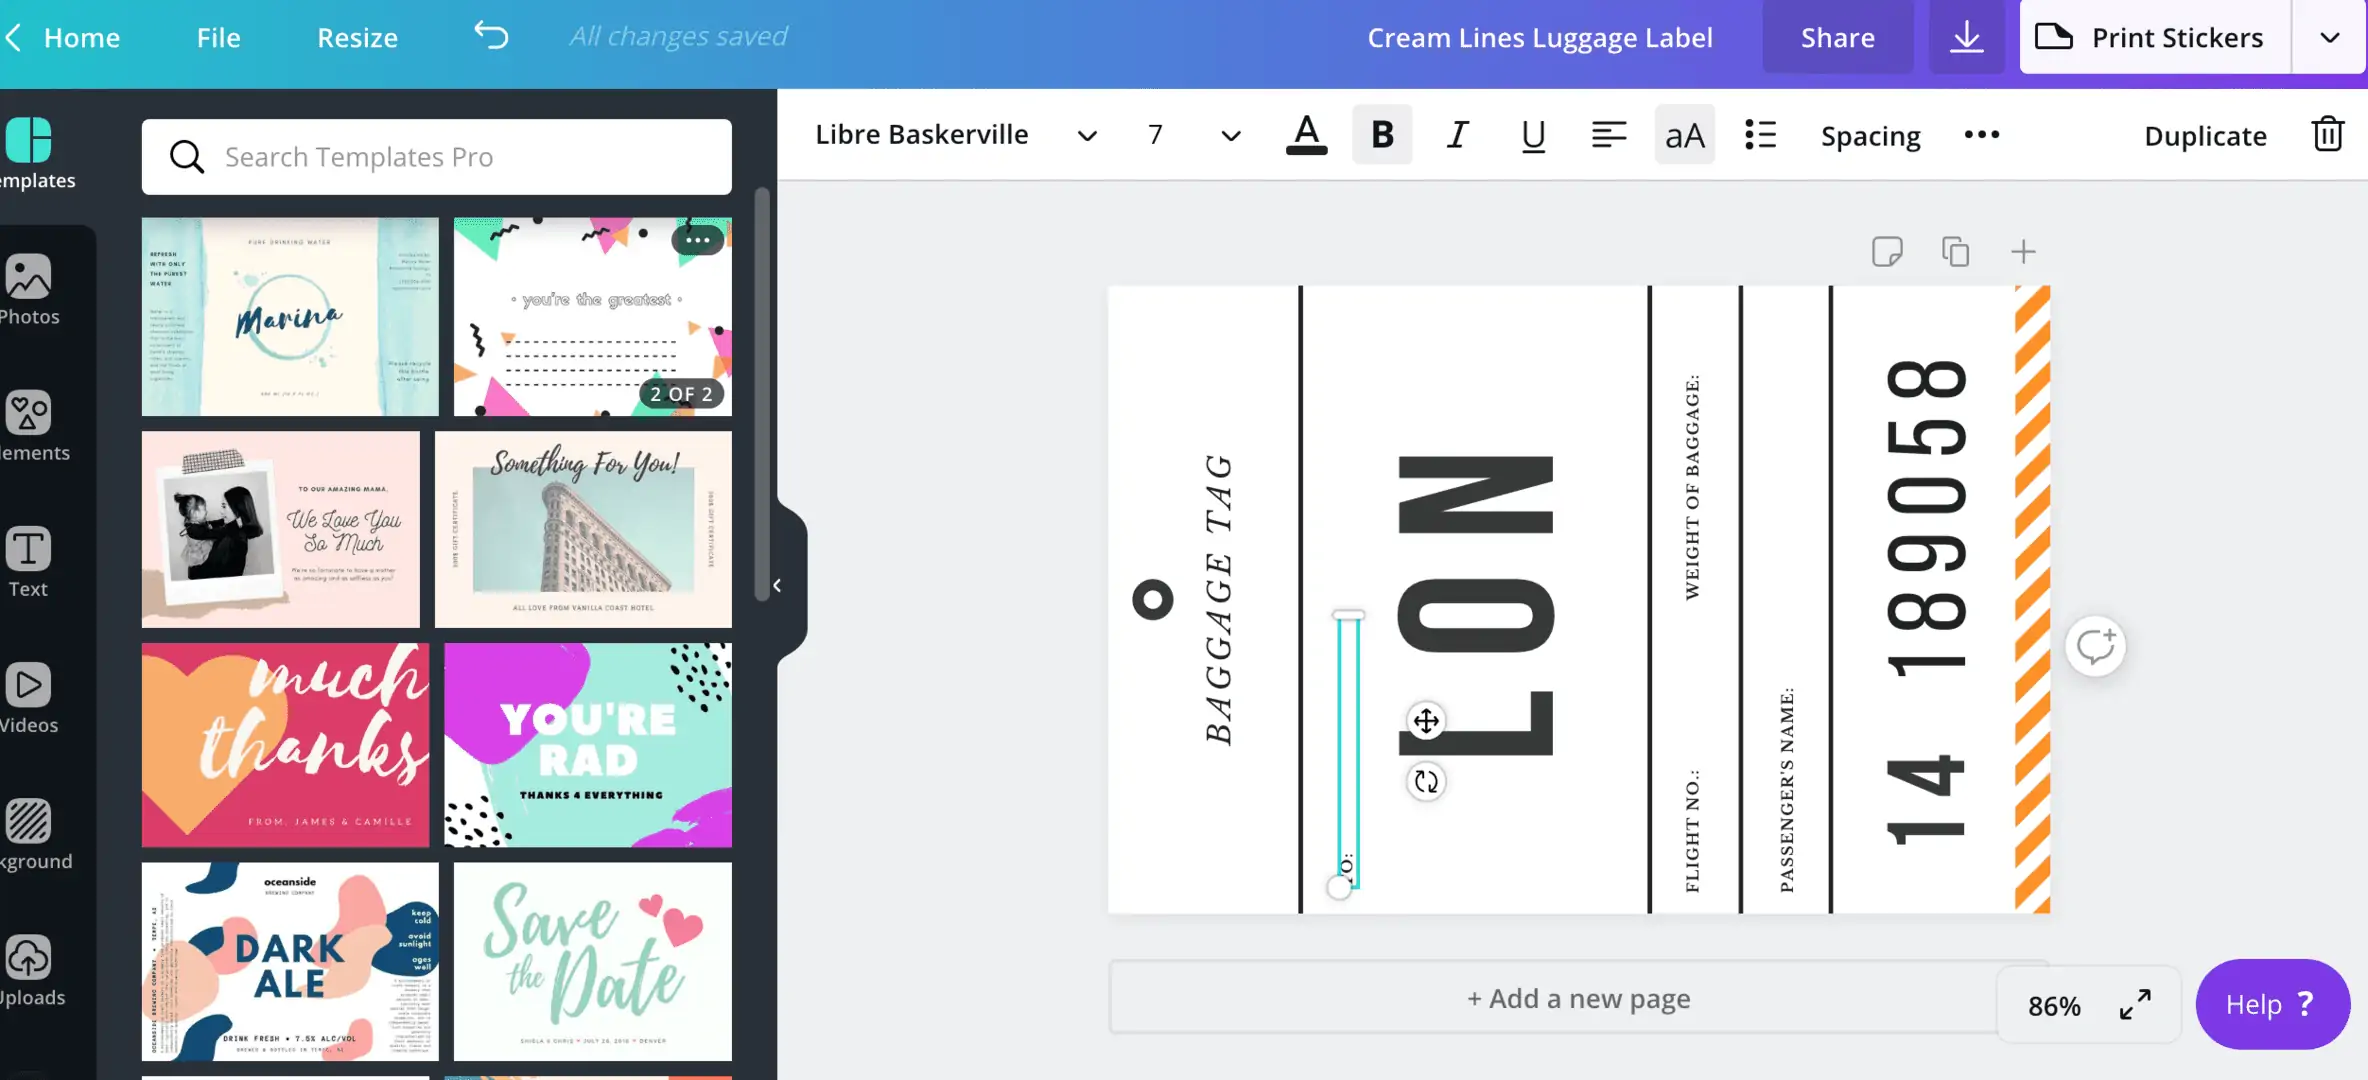
Click on the items you don’t need and once they are highlighted click the delete button and they’ll disappear. Do this to ‘TO’ ‘FLIGHT NO’ ‘WEIGHT OF BAGGAGE’ and the orange and white lines at the bottom.
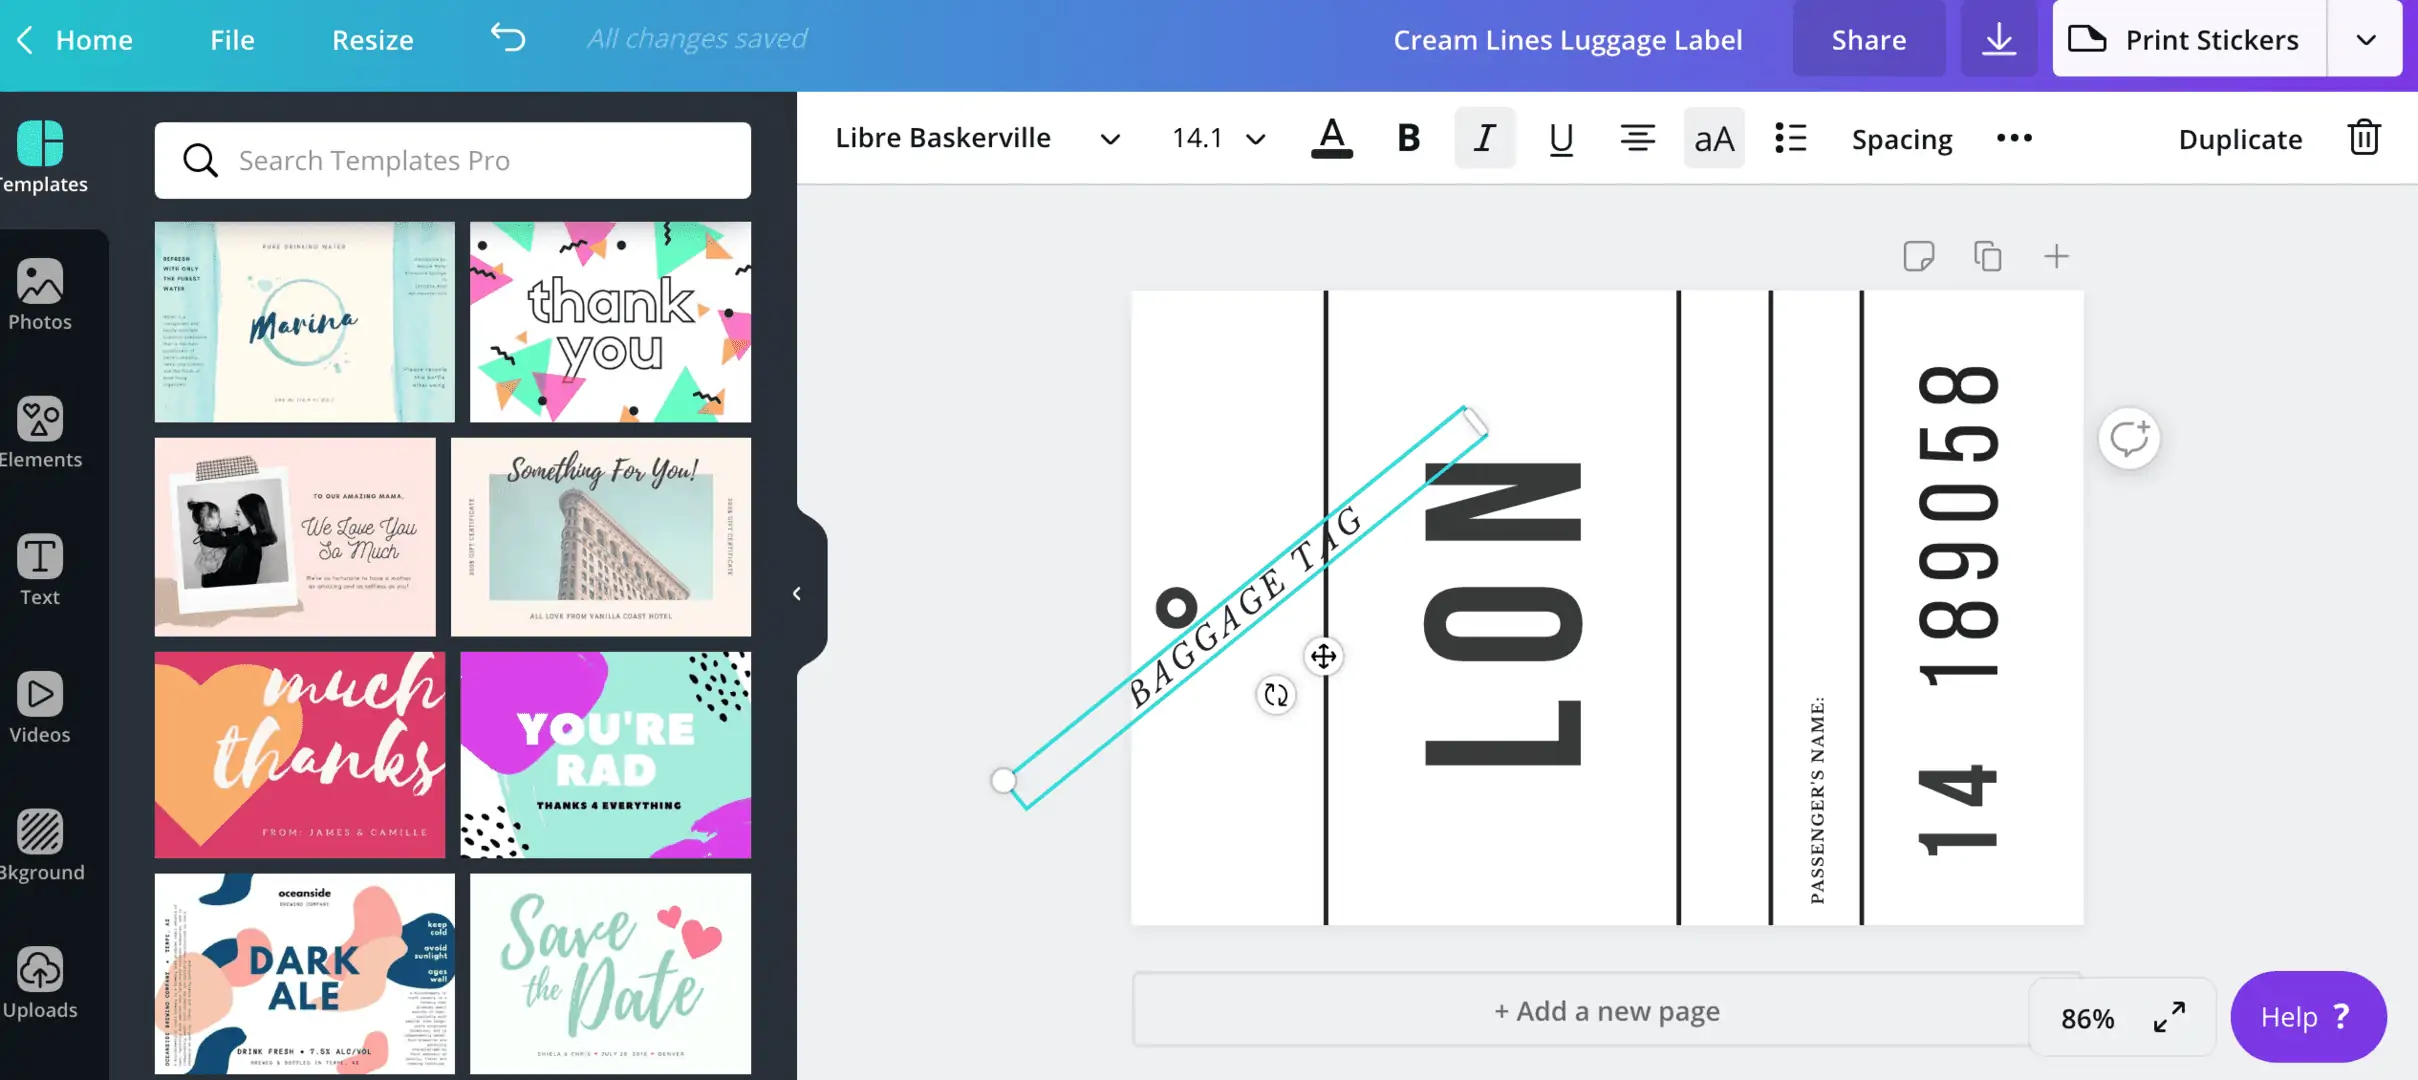
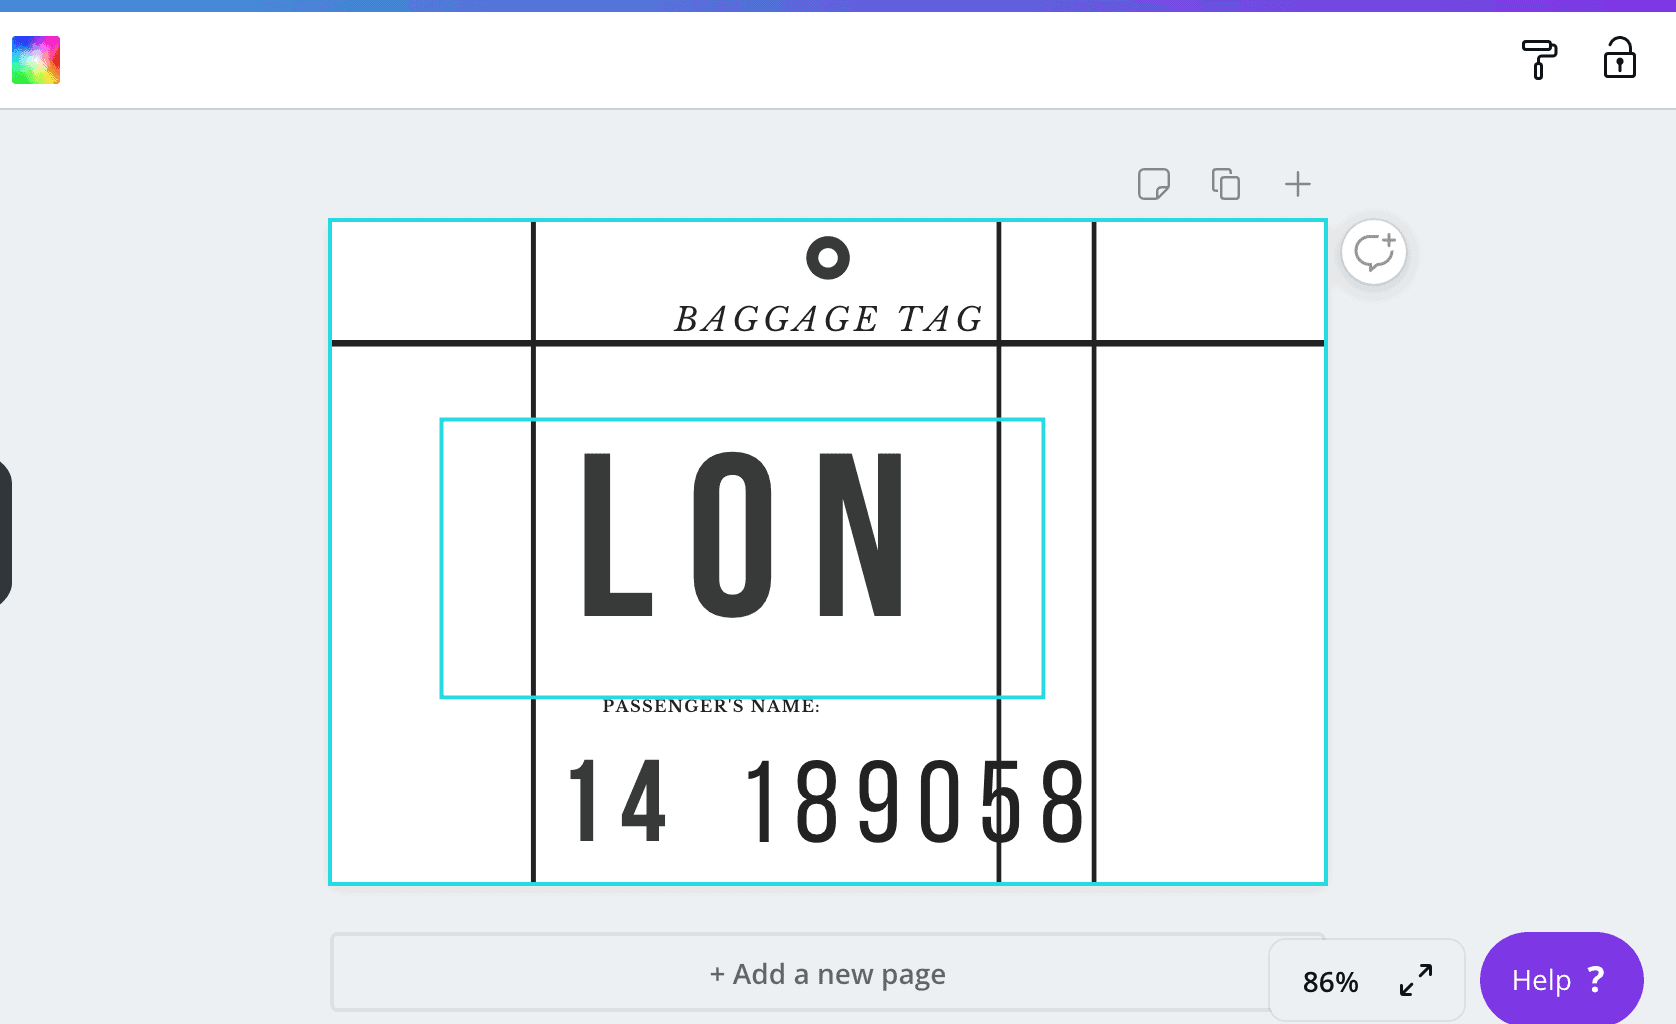
Then click on the remaining words and you will see arrows in a circle show up underneath, Use that button to turn the words 90 degrees. Then use the other set of arrows in a plus sign to move the text to this placement:
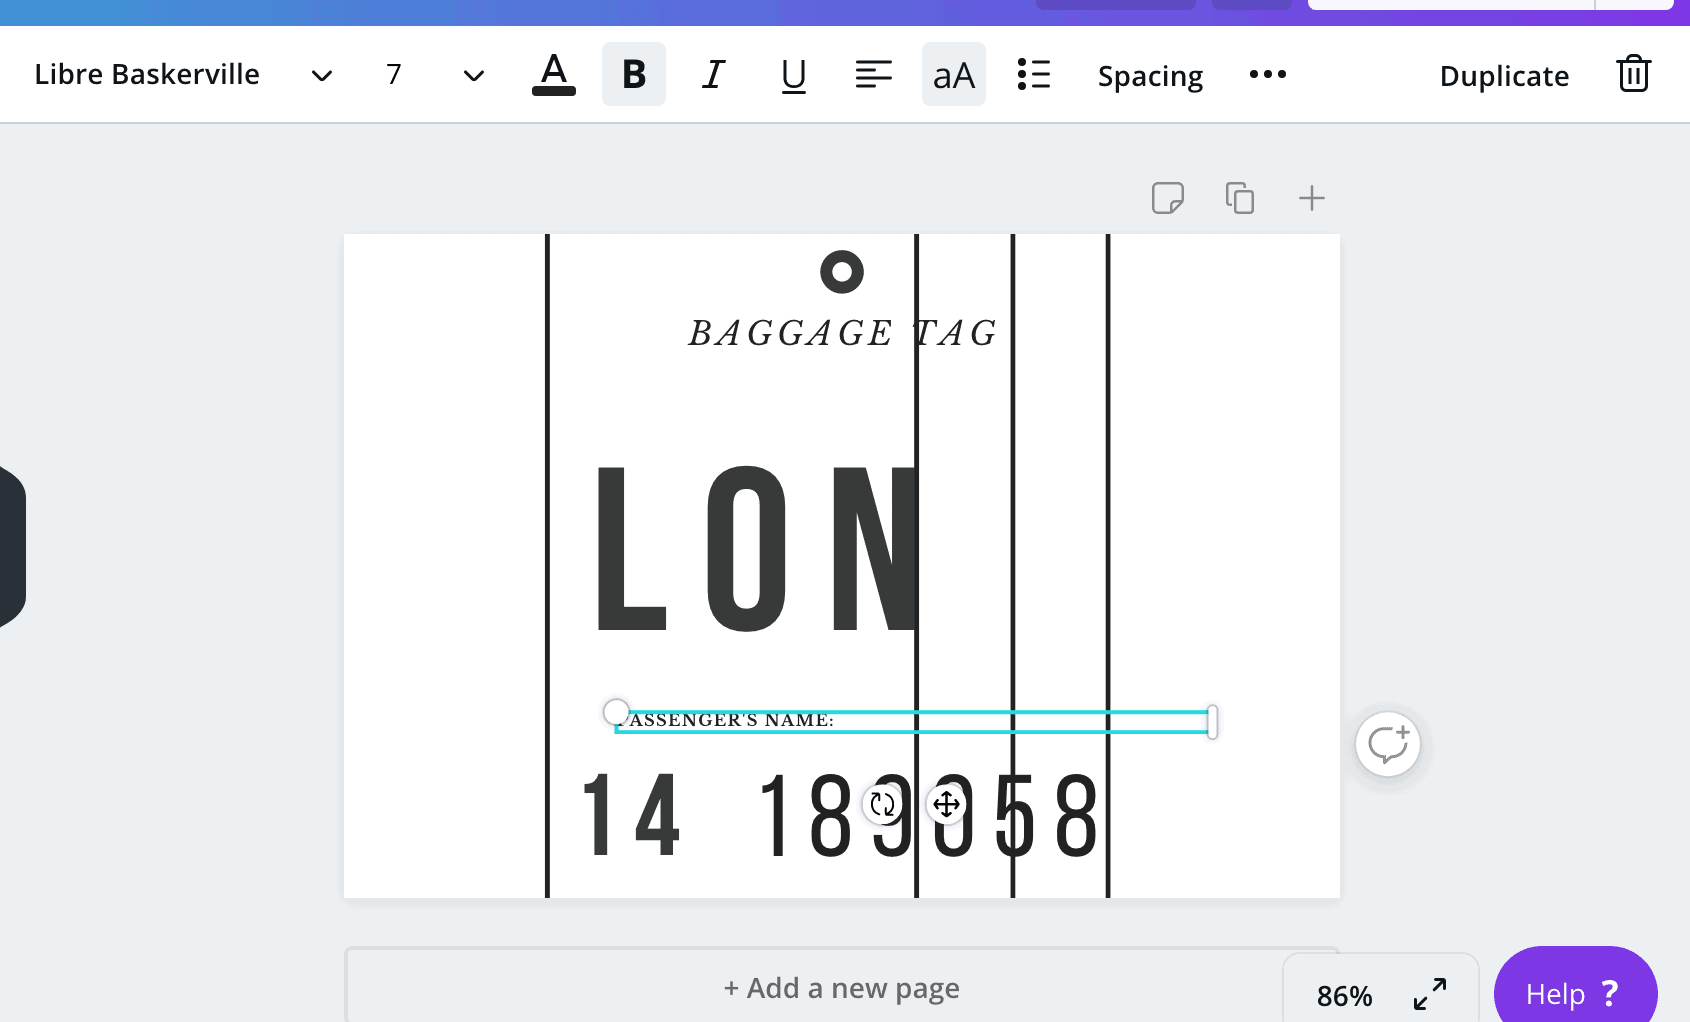
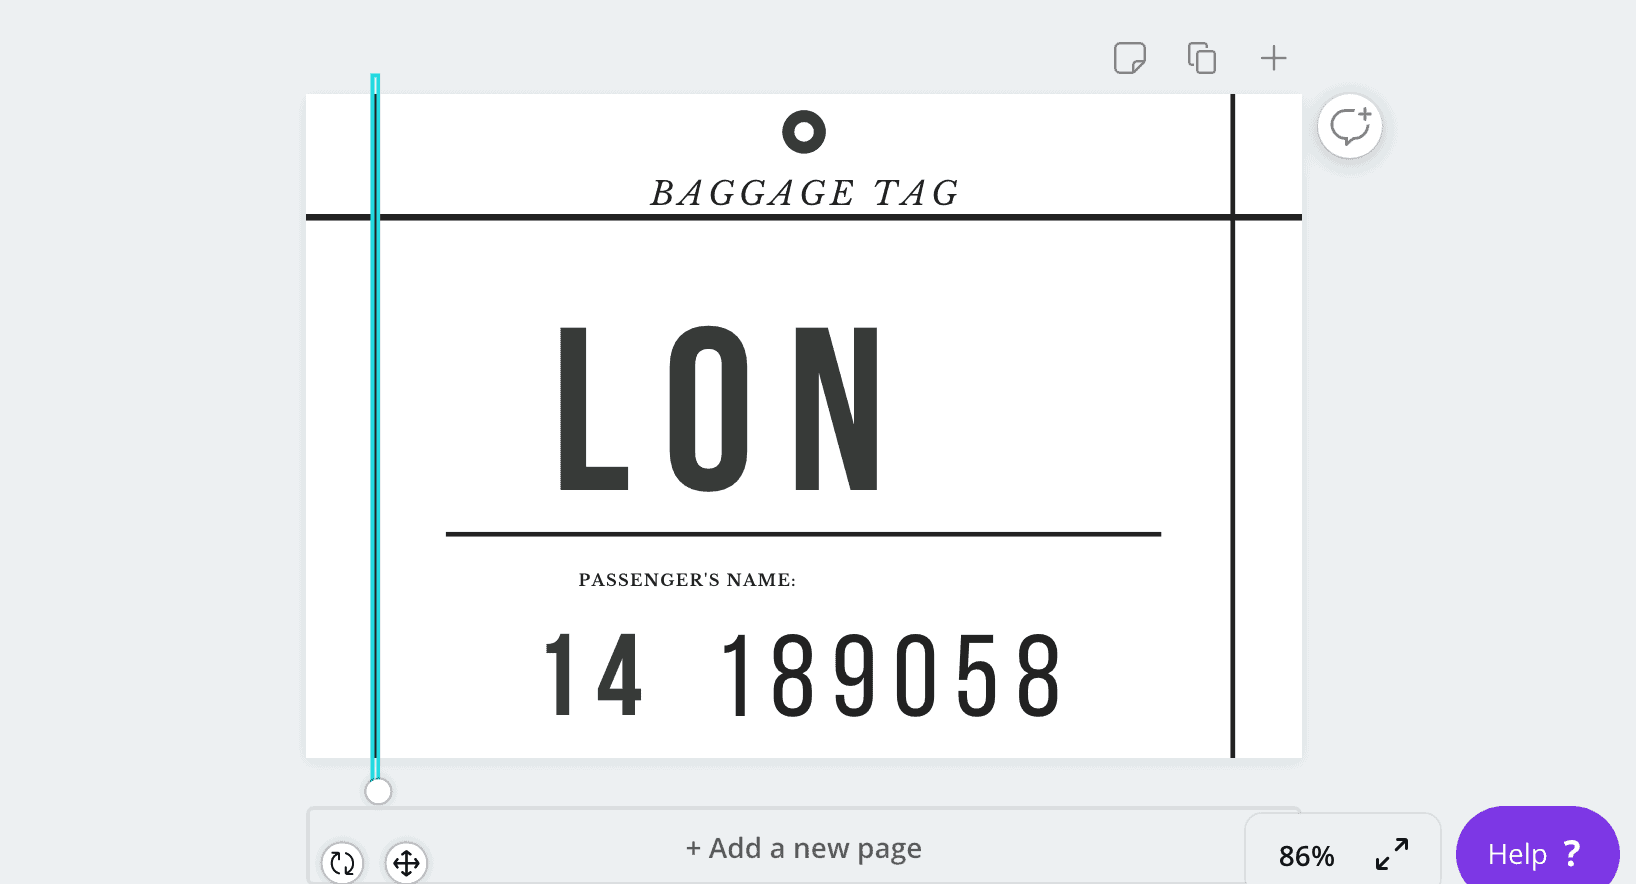
Once you have all your text boxes moved you can move one of the lines using the same method and then turn it and elongate it to go all the way across under the ‘Baggage Tag’ text.
Then turn one of the lines 90 degrees to go under the ‘LON’ text. Move the remaining 2 lines out toward the edges.
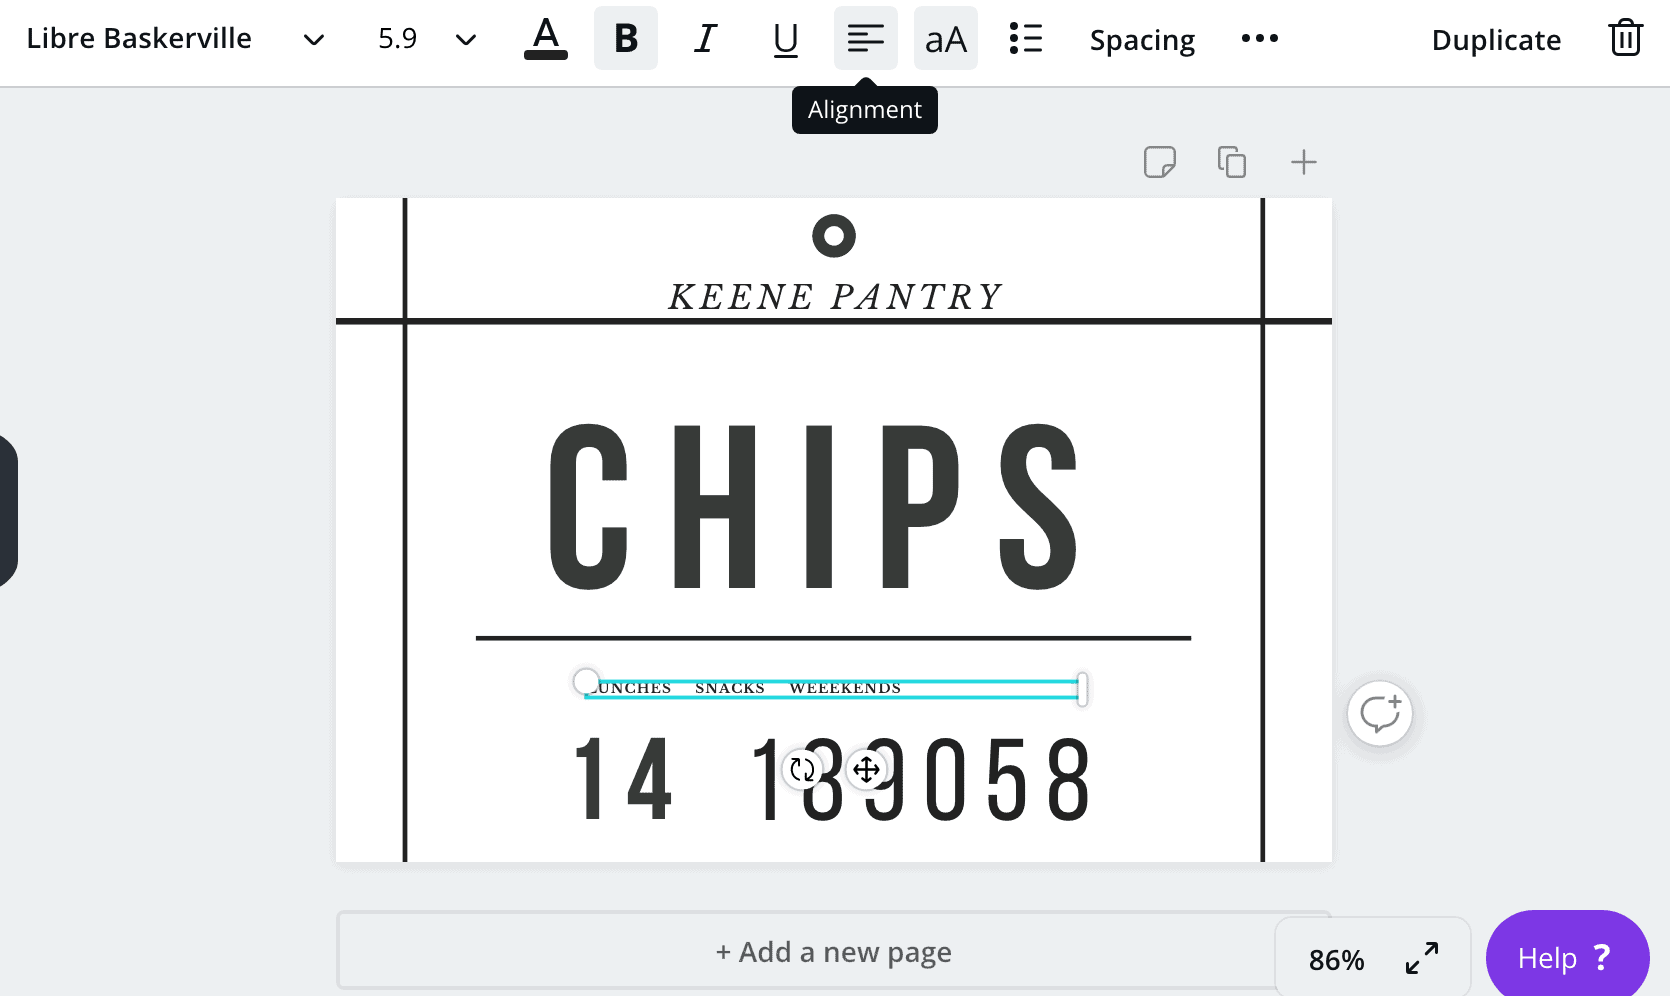
Now you can click on your text and change it to the appropriate wording for your label.
You can adjust the placement and the size of the text to get it just so..
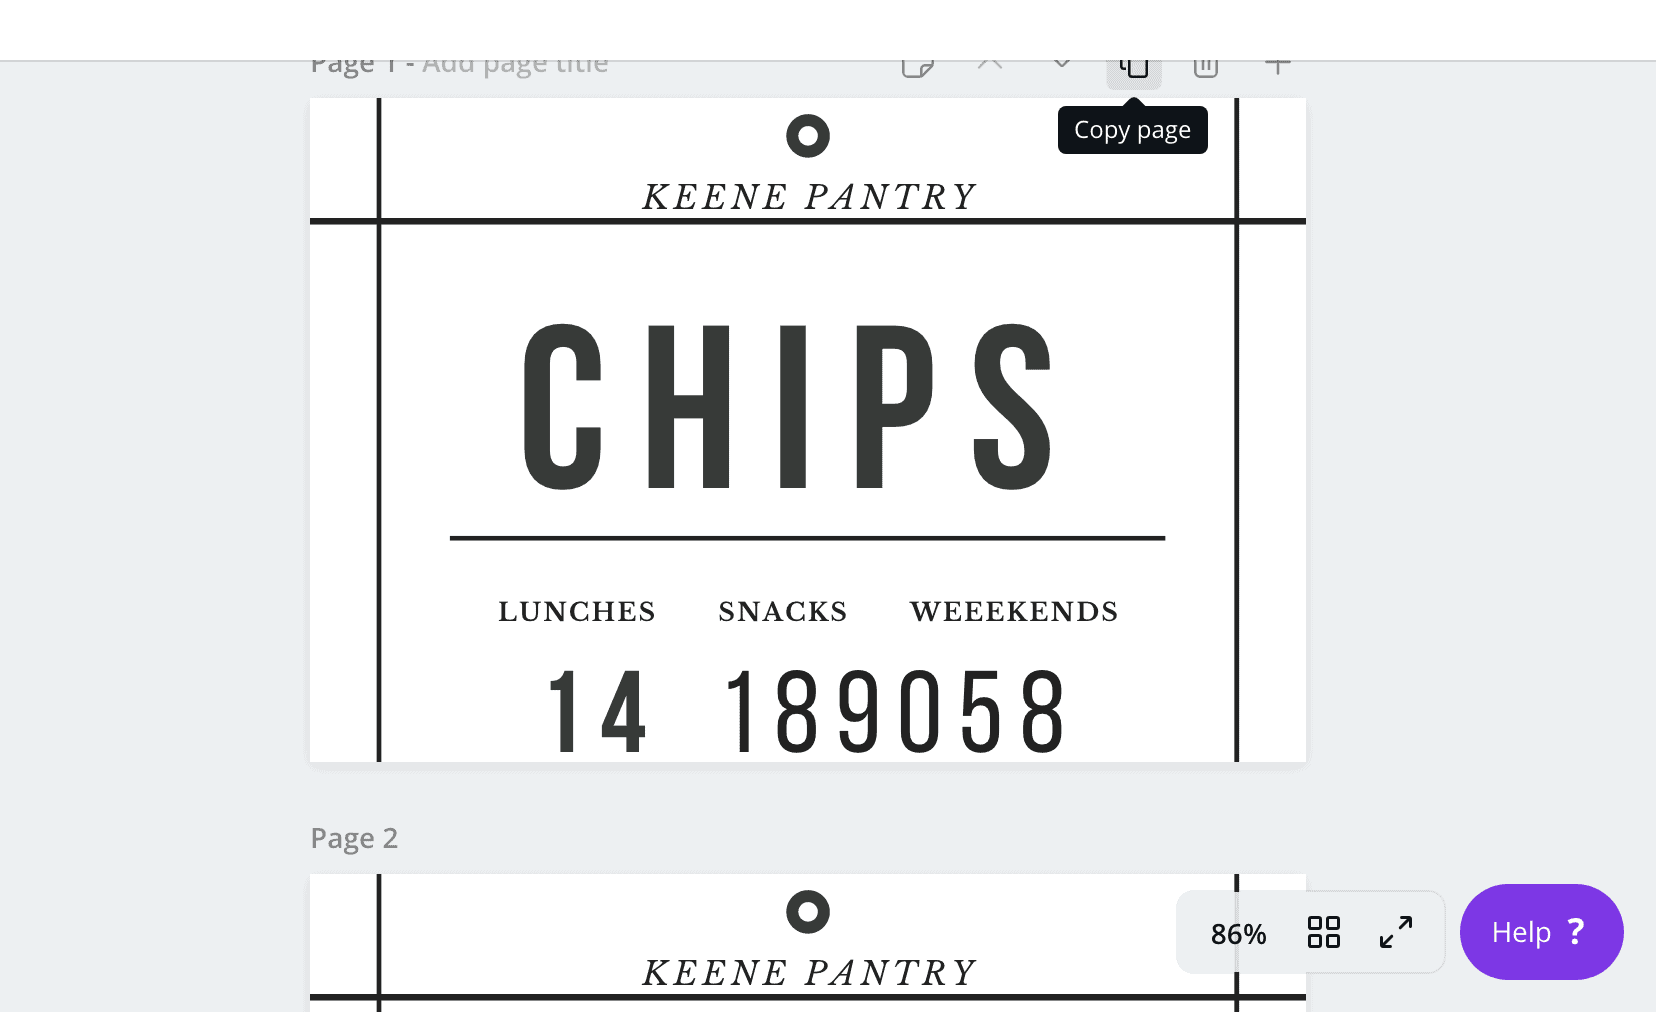
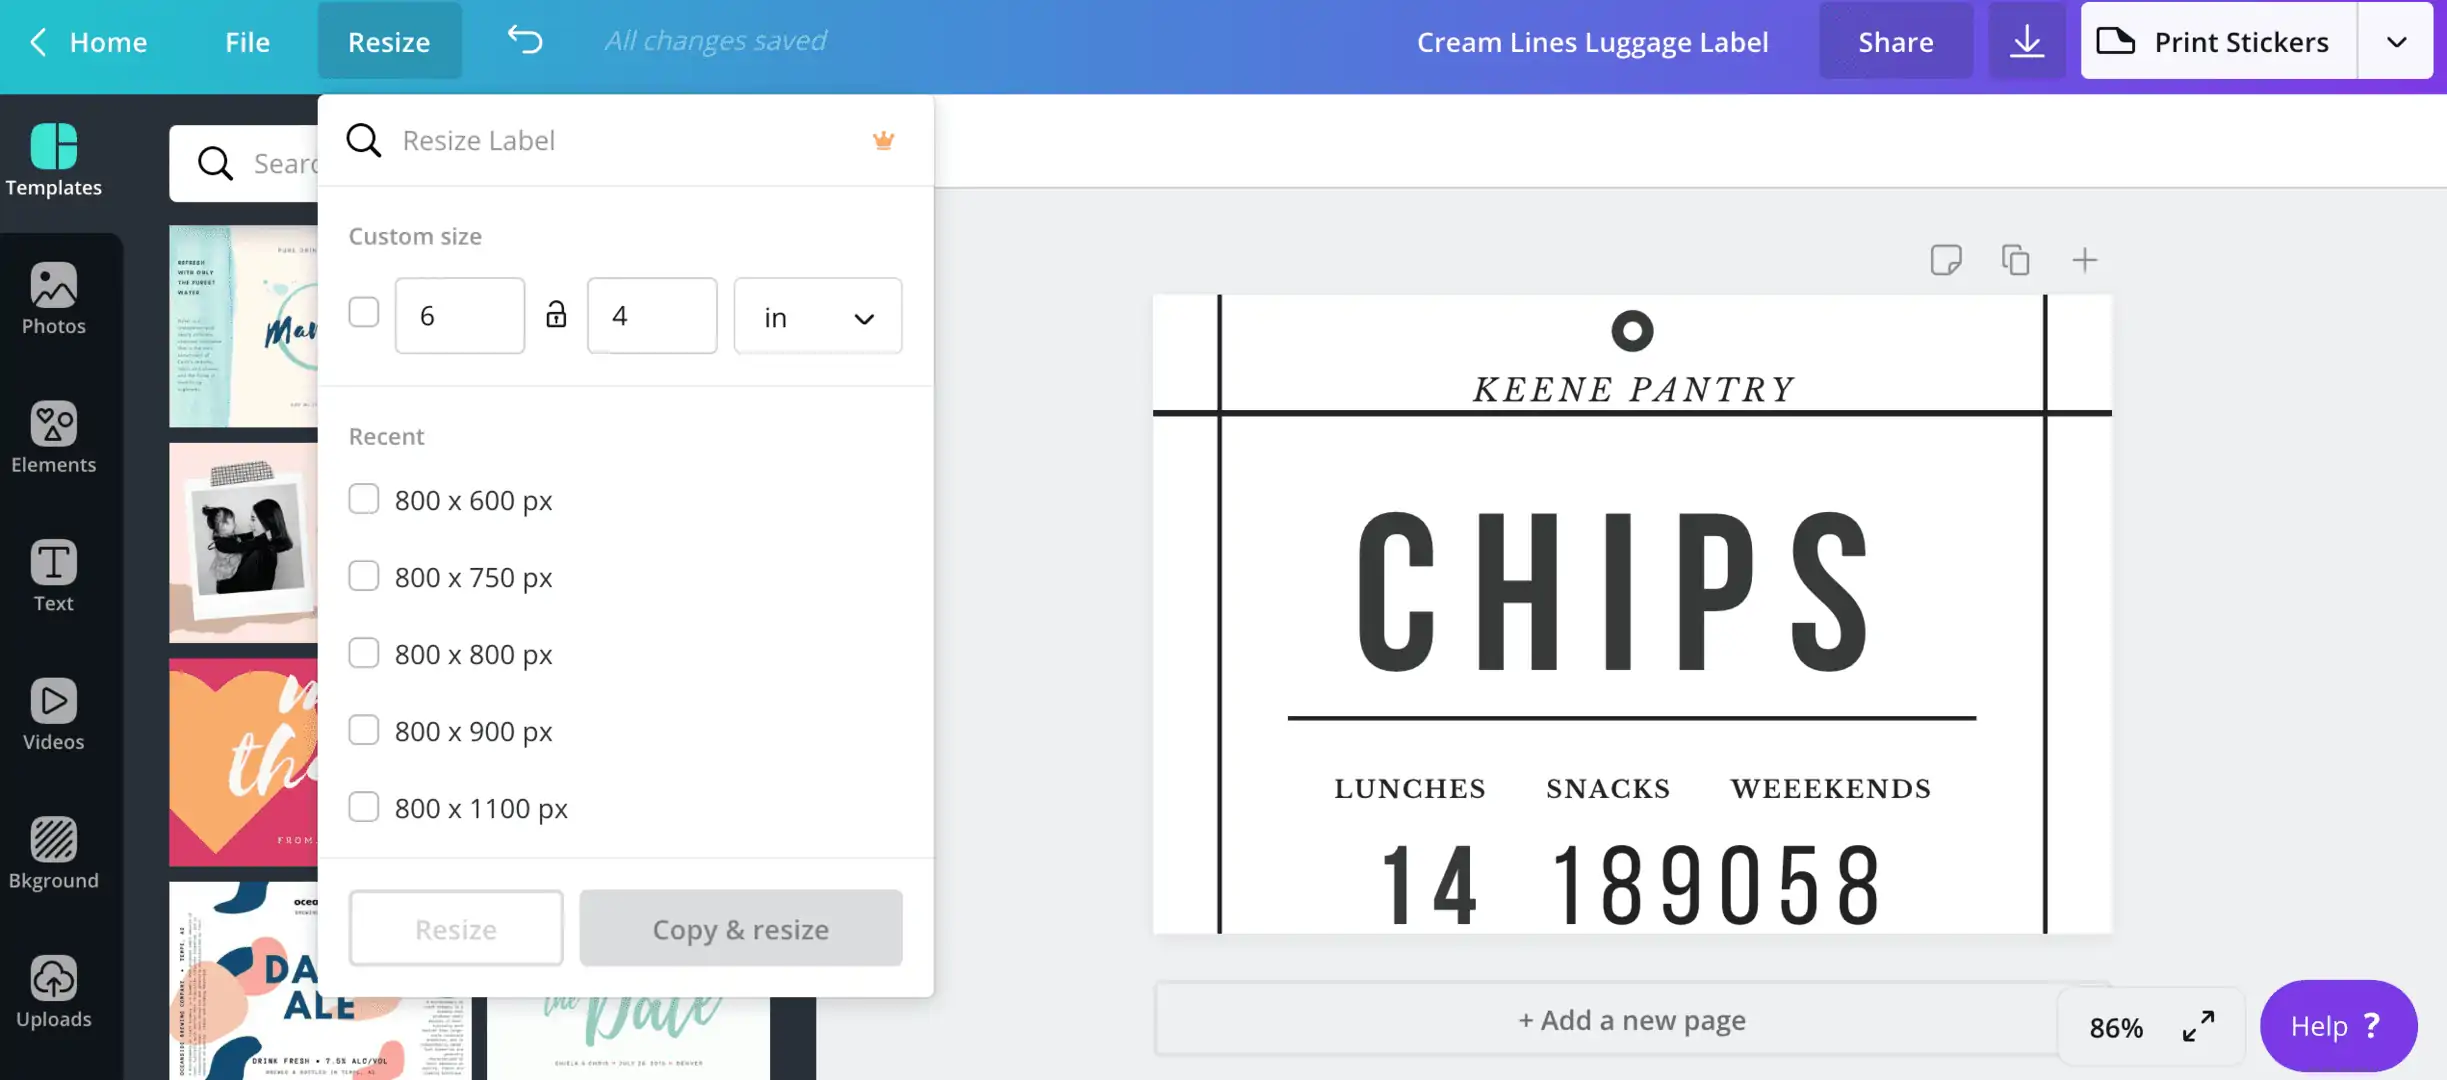
When you are ready to make your second label just click double page button that is just on the top right of your design and it says ‘copy page’ when you hover over it. It will create an exact replica of your design in a “page 2”. From there you can change the words for your next label on page 2.
If you need to change the size of the label, download and print the page of the label that has the correct size first and then you can change the size for your label as many times as you need for the different size labels.
You will notice when you adjust the size you will have to move all your lines and text boxes around to get the placement correct again. That is why you want to print the ones that you need for that particular size before you change the size for the next size you will need.
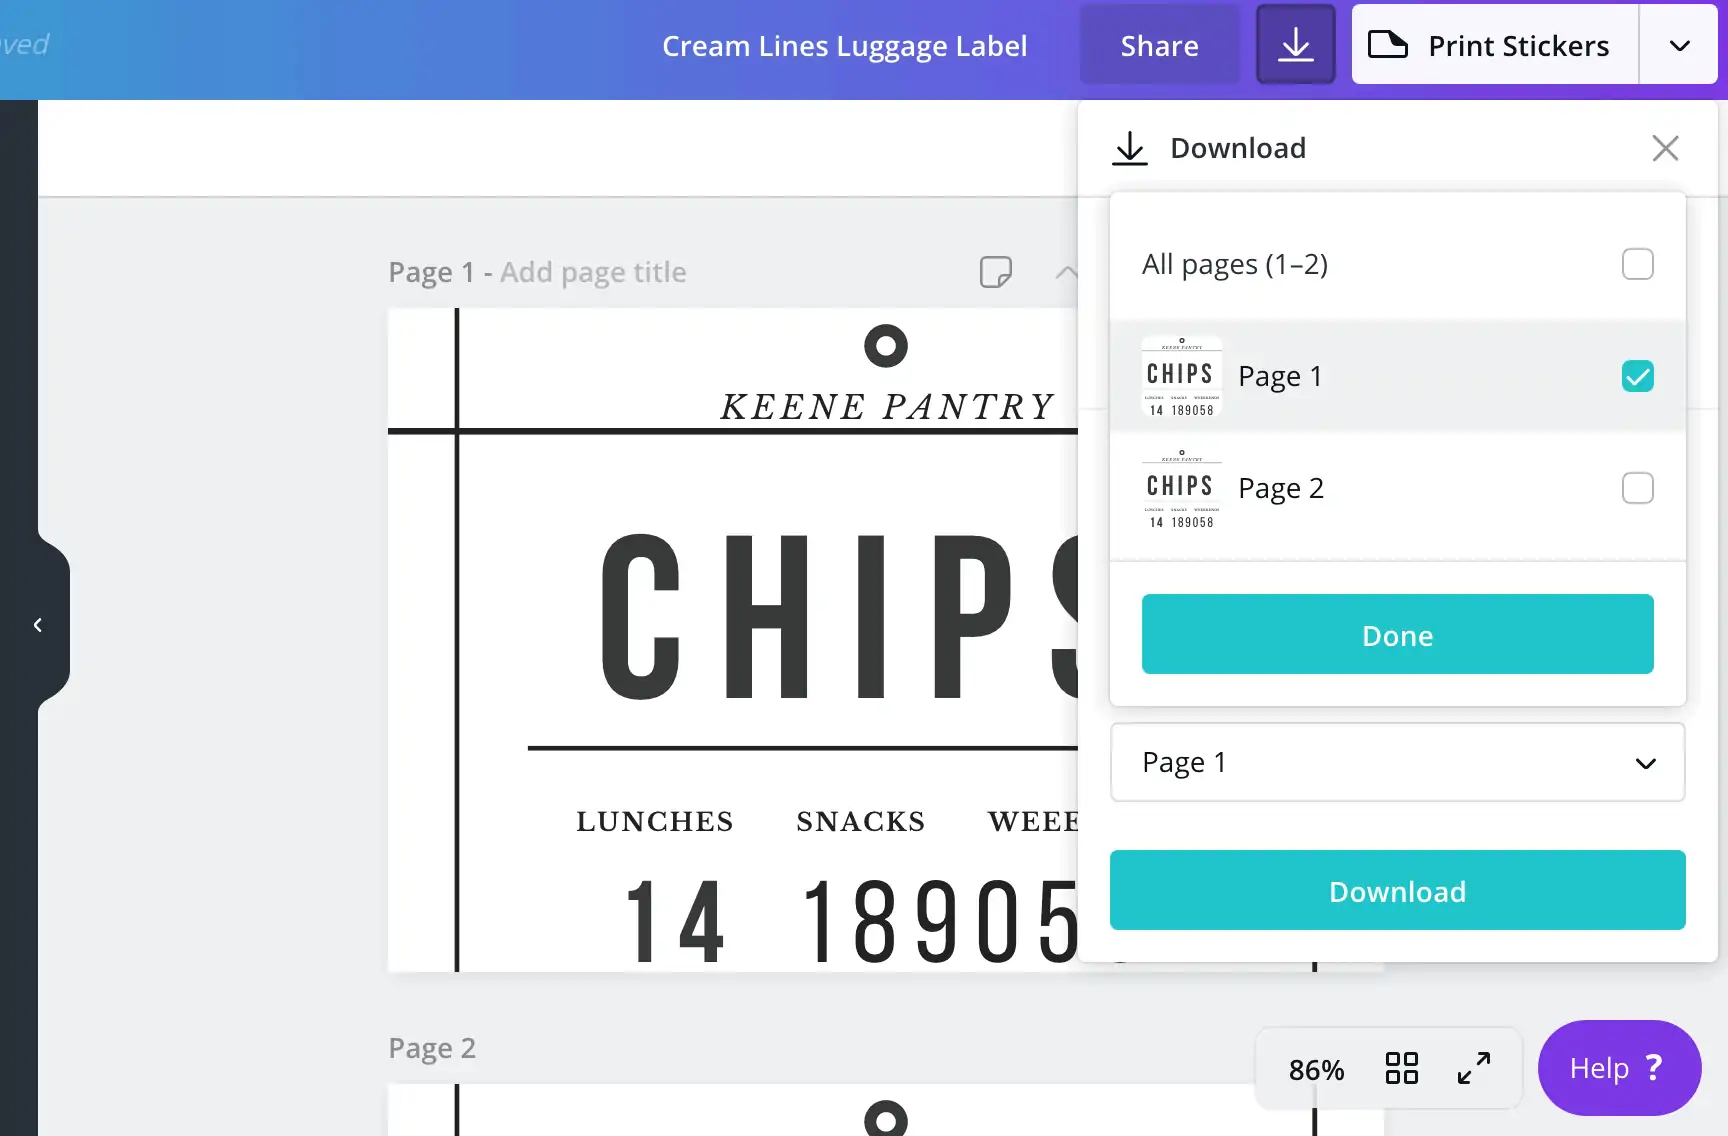
I printed mine onto white cardstock and then cut them out and modge-podged them onto the baskets/canisters. *Update- I’ve learned from experience to use resume paper to print the labels on as it is more durable and will stay looking nice far longer than cardstock. Here is a link to some resume paper on Amazon (affiliate link).
If this is not your jam, and just seems WAY too overwhelming but you NEED these labels for your pantry let me know and I can make you a custom set for minimal $.
Enjoy the cohesiveness and practicality your new labels add to your now-gorgeous pantry!
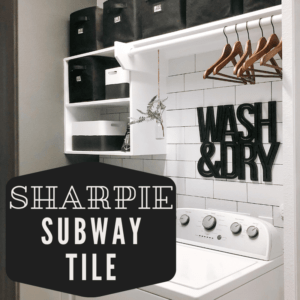
After you’ve turned your pantry into functional eye candy- check out the Faux Subway Tile Wall I did in my Laundry Room without using actual Subway Tile!






Leave a Reply