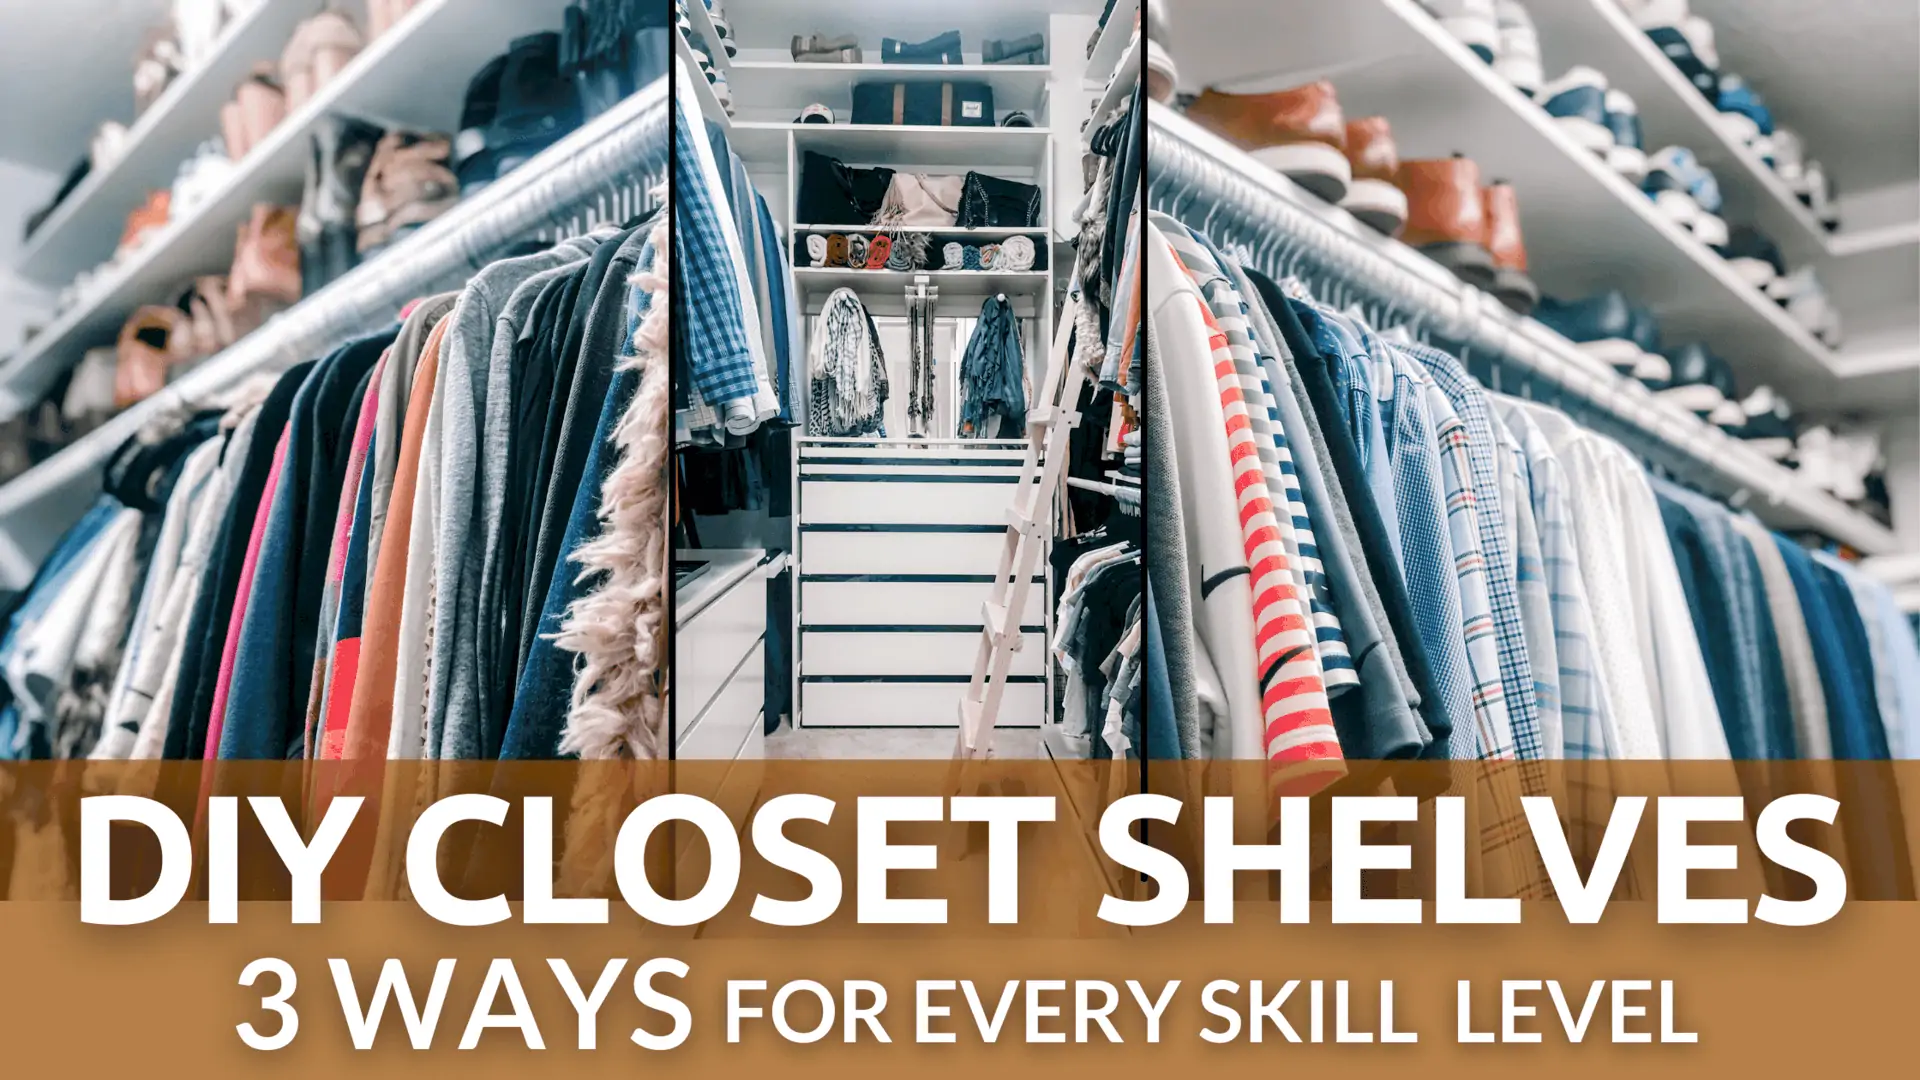
During my closet makeover I ended up adding shelves to our new closet design using 3 different methods. Each of the 3 techniques vary in work & skill required. From zero work/tools, to simple closet shelves (just attaching them), to totally custom closet shelves.
Here is the scoop for each from Easiest to the most Custom Closet Shelf Options- including materials required & DIY instructions for each!
Easiest DIY Closet Shelves
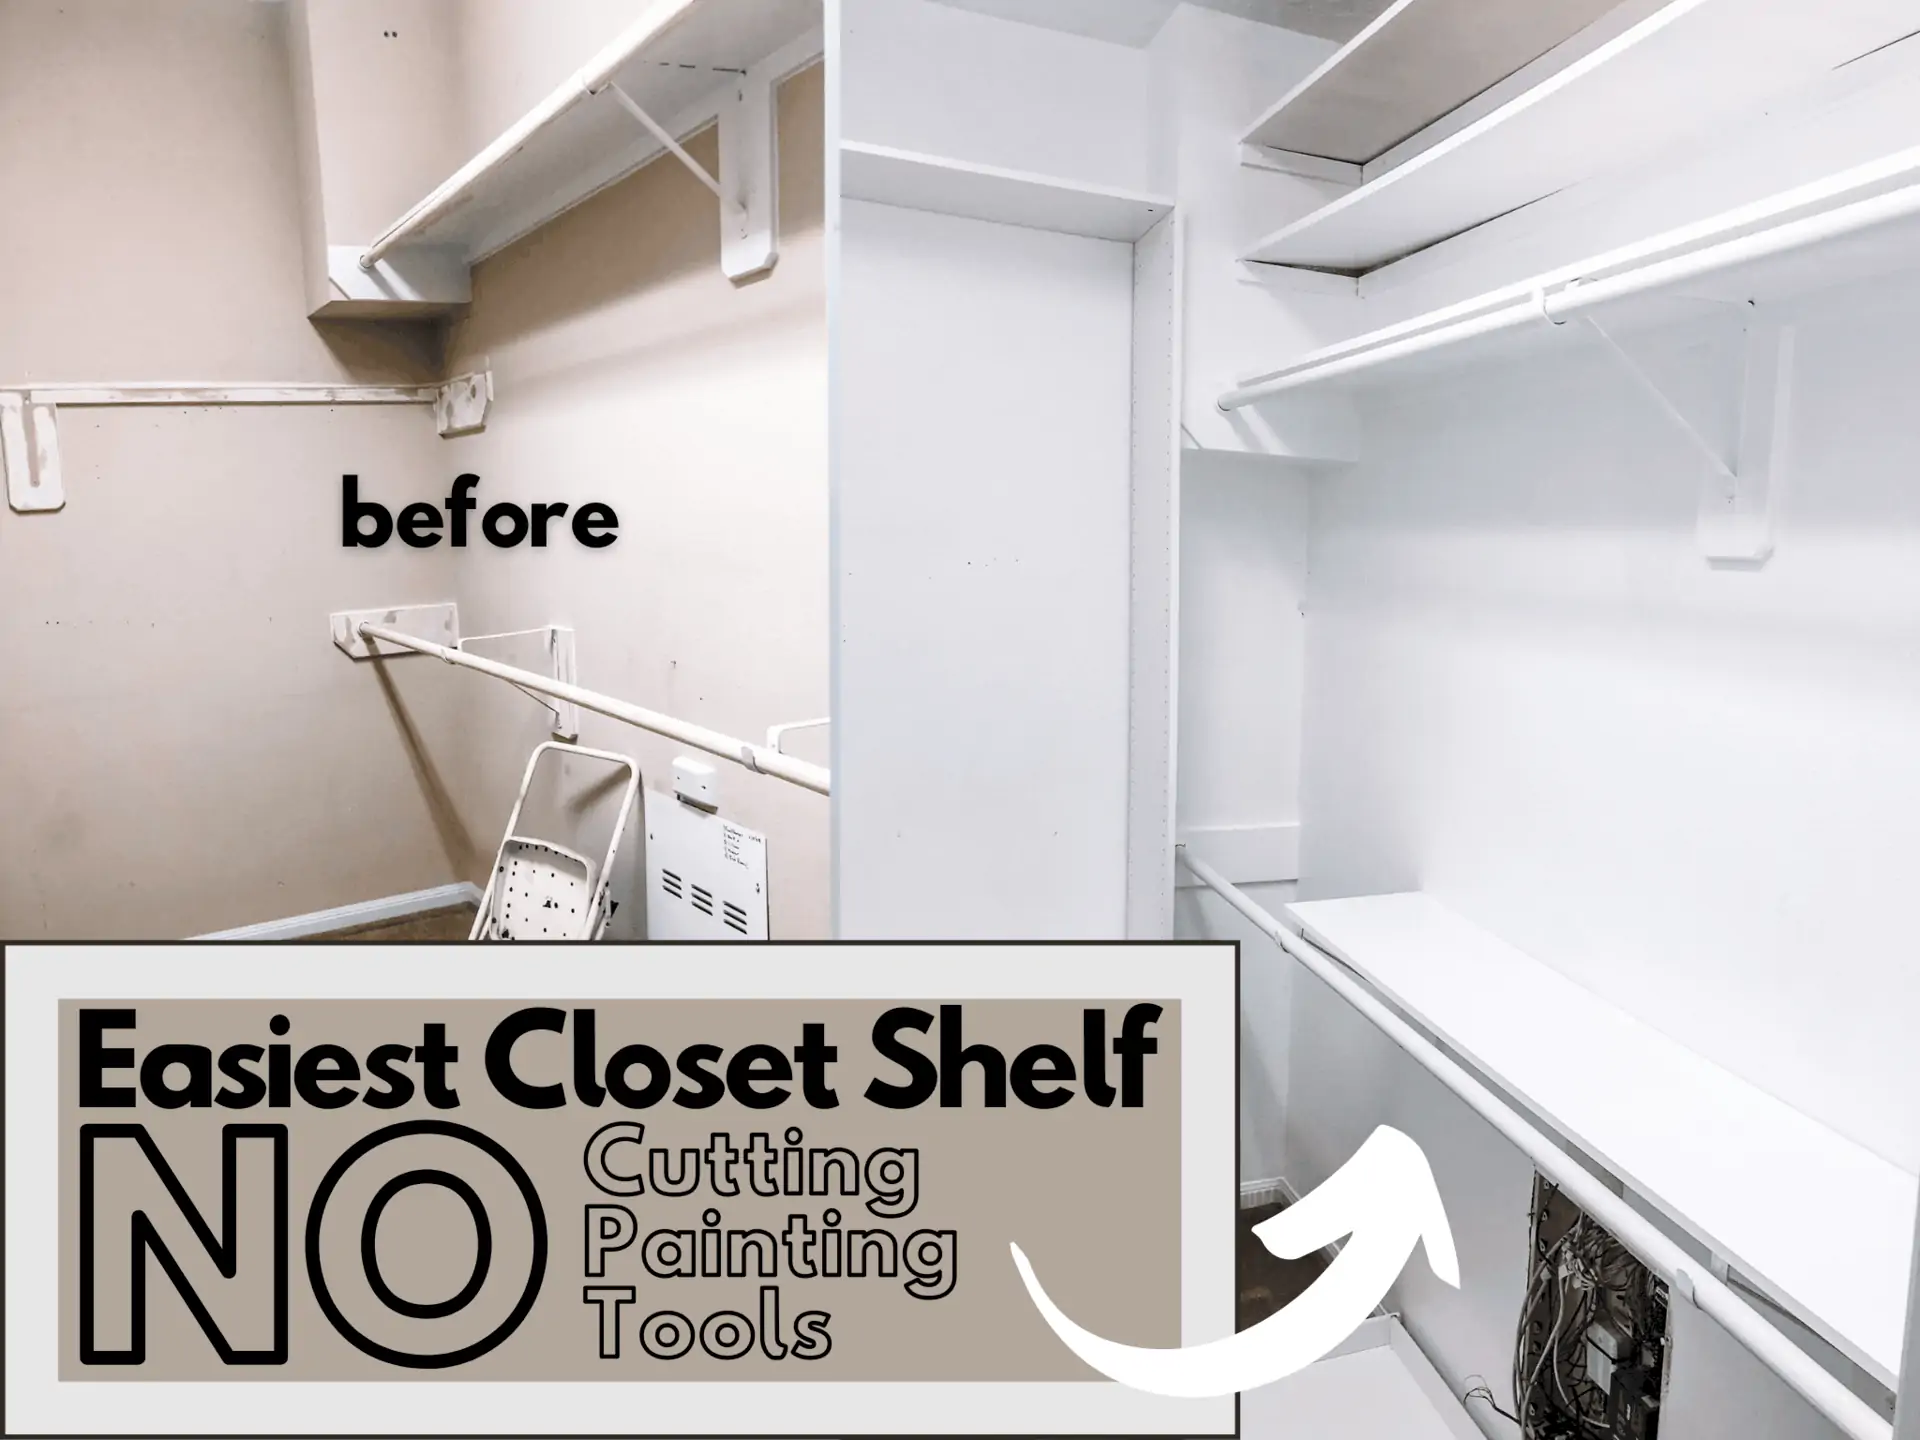
The easiest of all the shelves I installed in our DIY Master Closet Remodel required ZERO tools and ZERO skill! The brackets that support the lower curtain rod have a flat top, like these:
I got this 6’x1′ pre-finished closet shelf and placed it on the support brackets. That. is. it. Really!
A couple things to check before you get your shelf:
- Measure the length to see that both ends will be near a support. One side of mine rests on the wall support and the other end and extends just a few inches past one of the support brackets.
- Measure the width of the shelf to be sure it is not too wide. If it’s too wide it will interfere with the hangers going onto and coming off of the closet rod. You don’t want your shelf to extend over the closet rod.
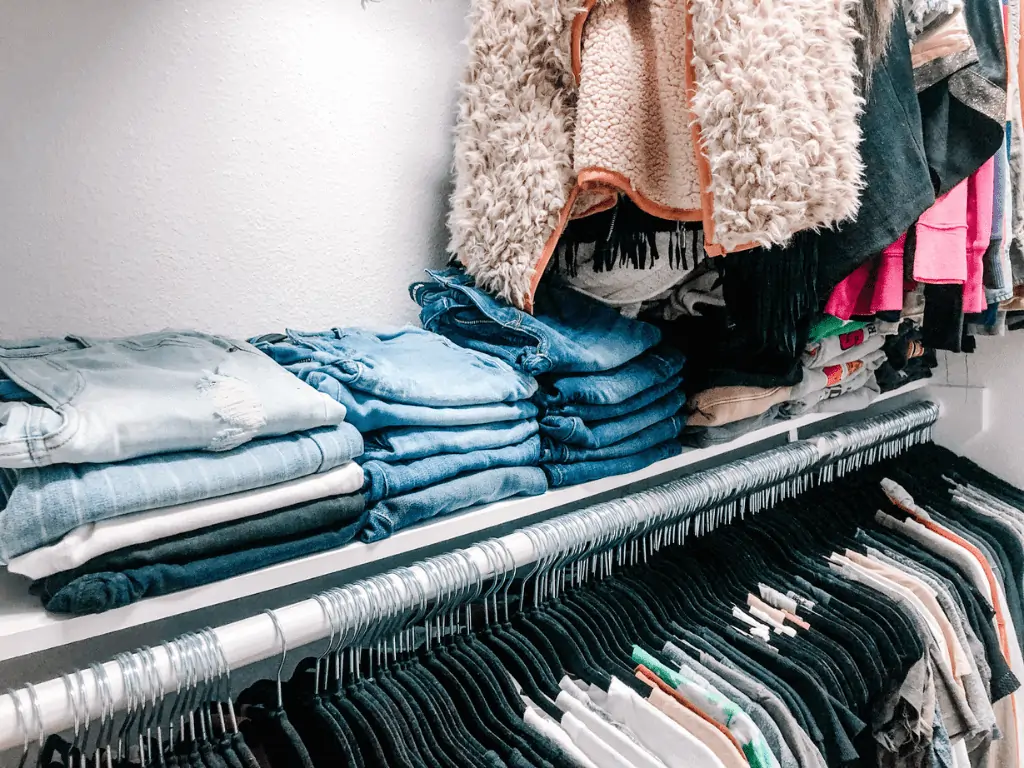
This shelf holds all my jeans and hoodies!
Simple DIY Closet Shelves
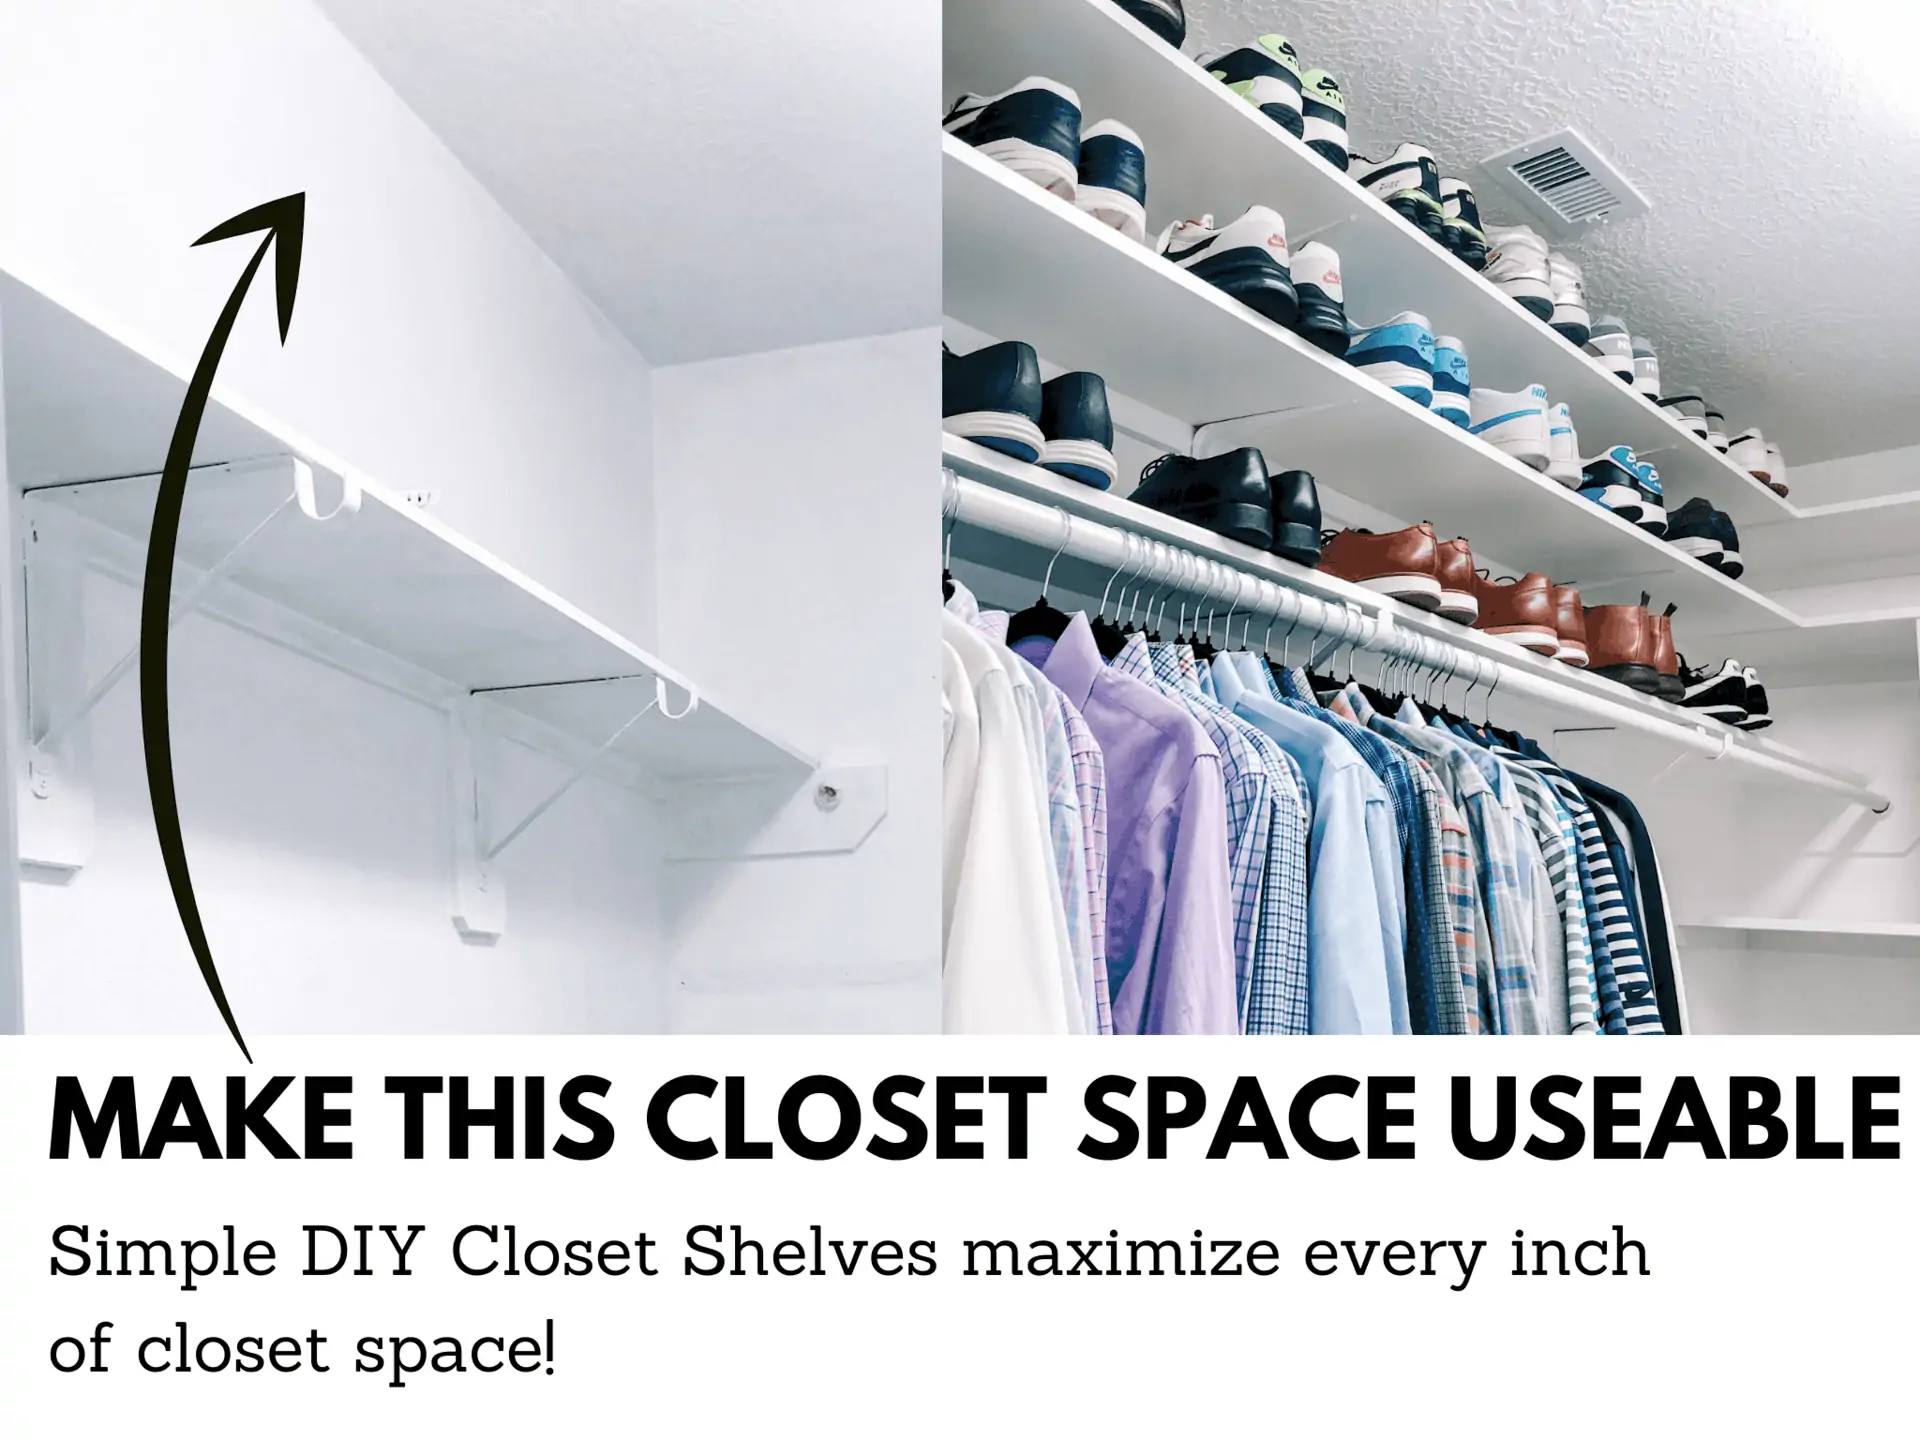
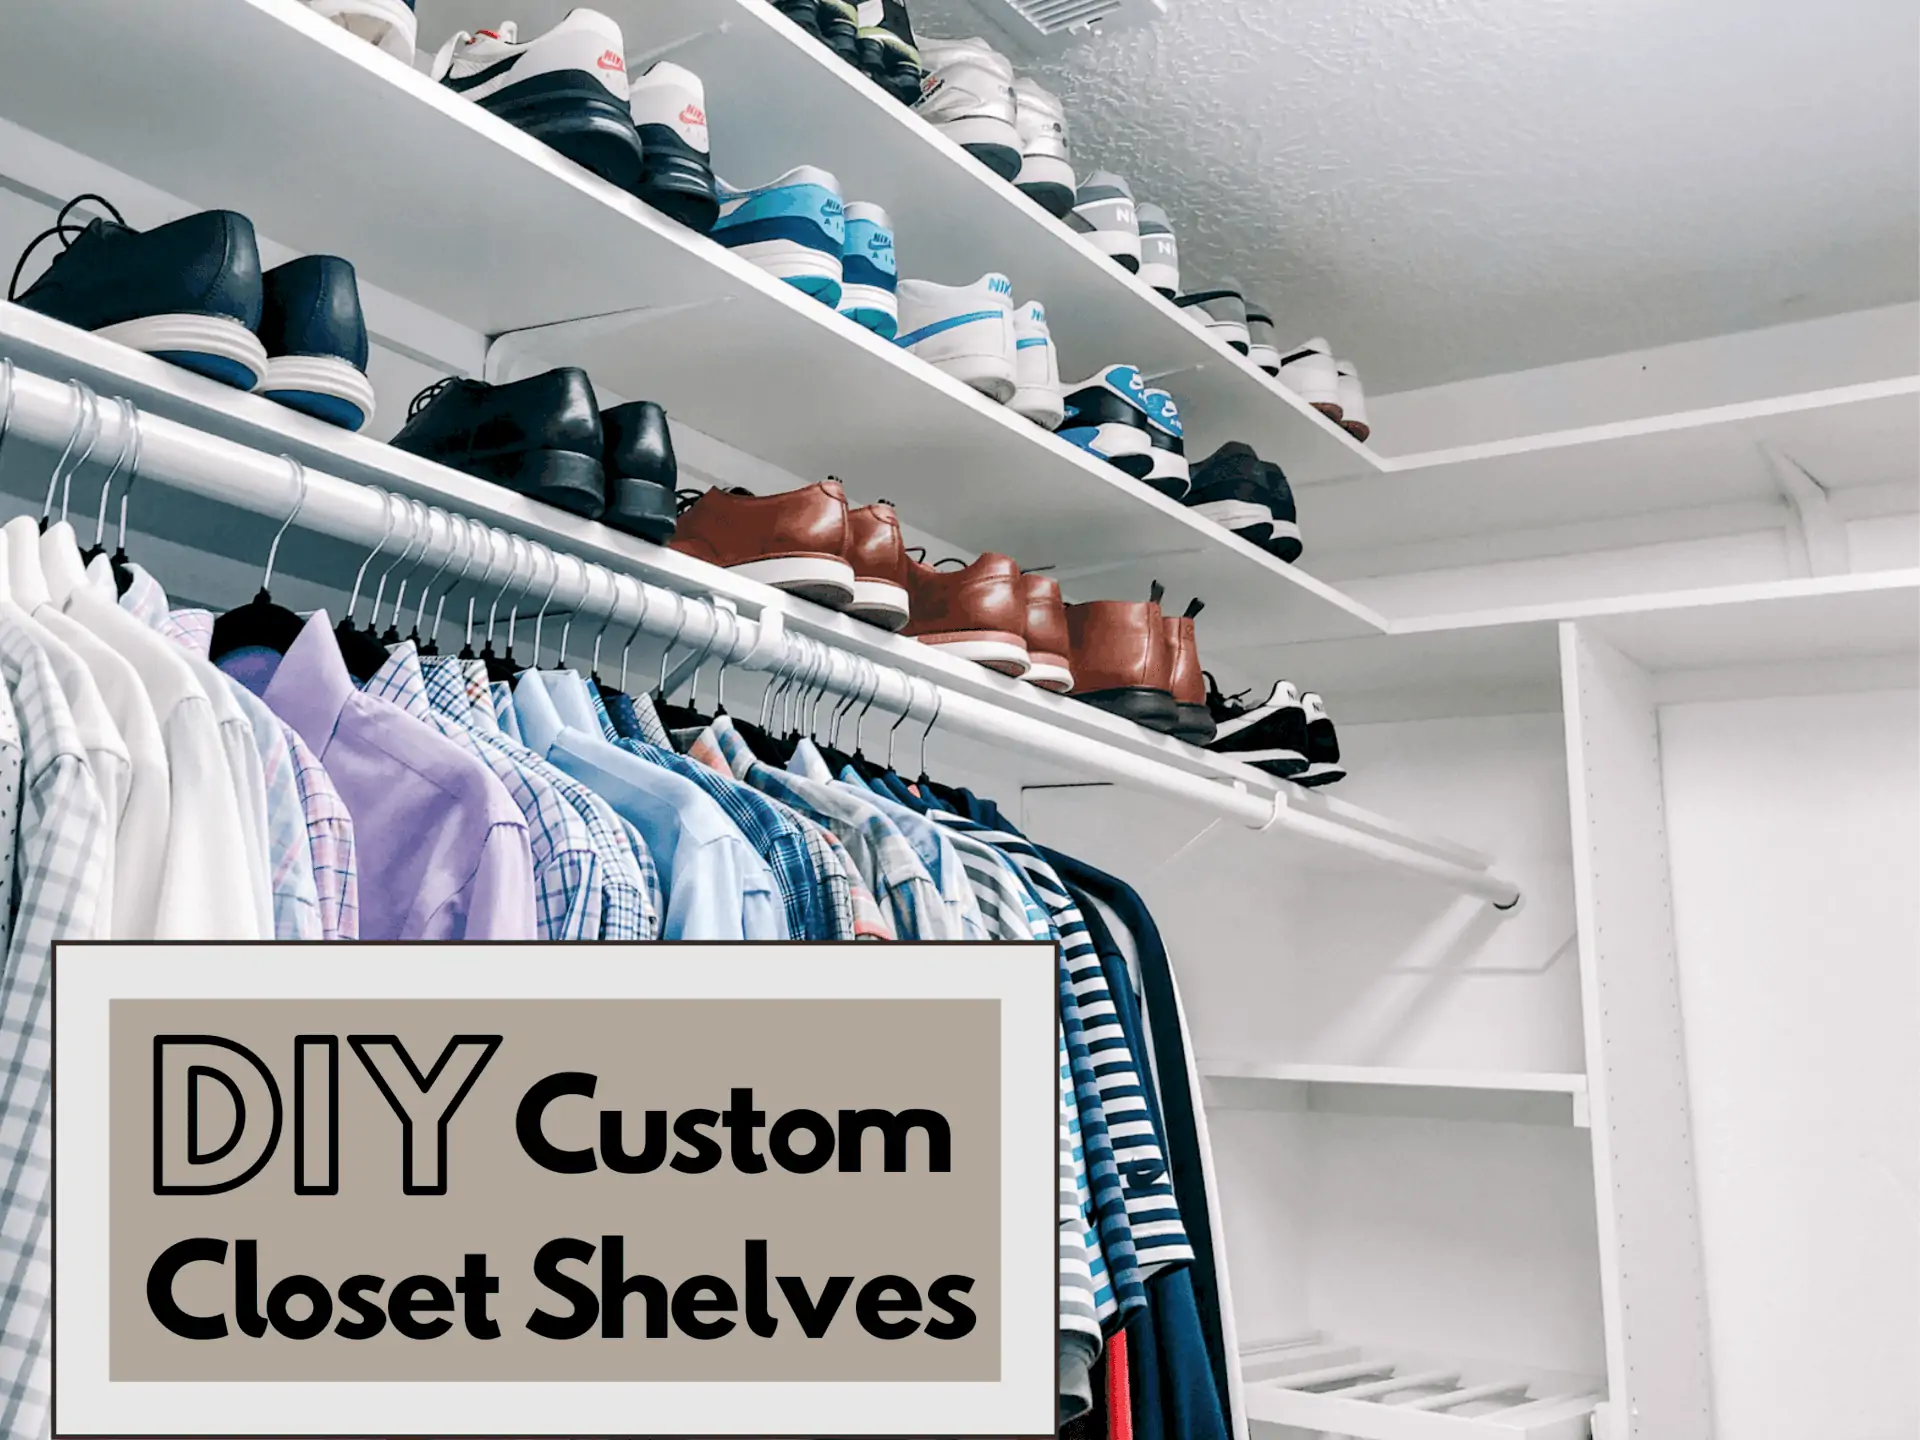
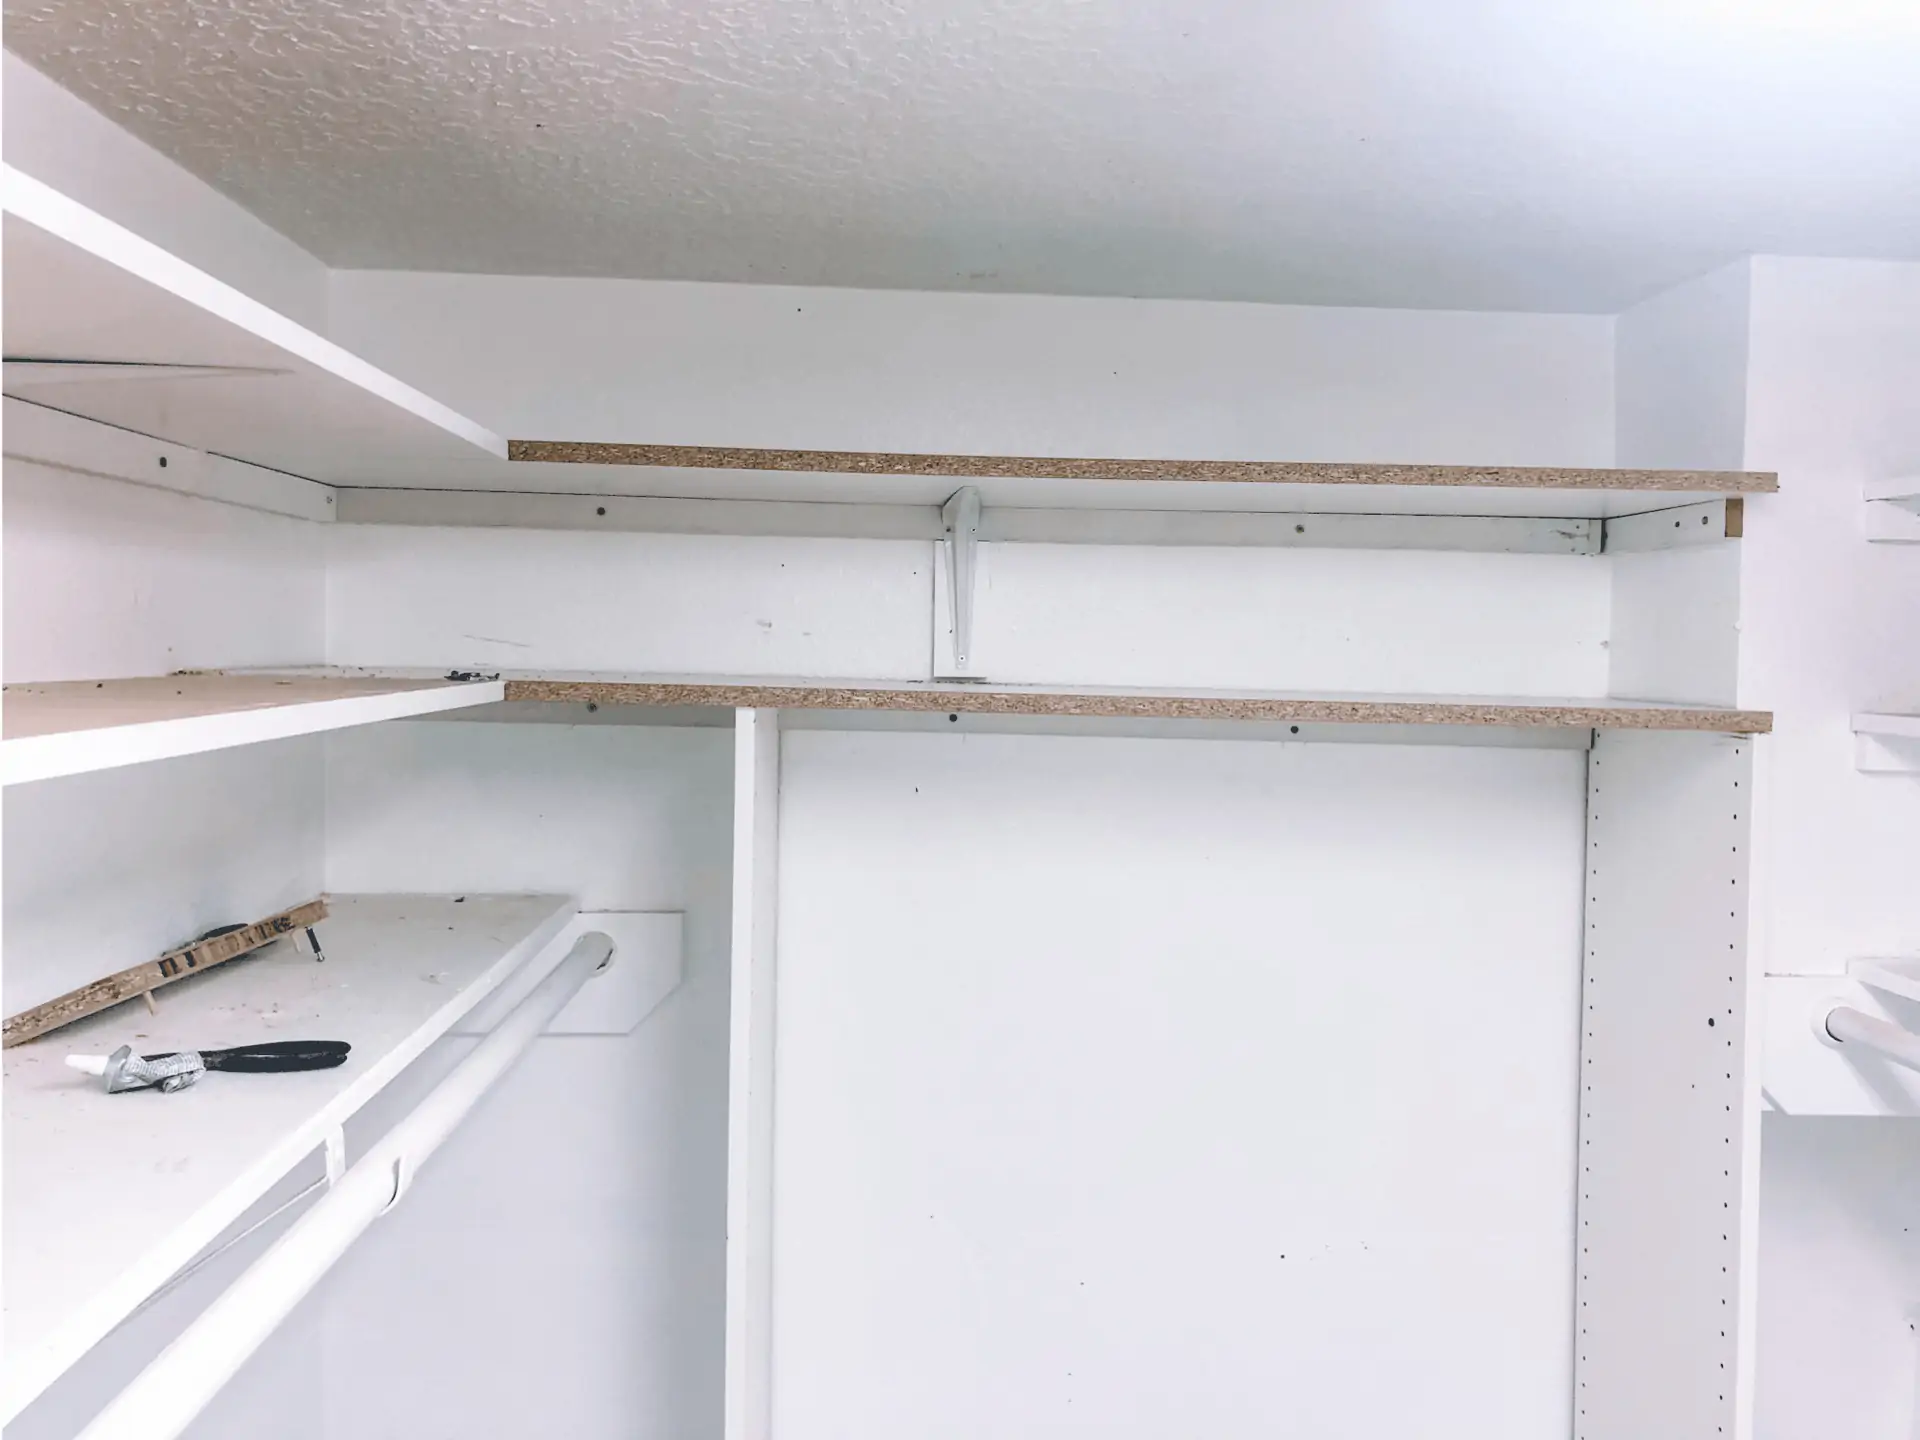
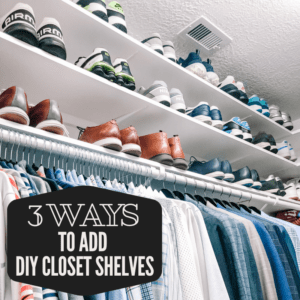
The next level up on skill/effort level for closet shelves were these shoe shelves I added to both sides of the closet for our shoes. These closet shelves allow us to utilize the empty space going all the way up to the ceiling. I used primed MDF boards. They are the proper width , but had to be cut to length & painted. You also need 1″x2″ primed finger joint boards to run along the wall underneath the back and sides of the shelves. These will need to be cut to length and painted as well. I put L brackets for support at the same intervals as the original shelf, underneath them, had. You will need 1″x3″ wood pieces to attach the brackets to. Here’s a walk-through for these medium effort-level DIY closet shelves…
Supplies Needed:
- Primed shelf boards
- 1″x2″ Primed Finger Joint Boards
- 1″x3″ Wood pieces to support L Brackets
- L Brackets
- Screws
Optional Supplies:
- Glue
- Caulk
- Paint
Tools Needed:
- Measuring tape
- Saw
- Level
- Drill
How to attach simple DIY closet shelves to the wall:
- Measure and mark the wall with a level of where you want your shelves to sit. Then mark each stud along your guideline. This line will help you install the finger joint boards in step 3 swiftly.
- Measure and cut the 1″x2″ finger joint boards to fit underneath the back and sides of the shelves.
- Apply construction glue to the back of the finger joint boards. Line the finger joint board up under the guideline and attach it to each stud with screws. (Be sure to pre-drill holes into the finger- joint boards & studs to prevent wood-splitting).
- Measure & cut 1″x3″ wood to fit vertically where you will put your L-brackets. These wood pieces will butt up to the finger- joint board and run down the wall far enough to support the full L-bracket length on the wall.
- Attach the 1″x3″ wood pieces into the stud (Add construction glue to the back for extra support.)
- Rest the shelf board onto the finger joint supports. Put level on edge of shelf and screw L brackets into the wall supports at the correct height to keep the shelf level from front to back and side to side.
- Then screw the L bracket into the shelf boards with small screws.
Optional Cosmetic Step- caulk and paint seams and screws. If your shelves above eye level you don’t have to paint the top of the shelves, just the undersides and edges.
Custom DIY Closet Shelves
I made 2 large shelves above the Ikea Pax, the small shelf to the side of the Pax unit, and the top to the DIY drawer unit all from one $32 sheet of 4’x8′ Melamine. Melamine is very sturdy and doesn’t bow. It’s a pretty & smooth surface that is easy to wipe off, and also doesn’t require paint!
I made these shelves 15″ deep to match the depth of the IKEA Pax unit that is underneath them.
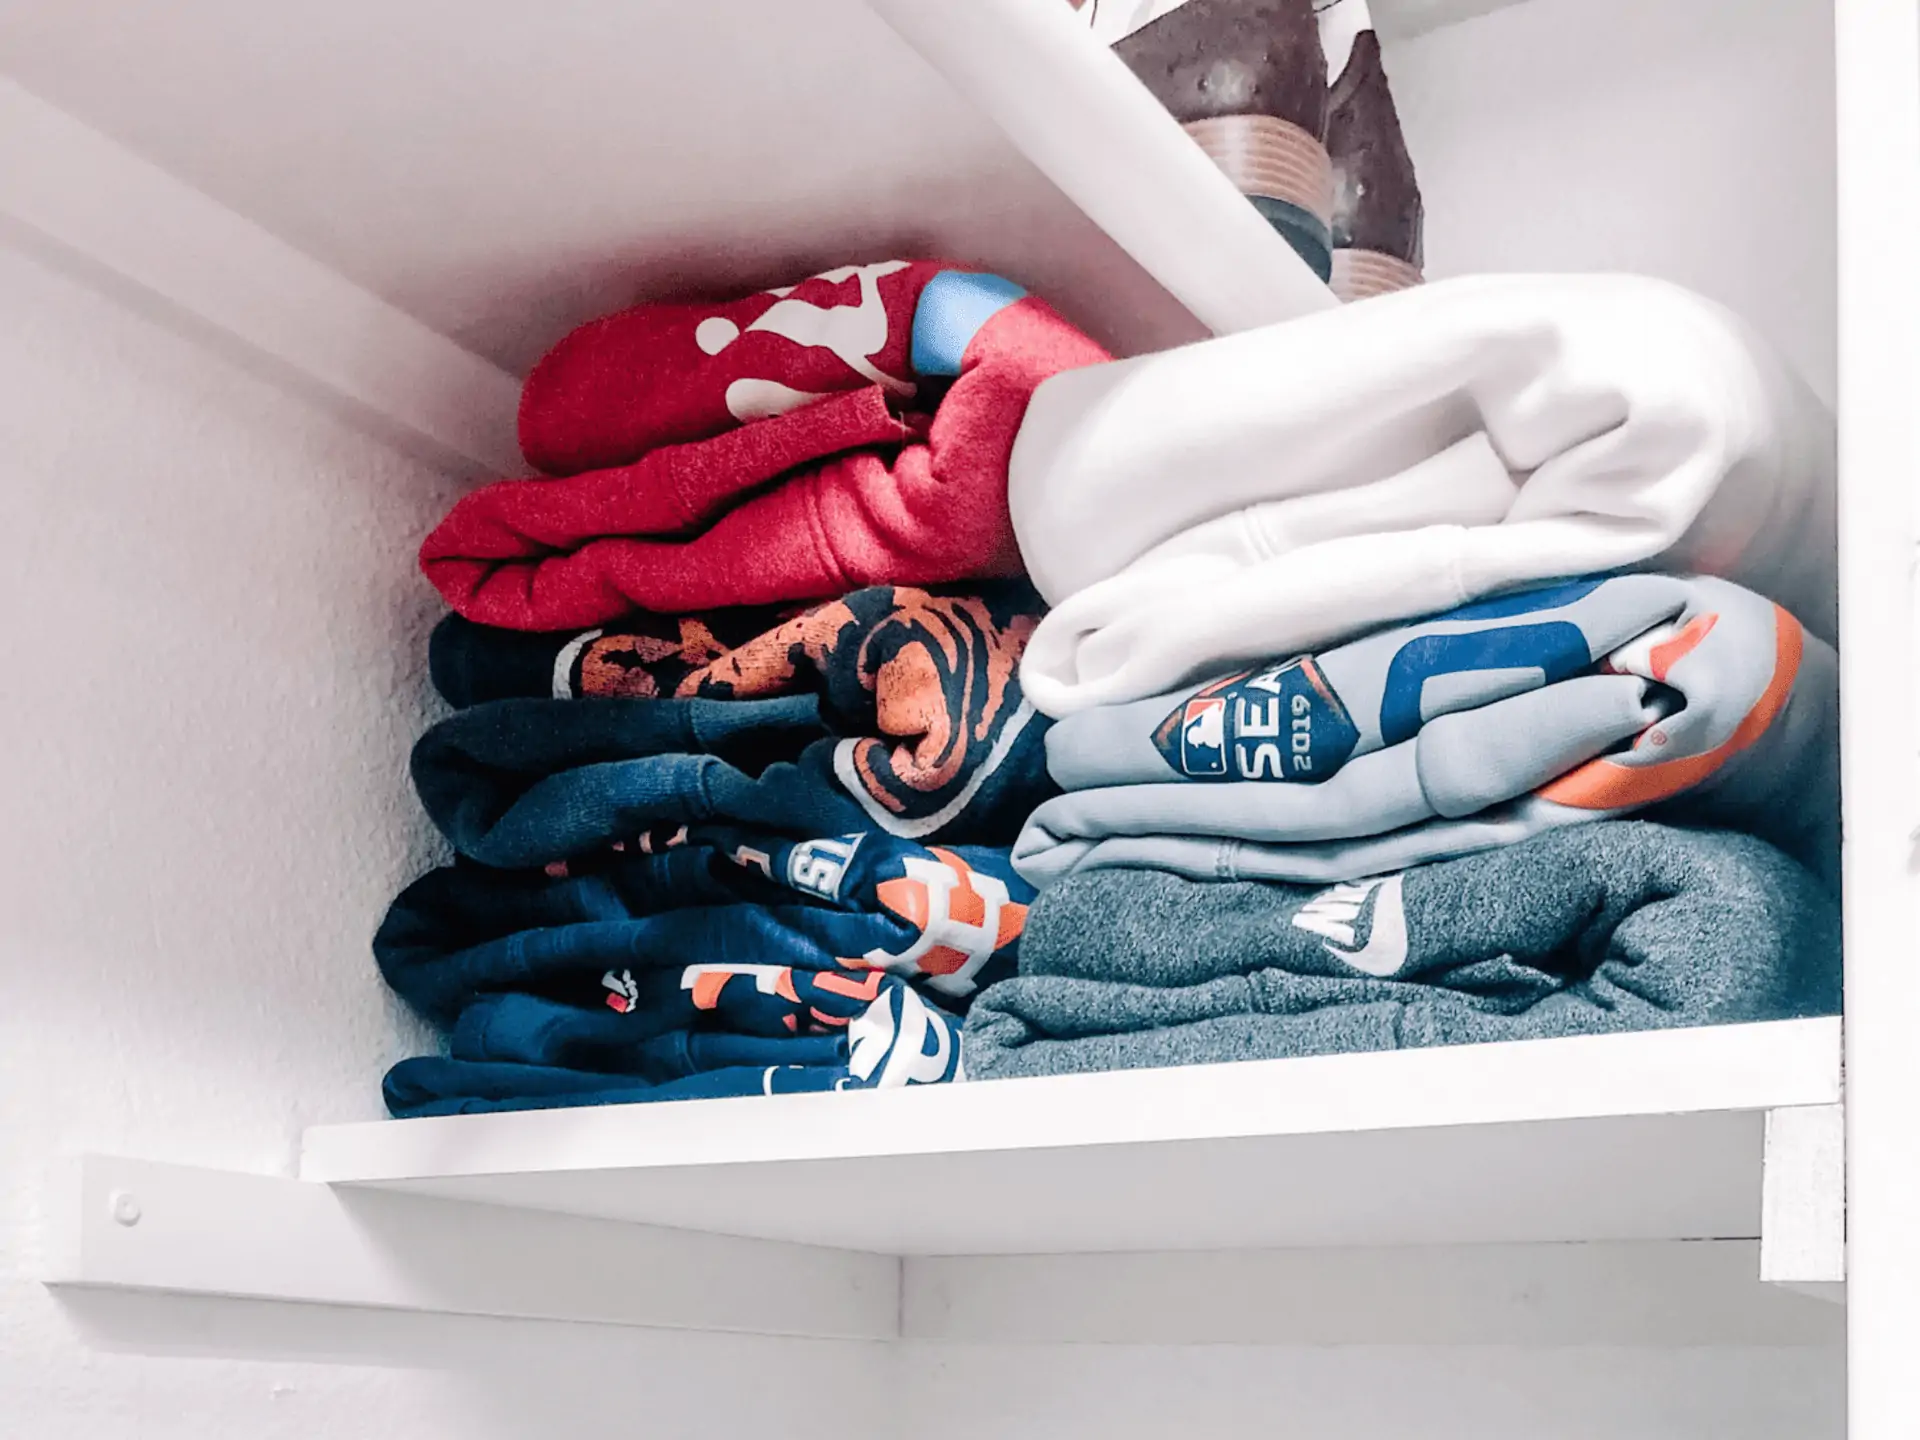
One of the benefits of this custom closet shelf method is you can add shelves to any nook & cranny you’d like. I added a shelf in the corner beside the Pax for my hubby’s bulky hoodies.
Once you measure and cut the melamine- Follow the same installation instructions as the simple closet shelves above.
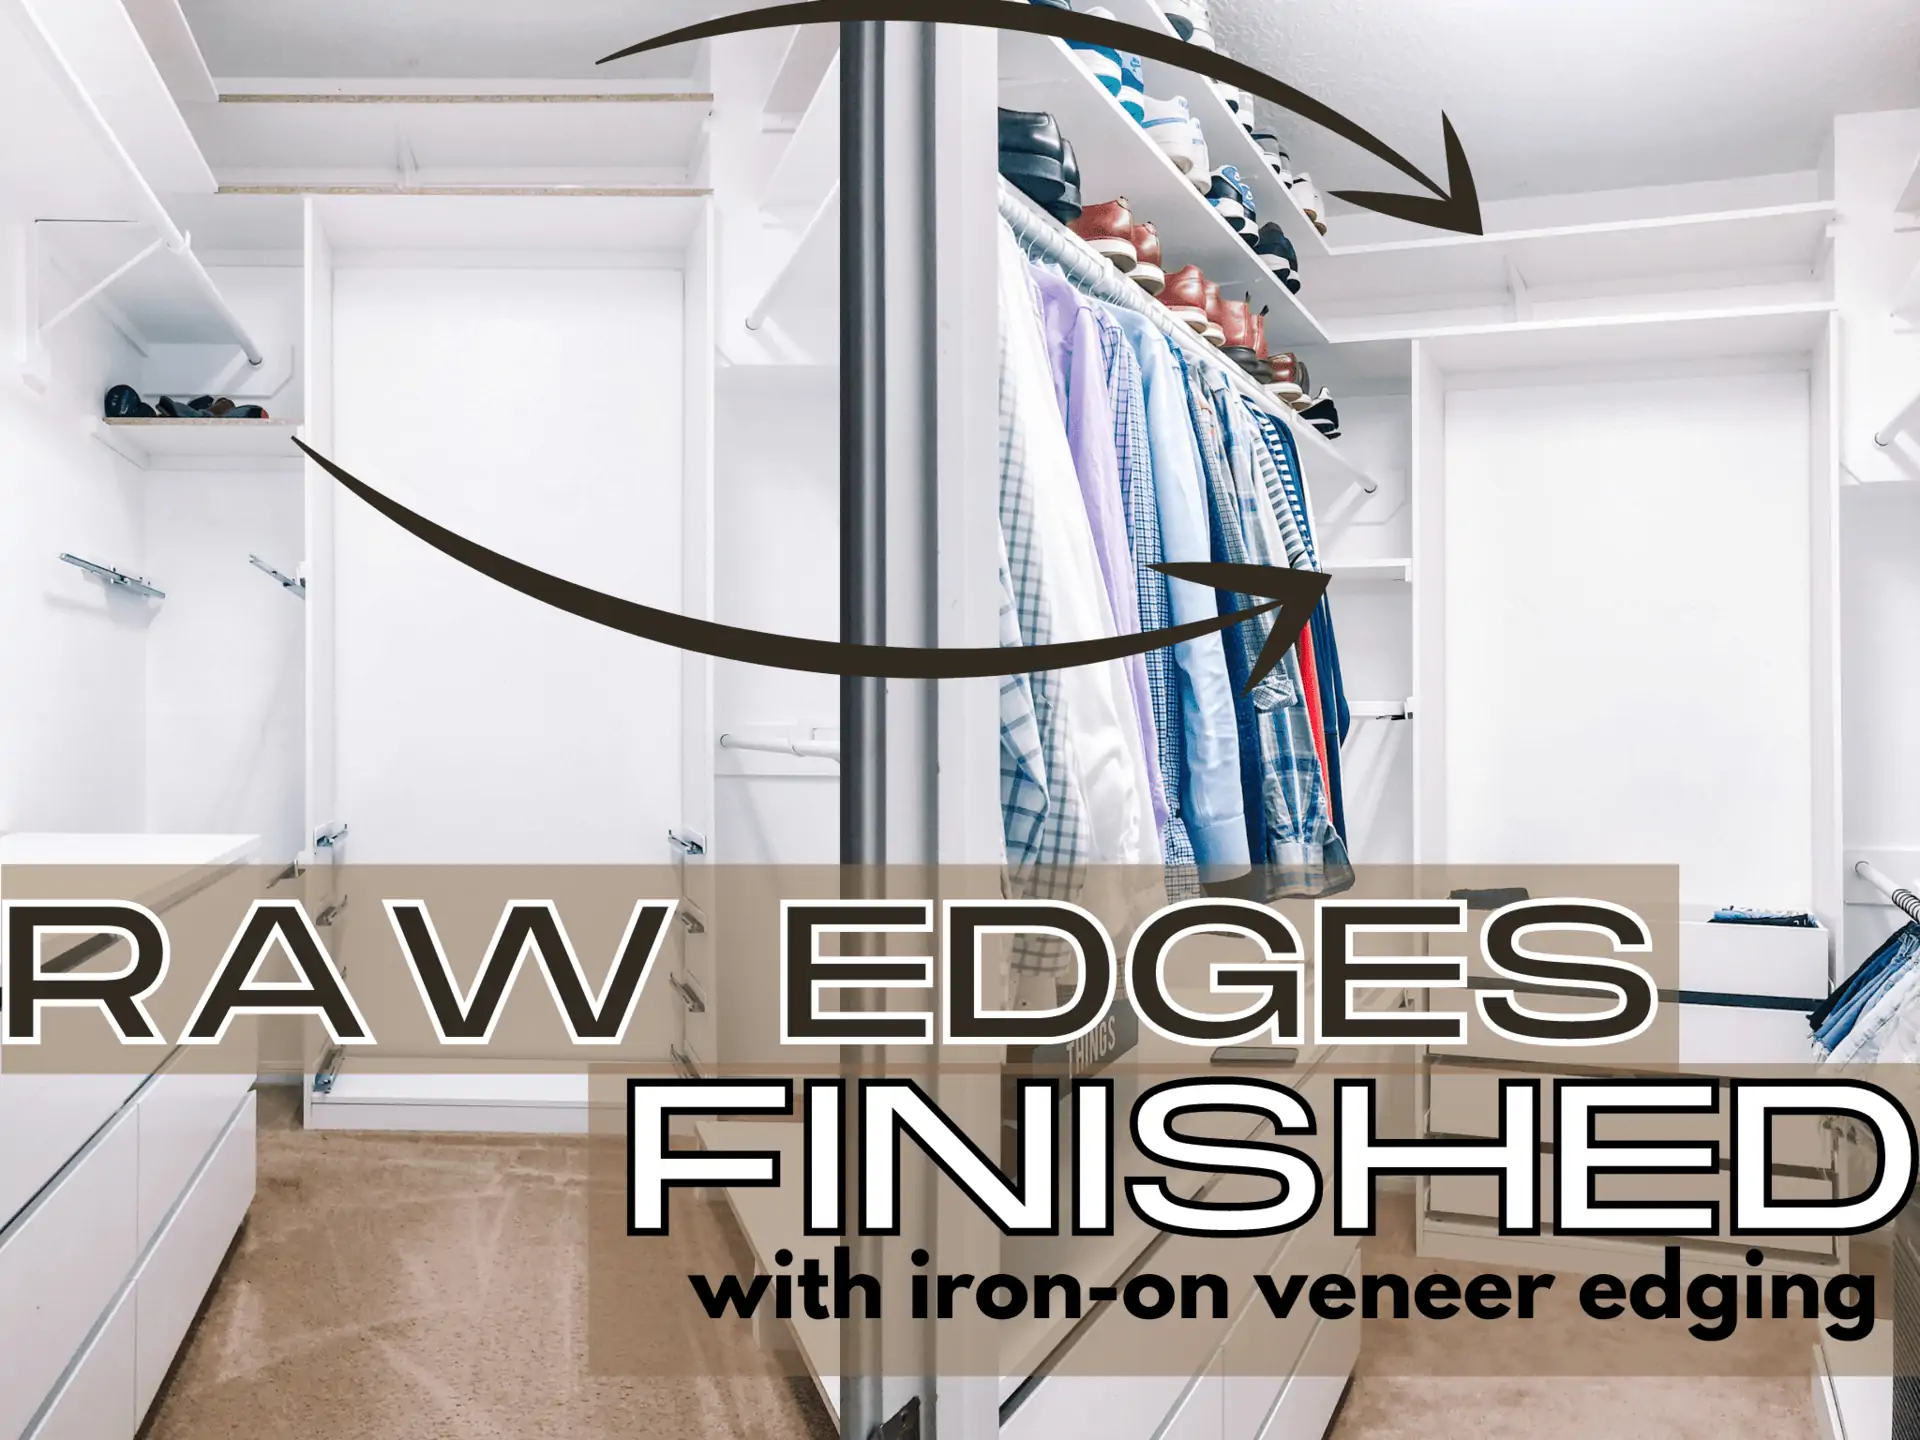
The finishing step is to apply Band-it Veneer Edging to the raw edges. This stuff is easy to apply. The edging transforms these Custom DIY Closet Shelves to perfection!
Here is a video of easily it is applied:
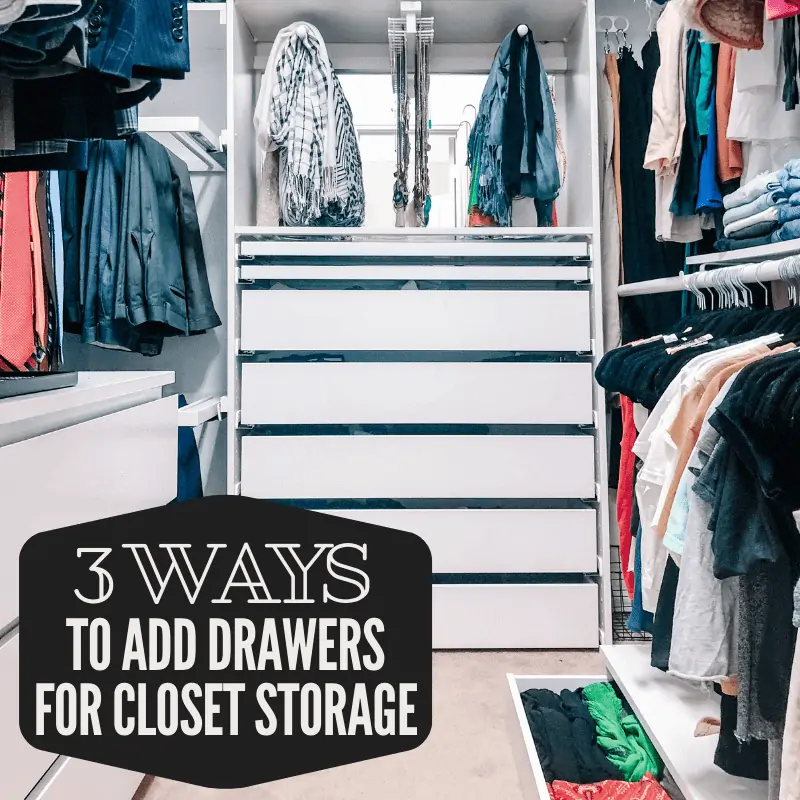
After you add your closet shelves, you may find yourself wanting to add some closet drawer space. Here are the 3 Brilliant Ways I added Drawers to this Closet.
Check out these other Genius Ways to Maximize every inch of your Closet:
DIY CLOSET ORGANIZER FOR YOUR WARDROBE


















Leave a Reply