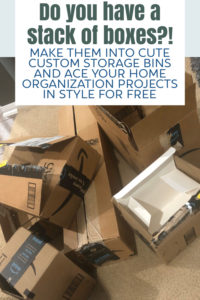
Your DIY storage cube might even turn out to be better than those expensive bins from your favorite stores. And it reuses something you probably already have. Ready for the magic component- Those Discarded Cardboard Boxes! You know- the ones your online retail therapy arrives in?!
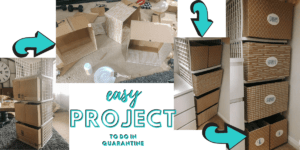
Those discarded boxes can be quickly transformed into: Cute, Custom-Sized, Matching Storage Bins! (*And if you’re curious if they hold up- scroll to the end to see how the ones I made 6 years ago look!)
Perfect quarantine project because I was able to only use everything we already have, which also means $0 spent- yayAH!
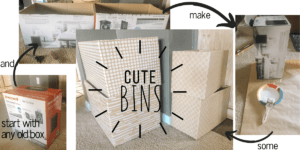
Think of whats on your ‘To Organize’ docket… Art Supplies, Tools, Clothes, Toys, Makeup, Pantry… and make yourself a set of custom storage cubes to complete and beautify the job. Gather up your empty boxes & get excited! Because you are going to transform them into cute matching storage bins! The perfect sizes and shapes for your latest organizing voyage are all about to be born right in front of you!
Sift through your house to see if you have any shipping paper, cute wrapping paper, or fabric. Think outside the ‘box’ with this part- I just set aside the old curtains I took down- made from drop cloths- for the next round of organizing cubes!
DIY Storage Cube Supplies:
- Sharp Cutting tool– I used a pocket knife (make sure it is sharp enough to easily cut through cardboard- if you try to do this with scissors you will be cursing your way through each cut and it will take forever!)
- Measuring Tape
- Packing Tape
- Modge Podge
- Something cute to wrap them in- fabric, shipping paper, wrapping paper
- Scissors
DIY Storage Cube Tutorial:
- Measure the dimensions you need your cube to be
- Cut the boxes down to size or completely flatten them and build them from scratch by cutting the cardboard into the size you need & taping it together with the shipping tape.
- Test out the box in the space as you’re building to be sure it’ll be a smooth fit.
- Cut the fabric/paper to cover the front and sides that will be showing- or if you’re an overachiever just cover the whole thing- then if you decide to use this container somewhere else to store something else in the future it can be turned any which way!
- Paint on the modge podge- (a little tip for fellow modge-podgers- I use a cheap paint brush dedicated for modge podge & keep it in a sealed baggie, and store it with my modge podge. It doesn’t dry out and is always ready for the next use without having to go through a ton of brushes like I used to before thinking of this!)
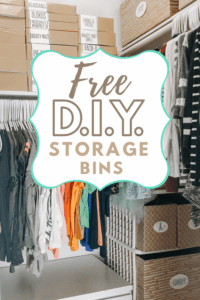
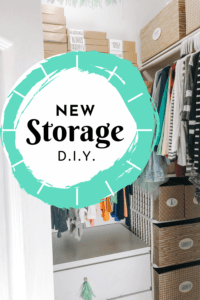
This is what the two different afternoons of making all the new storage cubes for the girls’ closet looked like.
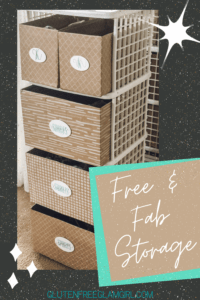
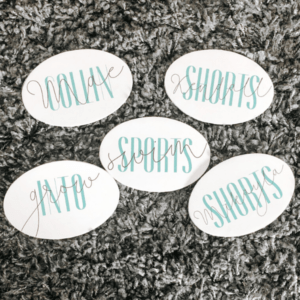
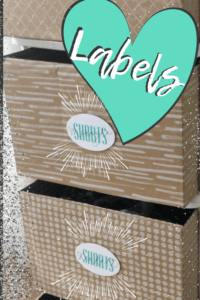
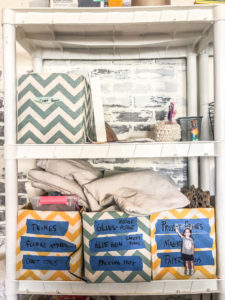
If you want to gussy up your DIY Storage Cube- (and also be able to remember what is in which cube)- you can make cute little labels.
I used canva.com to make mine. I’ll do a separate post with the details to make these labels at an effort to keep this post less squirley than my all-over-the-place brain is right now;)
Enjoy the fruits of your labor and give yourself an extra pat on the back for making something out of nothing!! Feels so good!
Here is a video ‘tour’ of these finished DIY Storage Cubes!
If you are curious about if they hold up- here is a DIY storage cube x6 I made out of diaper boxes. They’re wrapped in canvas fabric, and were made about 6 years ago. They’ve moved locations and items several times and are still in great shape! After making the girls’ closet cubes, these are calling out for some cuter labels though right?!
Share your DIY storage cube with me!!!
On a roll with organizing? Check out these other Organizing Posts for more inspiration:















Leave a Reply