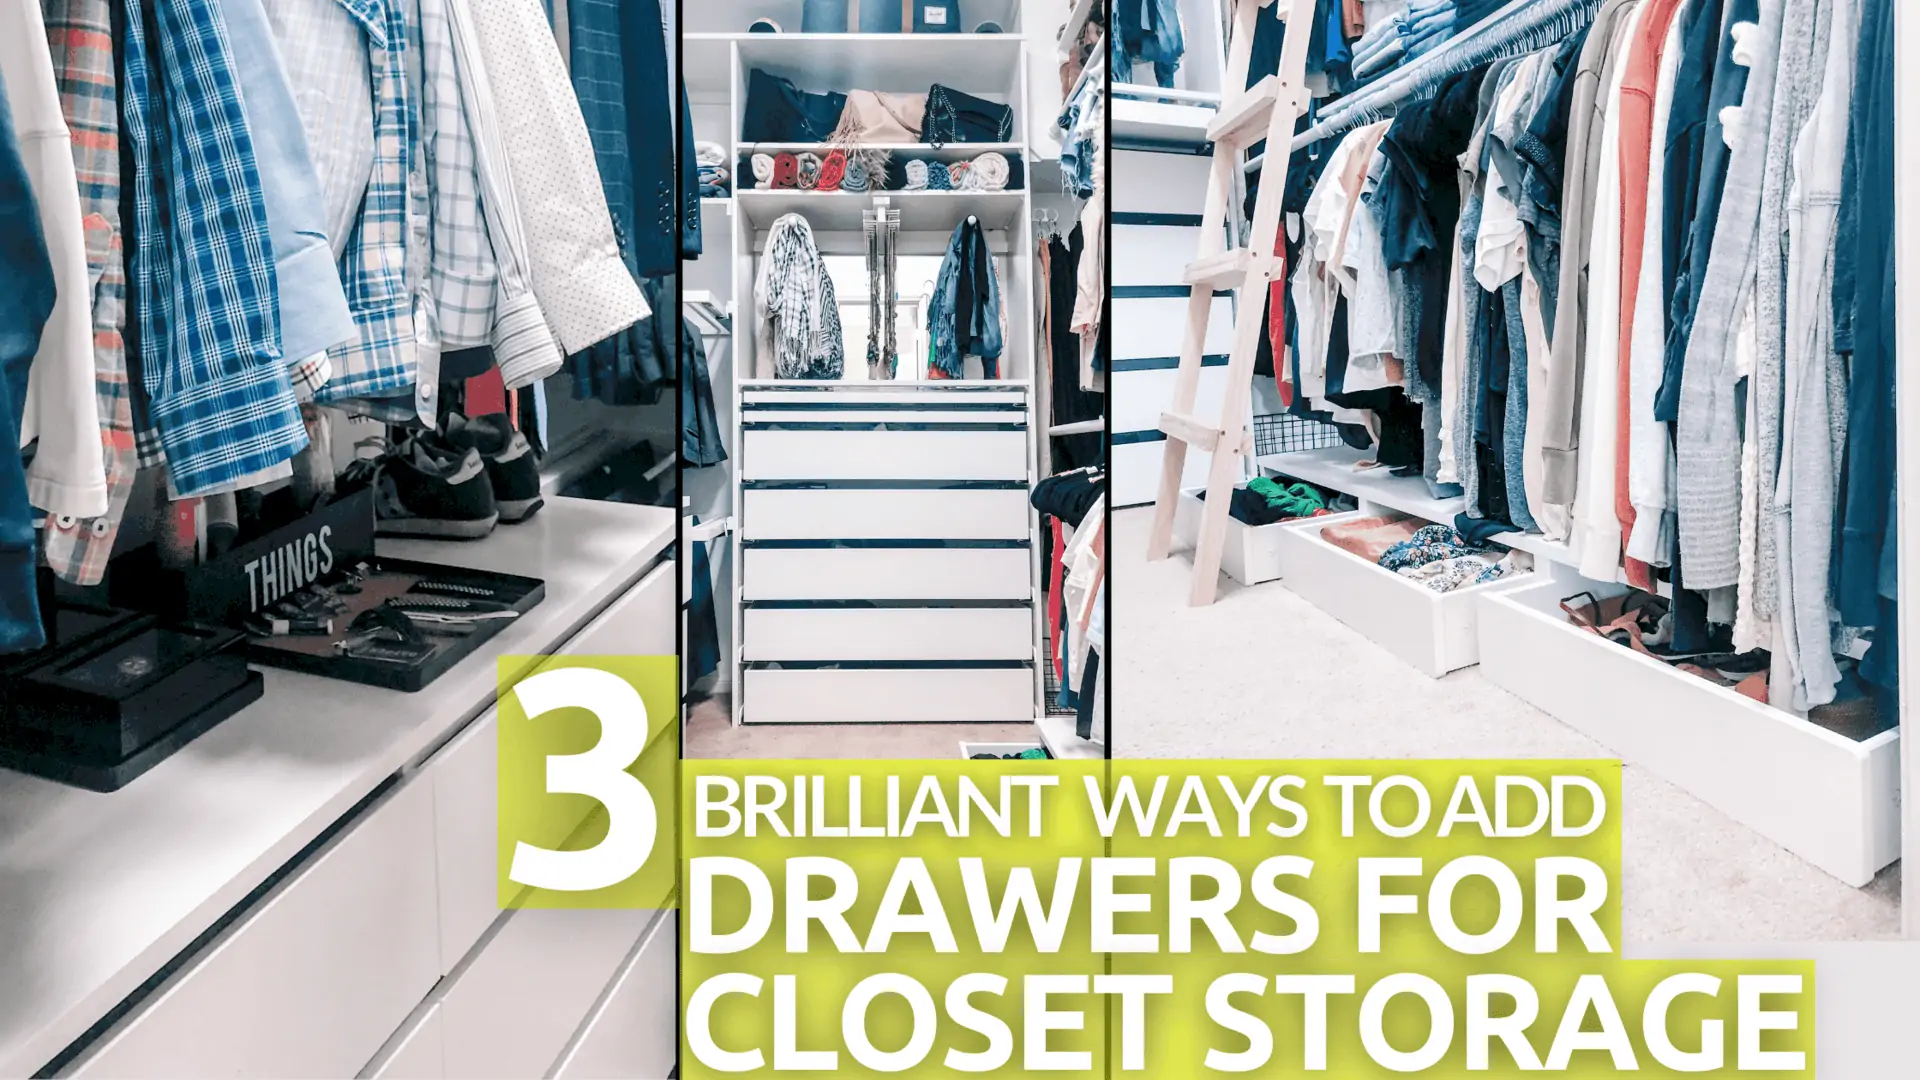
Drawers for closet storage are coveted but hard to come by in most closets. If you want those sought-after drawers in your closet, you’ll either have to shell out thousands of dollars for a custom closet, or put your DIY gloves on and use one or all of these 3 methods to add closet drawers yourself!
Even if your master closet is tiny, don’t be dismayed. With these 3 methods to add drawers for closet storage you can make your small spaces efficient!
If you didn’t see last week’s post, DIY Closet Organizer Made for Your Wardrobe, check out the full transformation of our small walk in master closet there. As I mentioned in that post, the first part of planning out your new closet design is to decide how much of each: Closet Rod, Closet Shelves, & Closet Drawer storage your wardrobe requires.
The next question: How do I put drawers in my closet?
The 3 brilliant methods to add drawers to your closet are:
- Floor Drawers for Closet Storage
- Dresser Drawers for Closet Storage
- IKEA Pax/Komplement Drawers for Closet Storage
Here are the details to add each of these 3 types of drawers to your closet:
1. Floor Drawers for Closet Storage
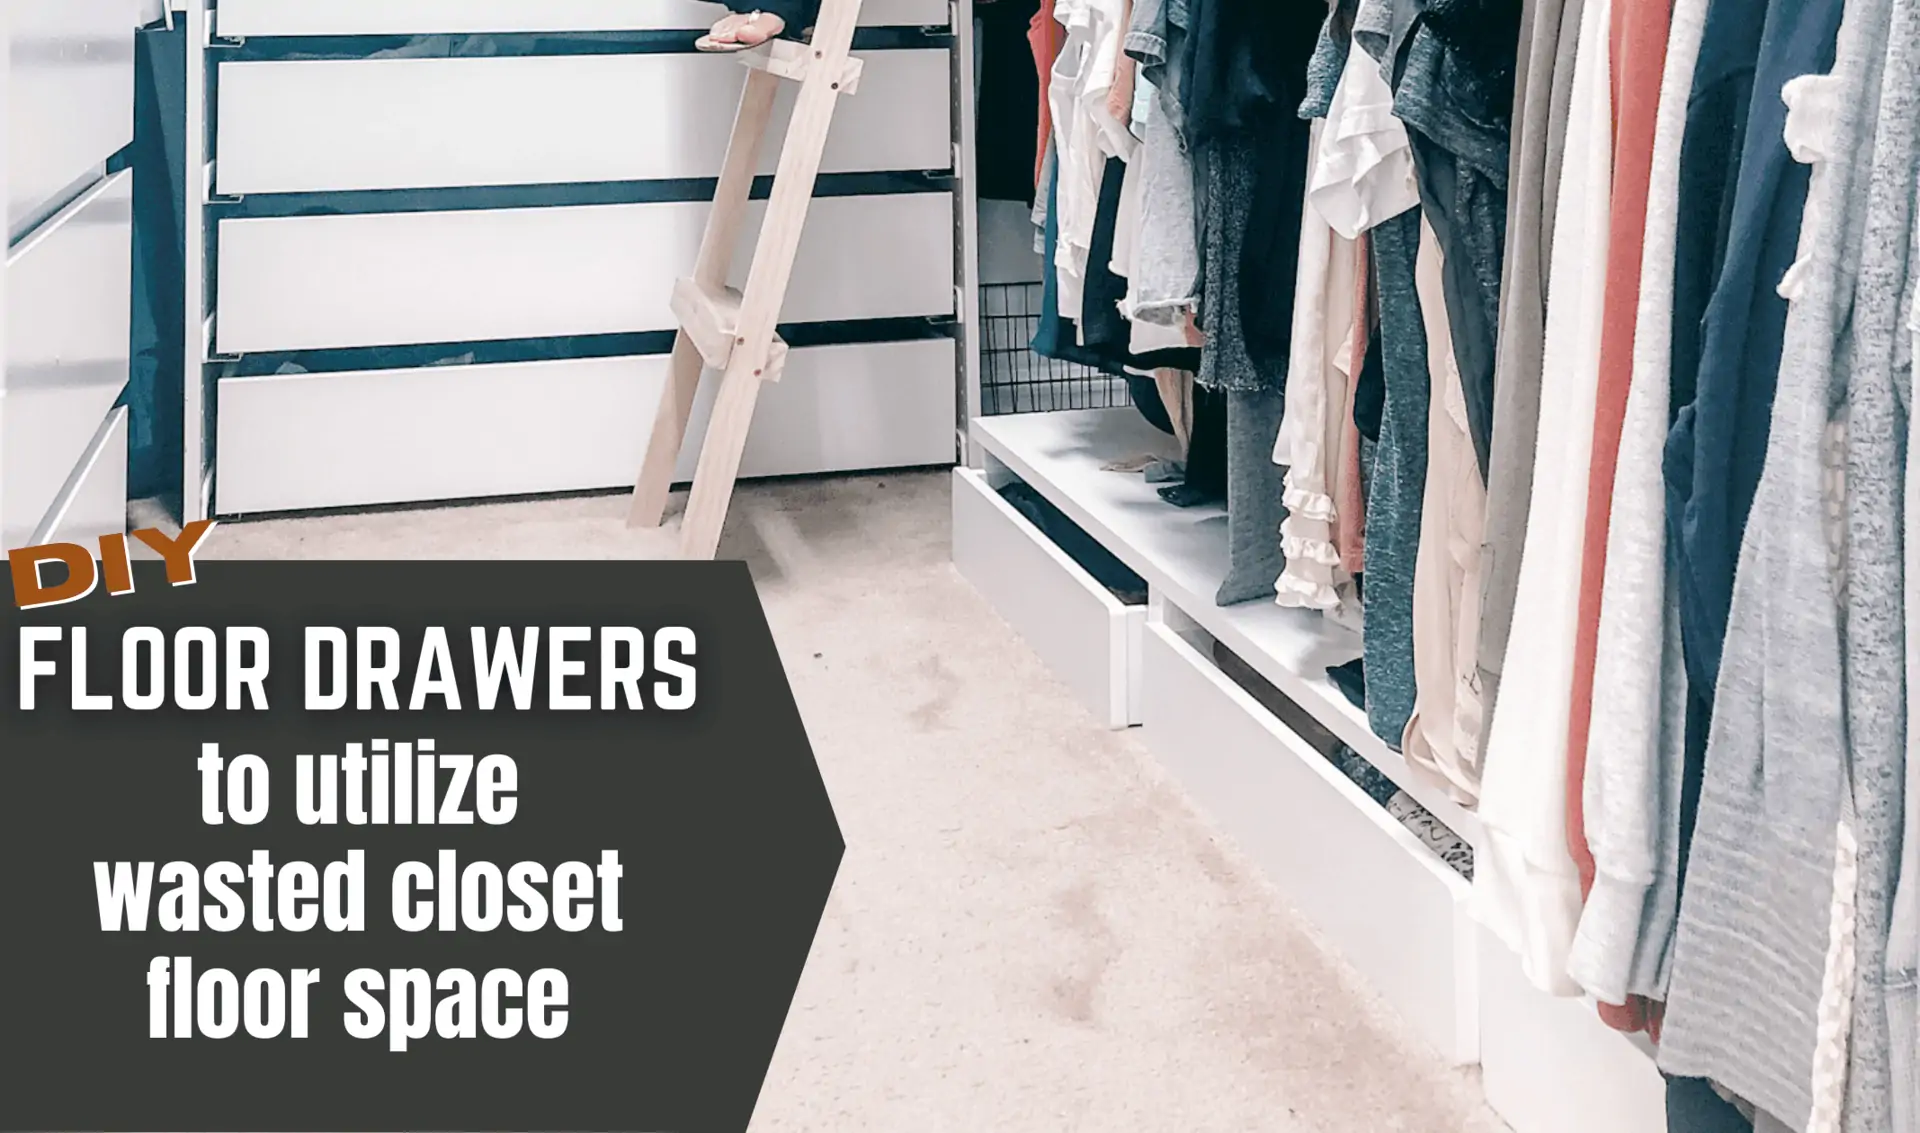
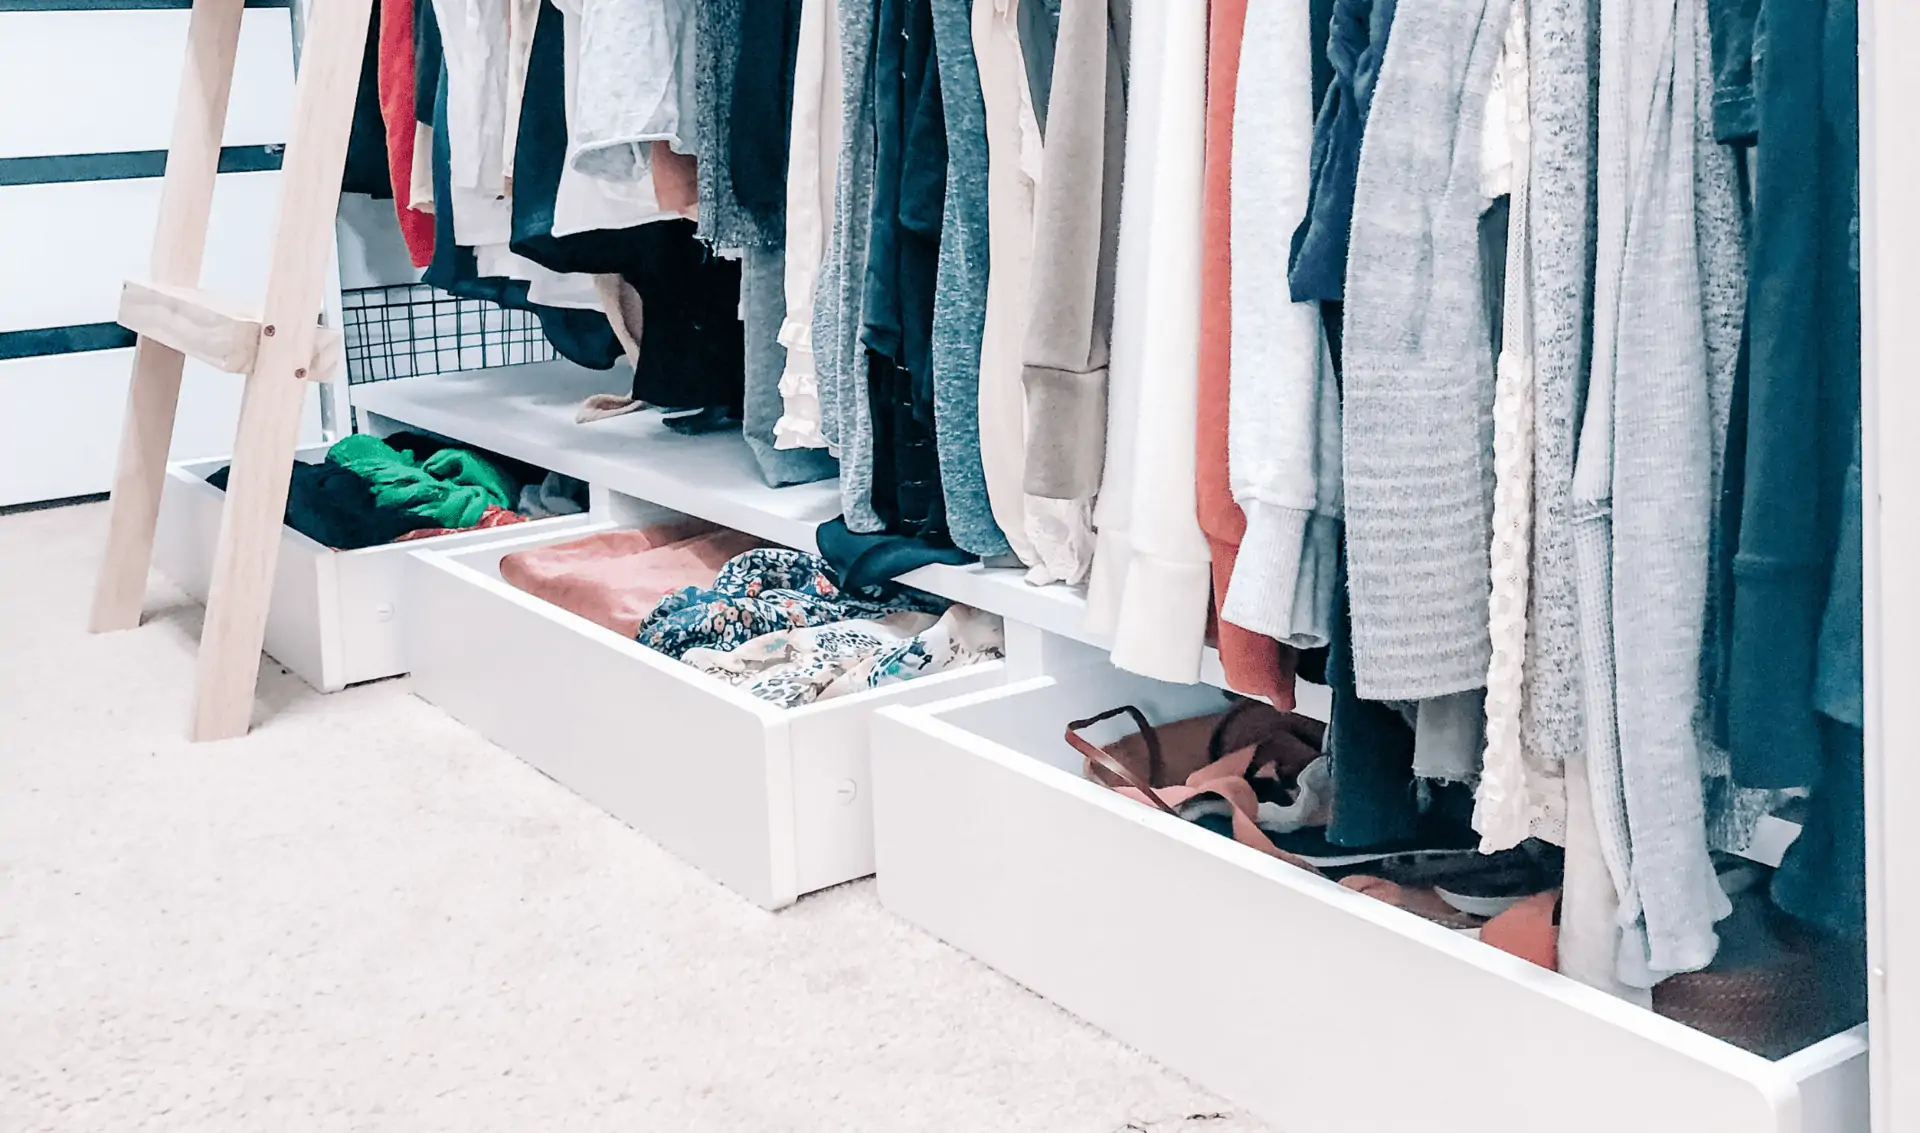
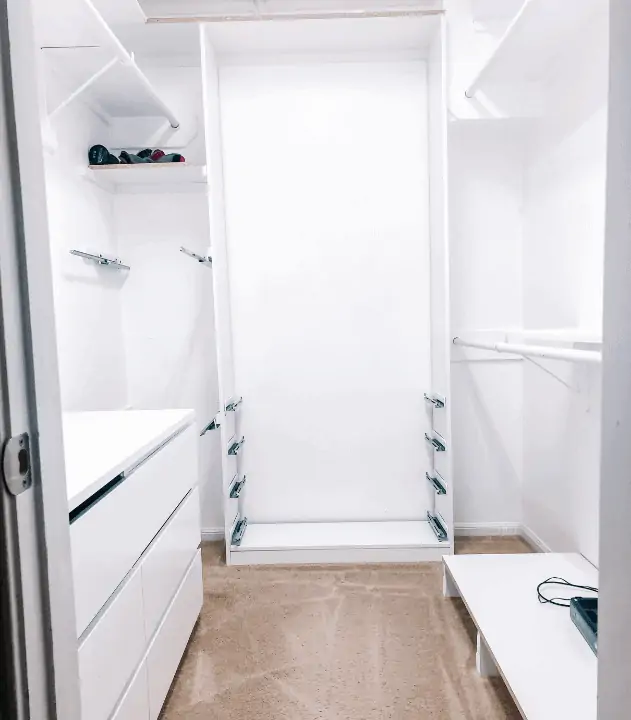
Do you have unused floor space in your closet? That is the secret space to add drawers for closet storage. The Uppfora sliding floor drawers from IKEA are ideal for that space! They are not too tall, and the perfect depth to reach from the back wall to right under where the clothes are hanging above it extend to. They have casters underneath, and are meant to slide out on the floor. A frame with a shelf on top to slide them into is very simple to DIY..
Building the Frame for the Floor Drawers:
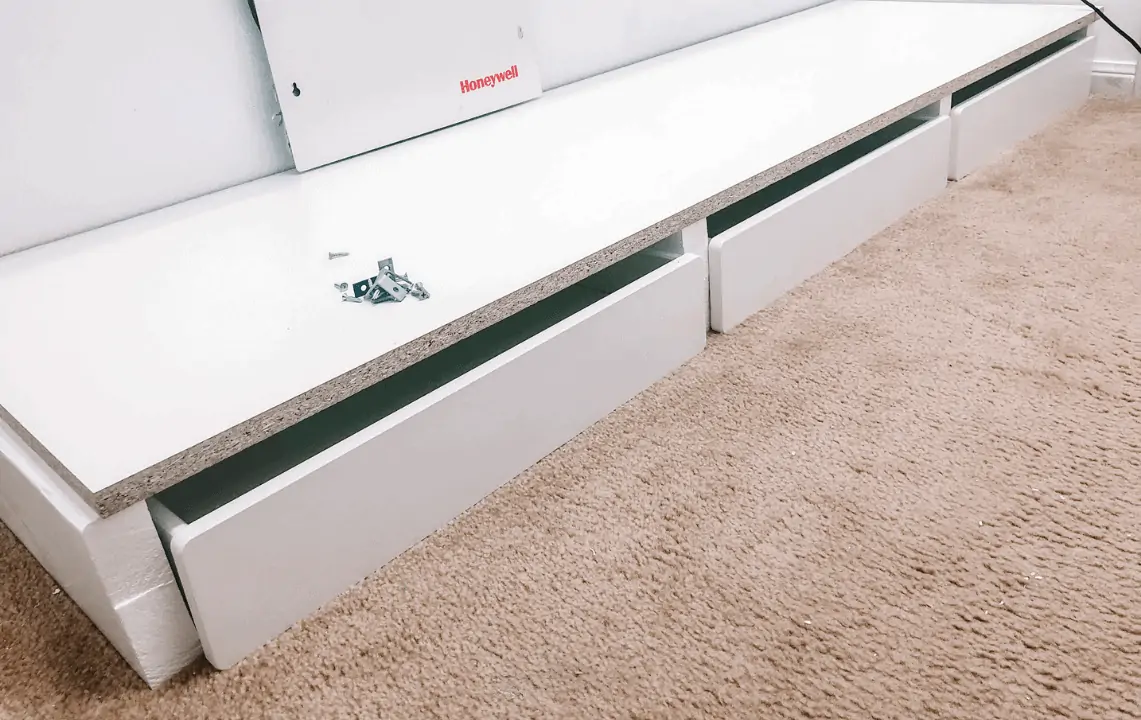
First, decide on the number of drawers, and lay them out on the ground in the closet. Place separator in between the drawers to support the top you will be making next. I used 2×4 pieces (I cut to size) to separate the drawers and support the shelf above.
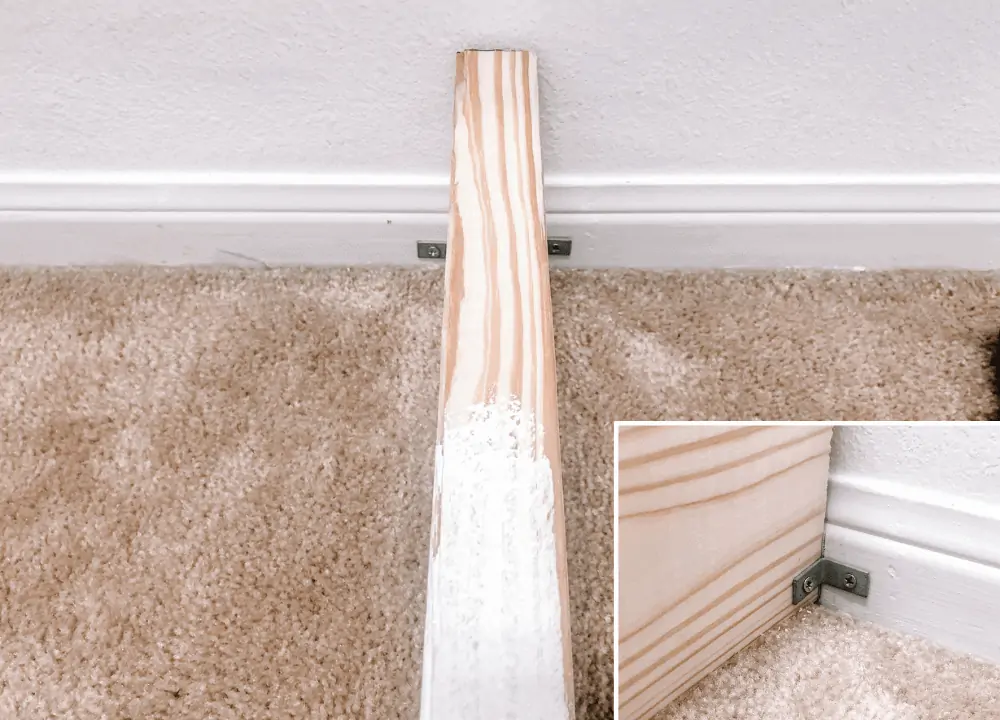
I attached the L brackets the easy way and just screwed the L brackets to the 2x4s to attach them into the baseboards. Turns out, to get your drawers to slide in perfectly flush- you’ll have to scrape out the shape of the L-bracket into the 2×4.
I will def make another floor drawer system for one (if not both) of the kids’ closets. I might use 2×6’s as the separators to be able to put more into the drawers.
There is a lip behind the faceplate of the front of the drawers on the sides of the drawer. I placed the separators fairly tight so that they butt up to the backside lip of the front of the drawer.
Once you have the separators and drawers laid out in their space, measure for the shelf to place overtop. Then cut a piece of melamine for a sturdy top. Attach the top by screwing it into the 2×4 drawer separators.
The final step is finishing off the raw edges of the melamine top. I did this with Band-it Edging. This step was so fast, fun & rewarding. I am now brainstorming what future projects I can use this Band-it magic on, ha!
Check out how easy it is to apply the Band-it Edging in this video:
Congrats, your closet floor space has been maximized to the fullest! And even more amazing, you created much coveted drawer space in your closet! High fives all around!!
2. Dresser Drawers for Closet Storage
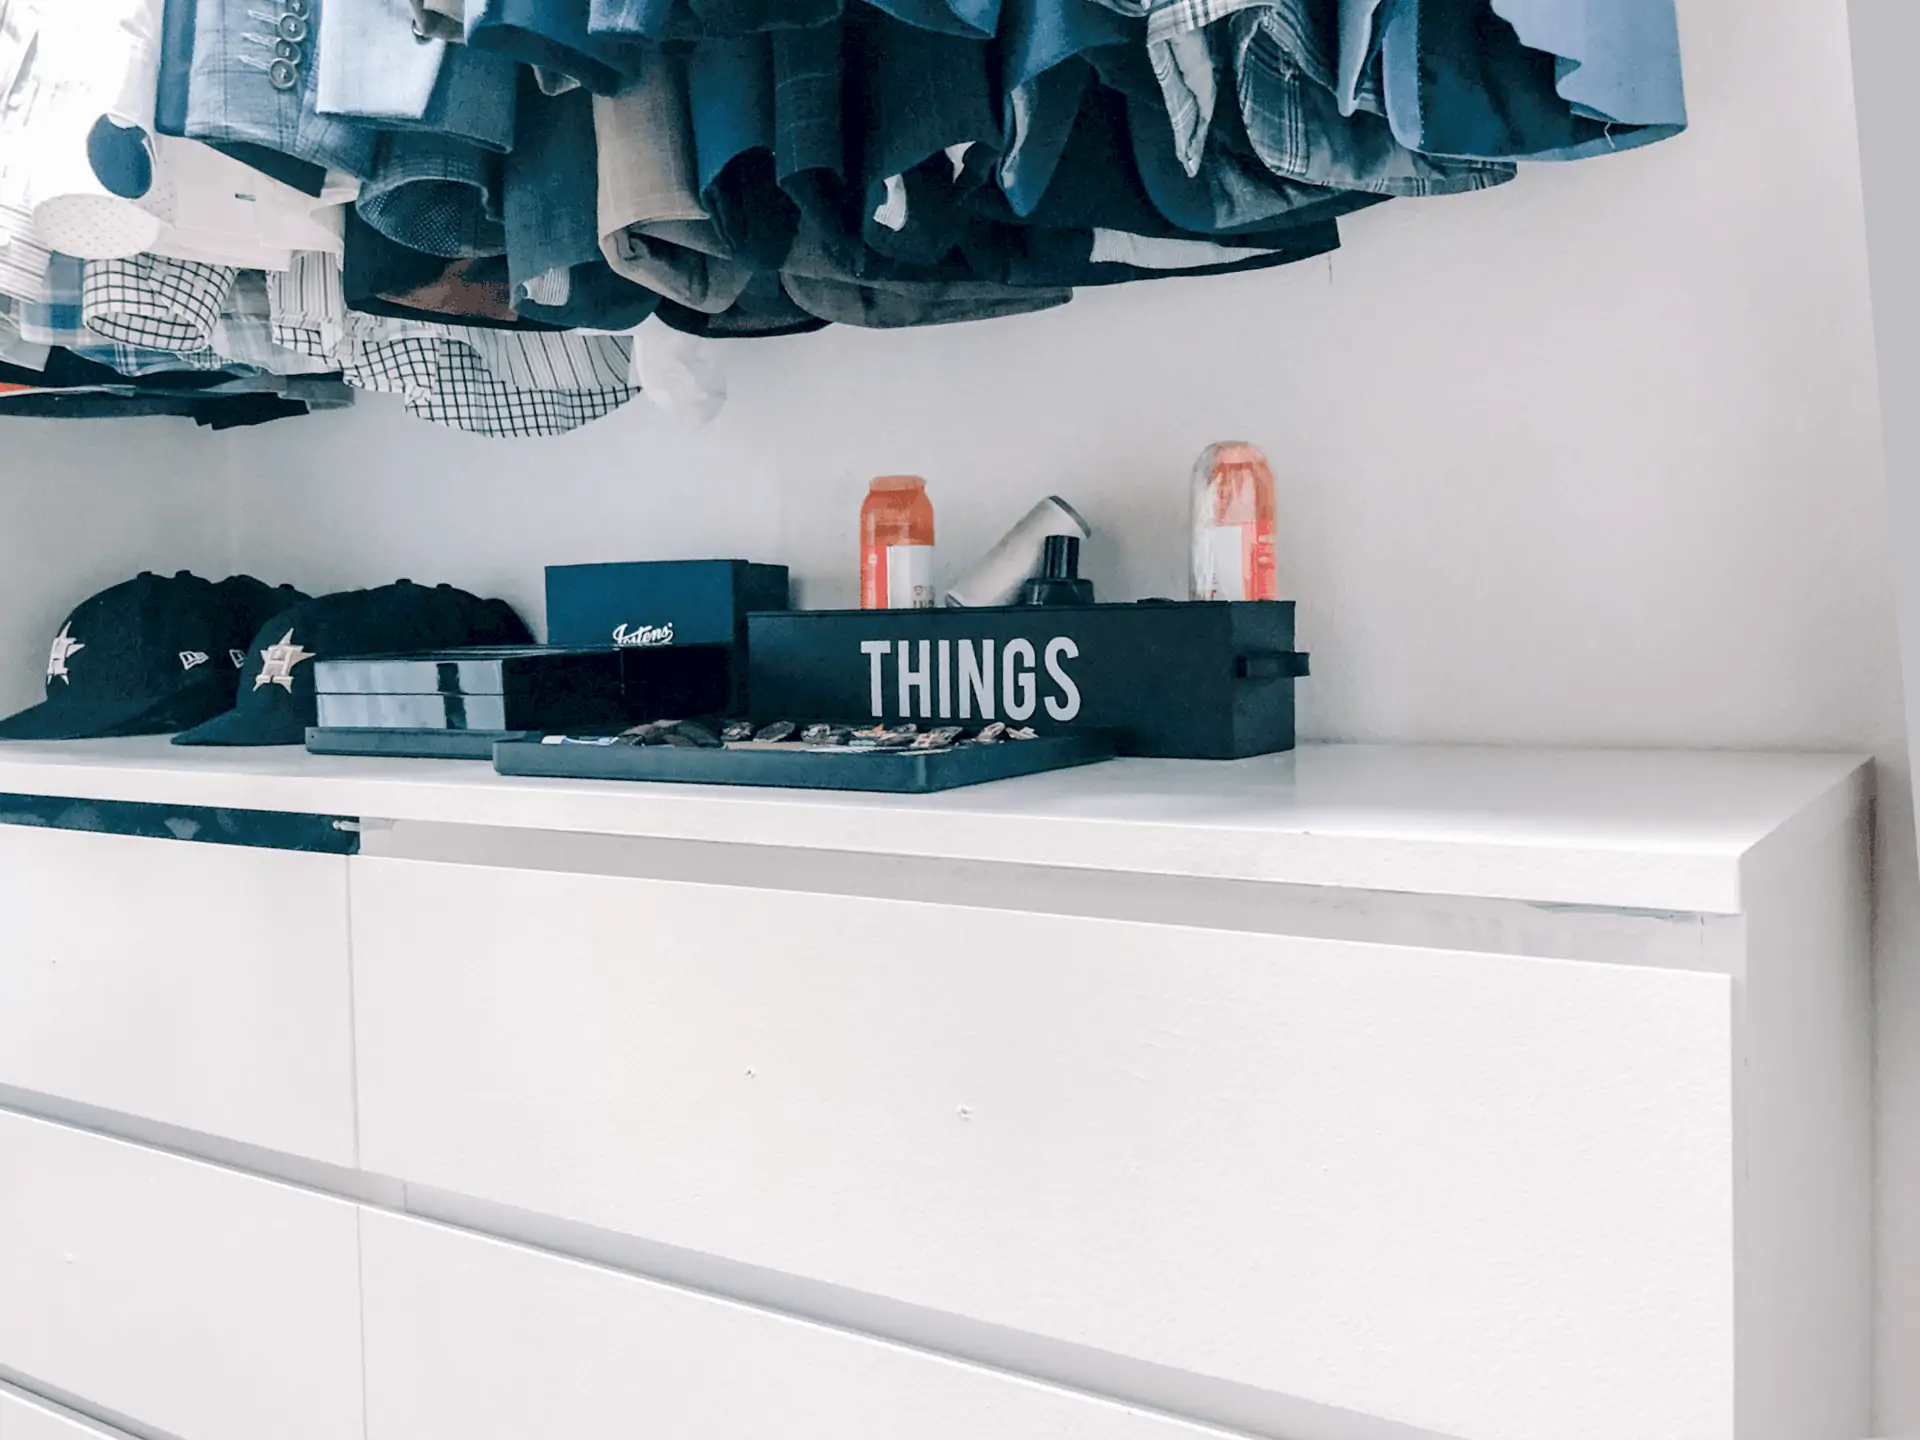
The easiest way to add drawers for closet storage is to put a dresser into the closet. We already had this IKEA Malm 6 drawer dresser. It has the perfect amount of drawers for my hubby’s folded clothes. So, instead of building something to go in the open space under his hanging clothes- this dresser fit perfectly- Hallelujah! All I had to do was paint it white. I primed it first, then used a Semi- Gloss sheen of Behr Marque paint in the color Ultra Bright White.
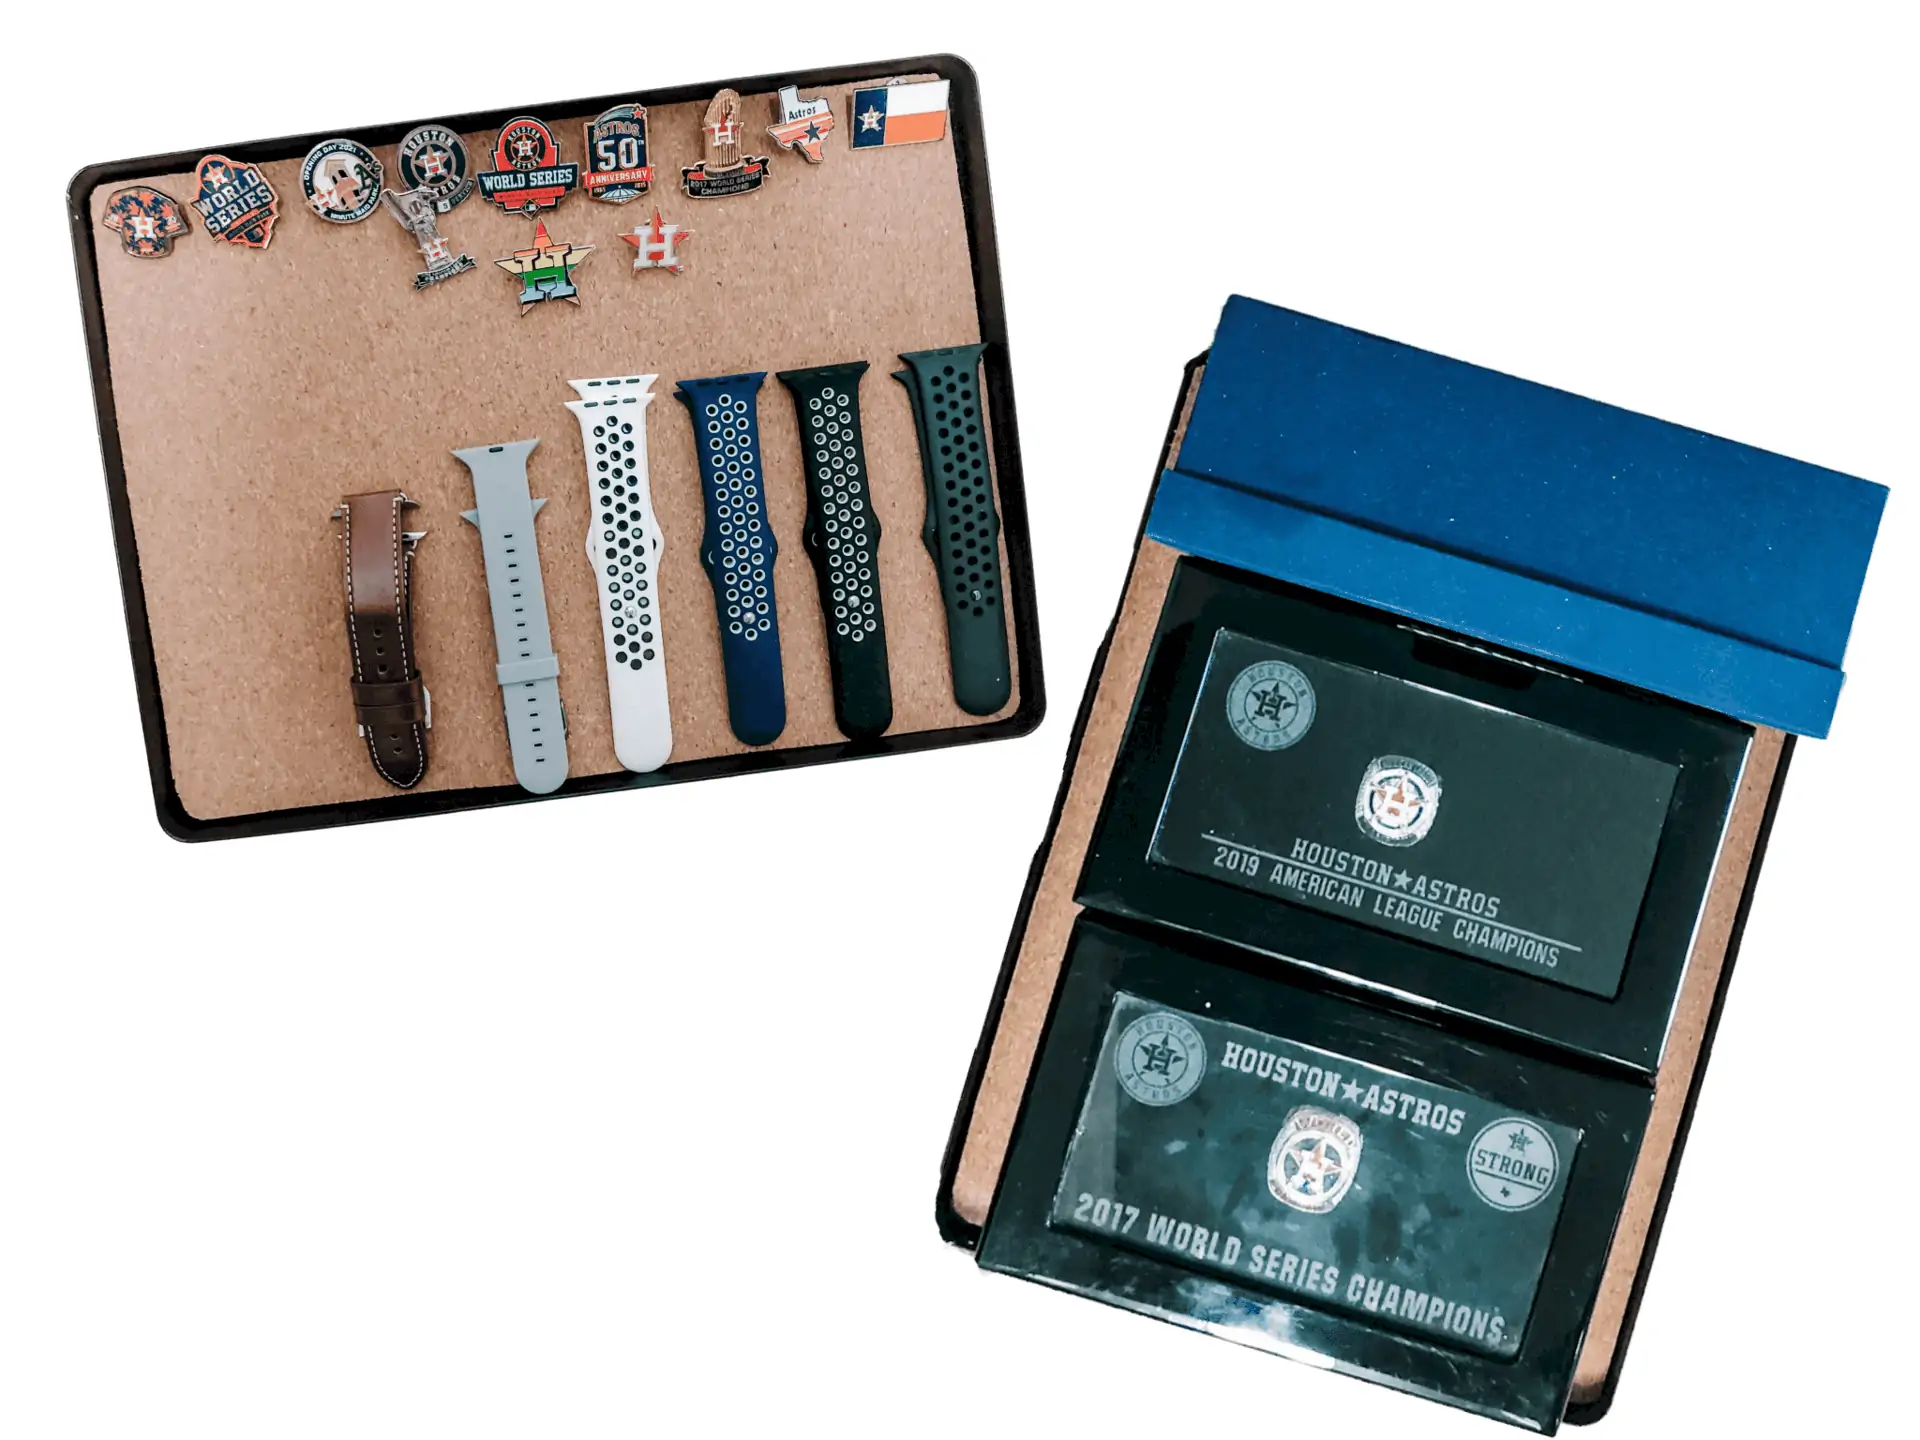
The top of the dresser is the perfect space for his accessories, hats, and other closet things. I used these black metal trays to hold his accessories there. The trays are in the desk accessories section but are so cute & perfect for men’s accessory storage. The black trays have a raised lip all the way around and felt feet on the bottom to protect the top of the dresser. I cut a cork desk pad to fit inside of each.
3. IKEA Pax/Komplement Drawers in Closet
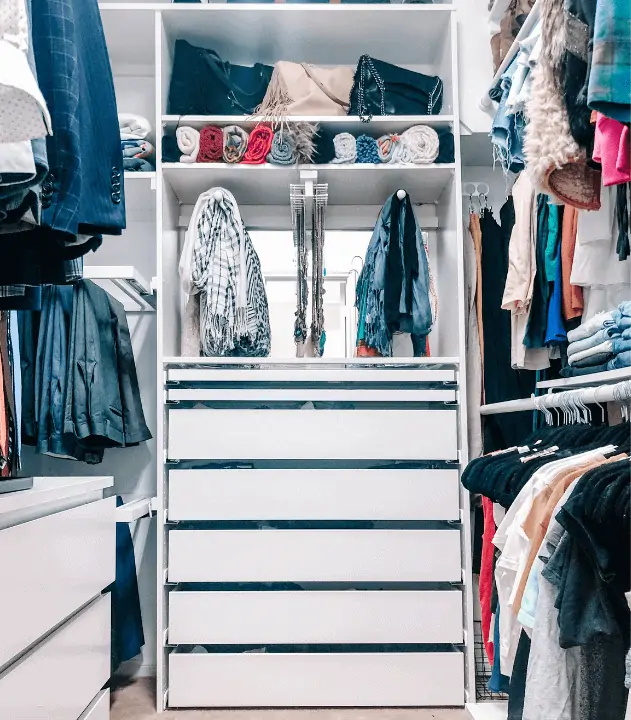
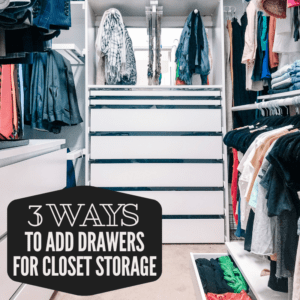
After researching so many different drawer systems for closets, I kept coming back to the IKEA Komplement drawers that slide into the IKEA Pax frame system. I like the clean, sleek look, and how you can customize how many drawers, accessory trays, and shelves.
The IKEA Pax frame is shown below. I assembled it without the back attached, so the wall behind it shows through. I also did not use the “baseboard moulding” it comes with below the lowest drawer. While the baseboard moulding looks nice, our closet is tiny, and every inch is valuable.
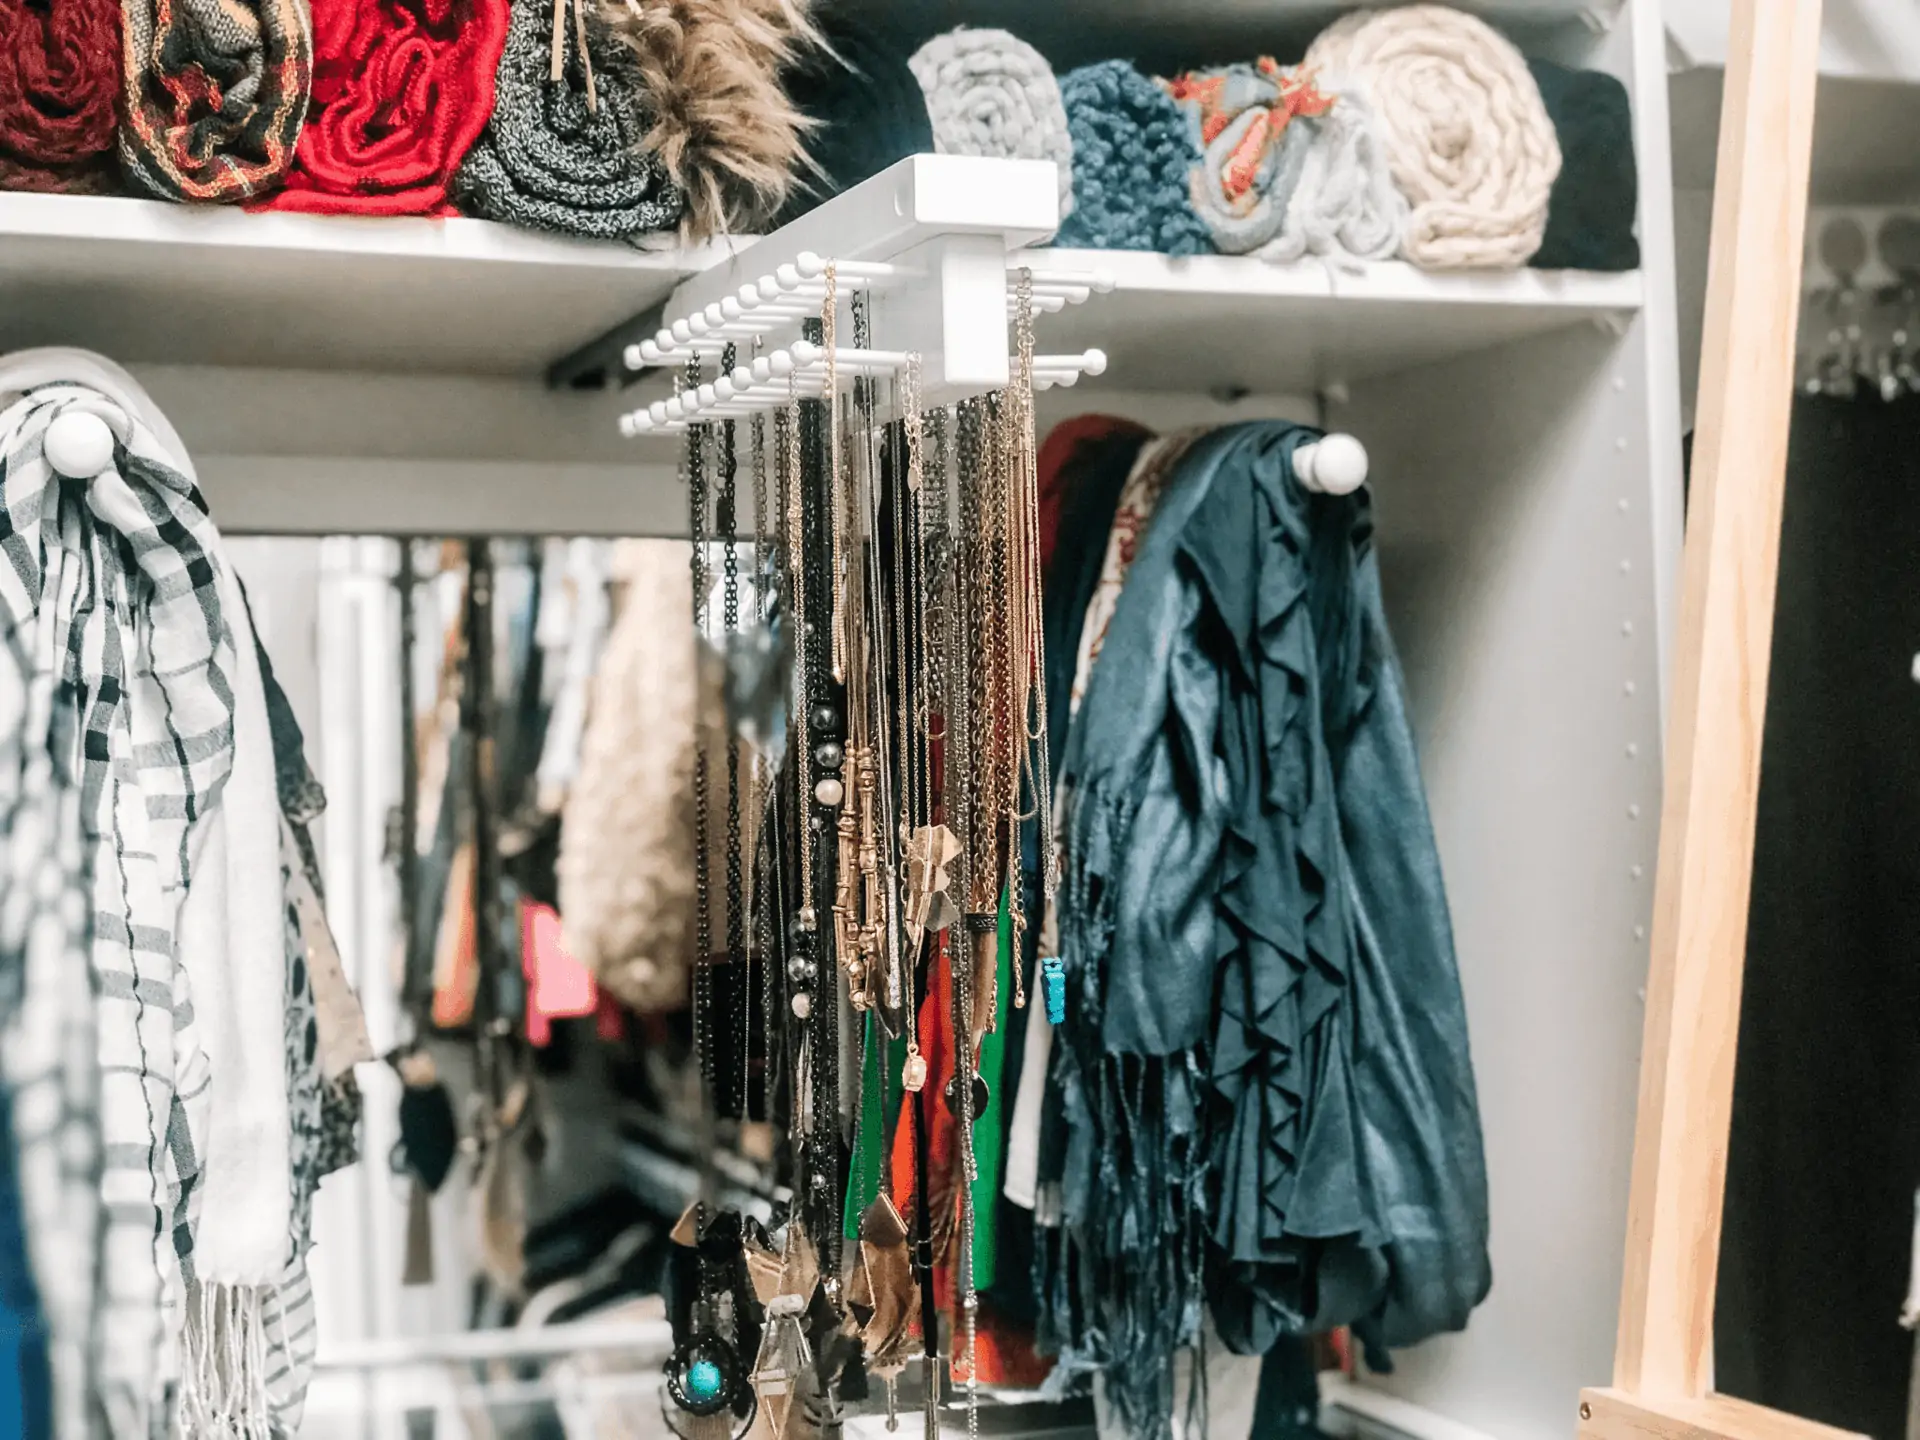
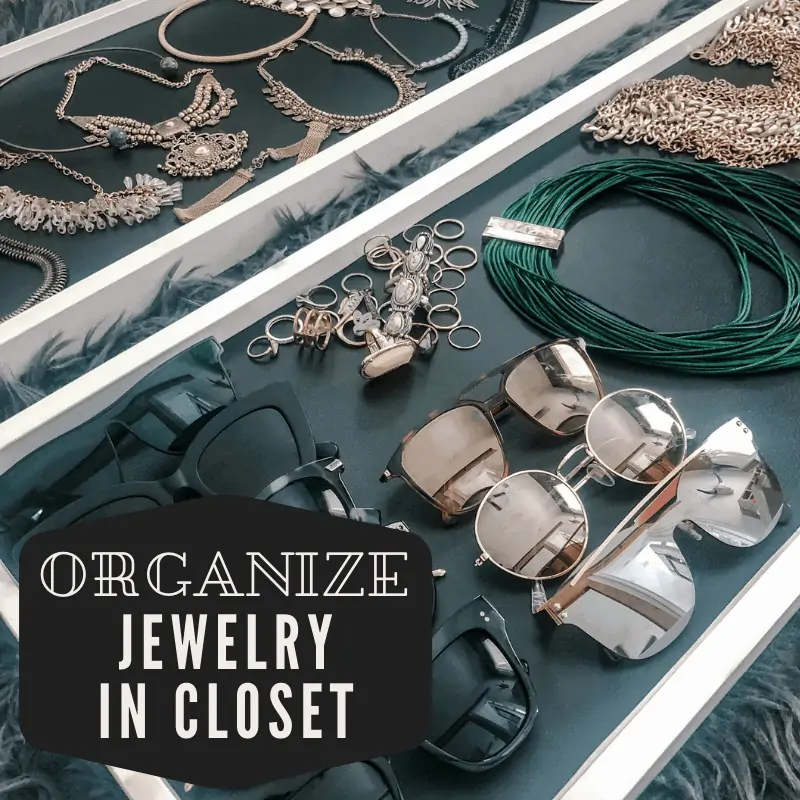
In my Pax Closet Organizer, I’ve installed 5 drawers for clothes, 2 trays with a glass shelf over them for accessories, and 2 shelves. This storage tower houses and organizes so much stuff in a such a small space. For longer necklaces, a Tie Butler attached to the bottom of one of the IKEA shelves is hung as a perfect necklace organizer.
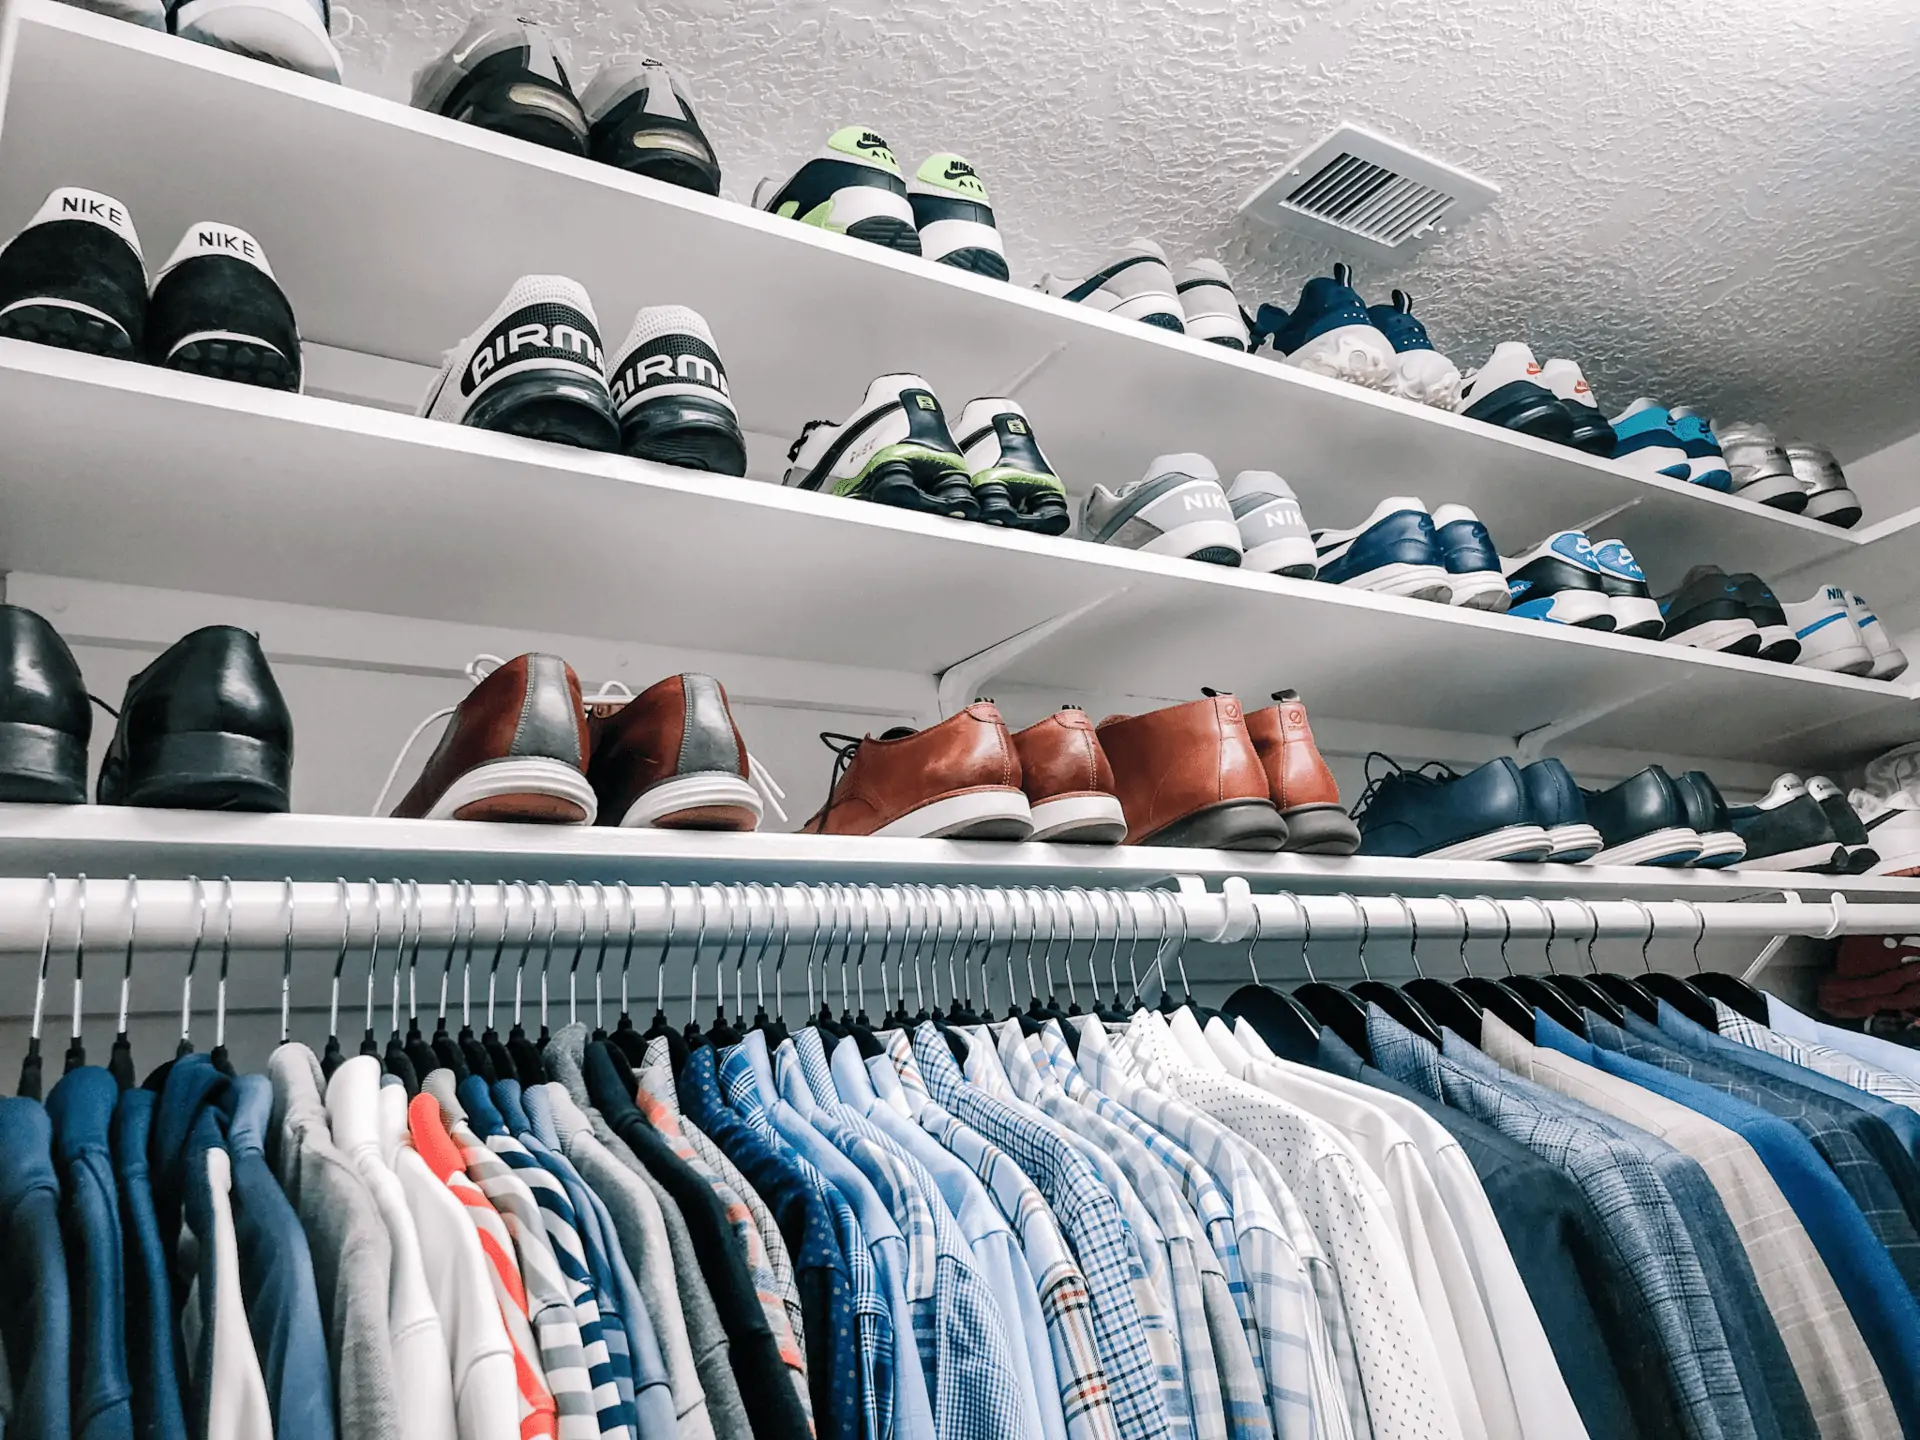
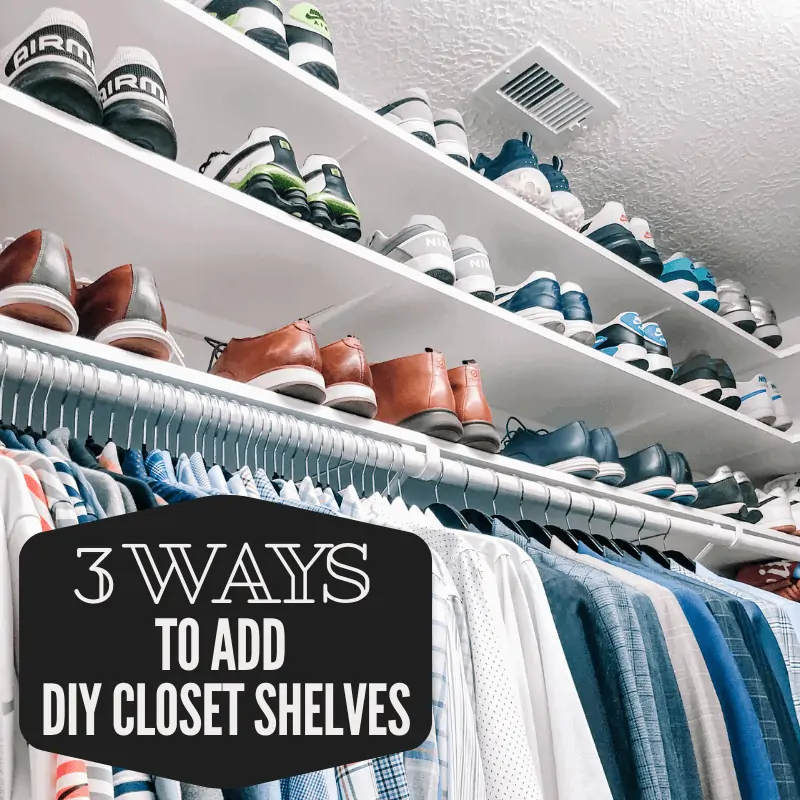
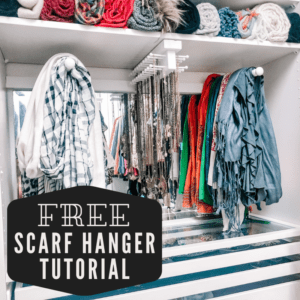
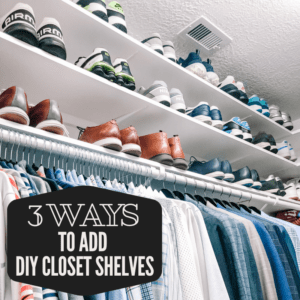
My lightweight scarves are organized beside that on a scarf organizer I made. Winter scarves are rolled & stored in between the shelves. My purses are sitting out on the top shelf. Above the purse shelf, I cut the top of the Pax unit off to fit flush under the shoe shelf running above it. I installed wrap around shoe shelves all the way around the top of the closet. Here are all the details on 3 different methods to adding shelves to your closet!
Check out These Other Great Space Saving Hacks for Small Closets:
Planning Your Custom DIY Closet Organization System:
How to add closet shelves up top as the ultimate shoe organizer:
























Leave a Reply